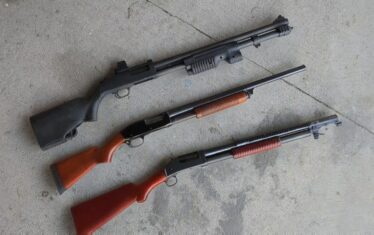
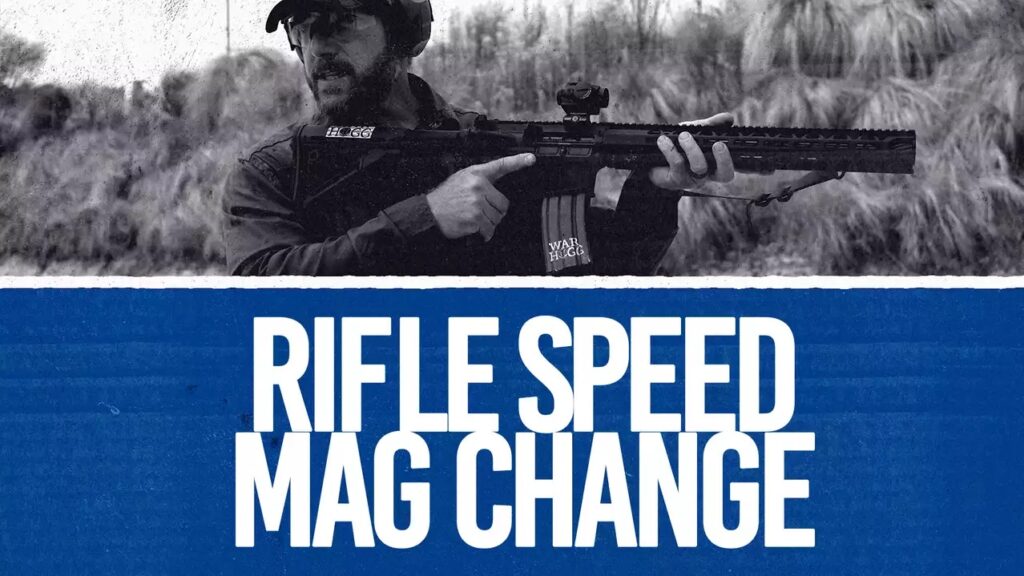
The carbine speed magazine change is a skill many shooters overlook or develop bad habits with. This month, we’re focusing on building this important carbine gun handling skill.
Setting shooting goals and having a solid training plan are key to improving your marksmanship skills. Each month, we provide a skill builder exercise designed to be as indoor range-friendly as possible, helping you train efficiently and effectively.
For the past few months, our skill builder exercises have been based on the War HOGG Self Eval. Building on your previous performance, let’s focus on shot 7—the speed magazine change. Depending on your platform, this may involve a pistol, a carbine, or both. This month, our focus is specifically on the carbine speed magazine change.
Our intent at War HOGG Tactical is to supplement your firearms training program and help you become more efficient and effective with your firearms. Remember our mantra is Be 1% Better Everyday!
How The Skill Builder Works
At the start of the month, begin by shooting the monthly skill builder exercise. Afterward, record your data in your copy of The Firearms Training Notebook.
Next, develop a dry fire training plan and work on it throughout the month. Toward the end of the month, reshoot the skill builder to measure your progress and see how much your shooting performance has improved.
Equipment Needed
- Your normal range and firearms equipment
- Live Fire Range
- Dry Fire Training Area
- Shot Timer, we recommend the PACT Club Timer III. Click the link to learn how to use a timer effectively in your marksmanship training.
- The Firearms Training Notebook – available on Amazon
- Recording device and tripod or holder
- 3×5 and 4×6 index cards (Your Targets)
carbine speed magazine change
This month, we’re focusing on the carbine speed magazine change. I categorize magazine changes in two ways:
- When I want to – the tactical magazine change.
- When I have to – the speed magazine change.
Drill Setup
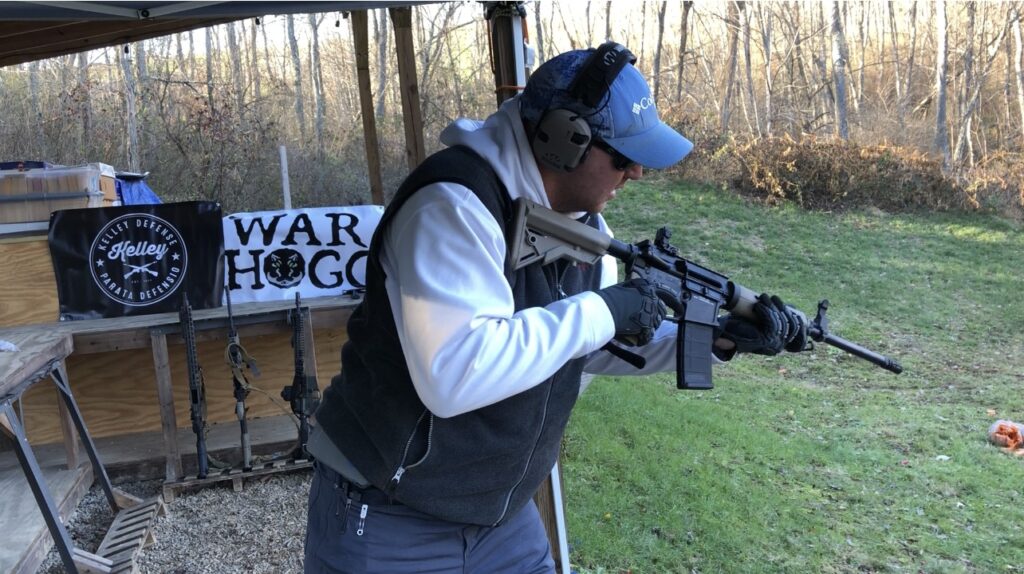
Head to the range and conduct 10 carbine speed magazine changes — no warmup, just shoot the drill. I like to structure it as one shot, a speed magazine change, then another shot.
Start with your carbine on target, finger on the trigger. When the shot timer beeps, fire the shot and immediately perform a speed magazine change. Starting with your finger on the trigger helps track reaction time, something we worked on a few months ago. Whenever possible, we build on past skills.
Tracking Your Progress
Record your time, marksmanship data, target used, and distance in The Firearms Training Notebook. Use the notes section to jot down key takeaways, like fumbling a magazine due to a poor grip. Identifying small details will help refine your technique and improve your performance.
The Carbine Speed Magazine Change Mechanics
I like to dry fire first to refine my technique before practicing live fire. The dry fire process mirrors live fire, with only a few small differences. Before starting, ensure your magazines are empty and no live ammo is in your dry fire area.
Magazine Orientation
Place your magazines in the mag pouch with bullets facing forward for an efficient, consistent magazine change. This orientation keeps the movement the same for both pistol and carbine reloads.
Some shooters prefer their carbine magazines with bullets facing rearward to use a “beer can” grip. The issue with this method is that if your grip is too close to the bullets, you may need an extra movement to properly seat the magazine. Personally, I prefer to keep all my reloads as universal as possible.
Executing the Magazine Change
Start with the carbine pointed at the target, bolt locked to the rear, an empty magazine inserted, and the selector on fire.
When it’s time to reload, place the carbine on safe while simultaneously breaking the support hand grip off the rail and moving toward the magazine pouch. At the same time, use the firing hand’s index finger to press the magazine release. The idea is to keep the mag well in that vertical configuration so gravity will help the magazine fall out.
As the support hand moves toward the magazine pouch, the firing hand rotates the carbine while maintaining shoulder contact. This rotation cants the mag well, allowing for better visibility when inserting the new magazine.
The support hand should perform a “centerline sweep,” meaning the hand remains open with the index finger pointing downward. Start by indexing off the belt buckle and sweeping back until you locate the next loaded magazine in the pouch. The index finger should be along the side of the magazine and the palm on the base pad. Remove the magazine and use the index finger as a guide to insert the magazine in the mag well.

Some people argue that you should stay focused on the threat. It is a fraction of a second you are looking at that magazine well, plus your peripheral vision will pick up any movement from the threat. By not looking, you’re simply hoping you don’t fumble the mag change.
Once the magazine is in the mag well, seat it home with the palm of your support hand. Then, rotate your support hand up and use your support thumb to release the bolt catch before sliding your hand back to its normal position on the rail. Make sure you are NOT conducting a slapping motion with the palm of your hand on the bolt catch, as this is a very unreliable technique.
After the bolt is forward, rotate the rifle back to a normal firing position, switch carbine on fire, align the red dot on target, and press the trigger.
Don’t forget with the carbine there is a point of aim, point of impact difference depending depending on your zero and optic mount height.

The Ejection Port Look?
I often see shooters look at their ejection port for the status of their carbine. While this might work in daylight, I always ask my students—what’s your technique at night? In my opinion, this is very inefficient and wastes valuable time that could be better spent conducting the speed magazine change.
Live Fire Variations and the War HOGG Ghost Reload
During our War HOGG Tactical courses, I have students load two rounds in their magazine when training this drill. The intent is to fire both shots at a slower split time so they can feel the full recoil impulse rather than the half when the bolt locks back.
The shooter might also hear a different report of the carbine and should feel a “clunk” as the bolt locks back. We’ve all seen shooters press the trigger with the bolt locked back, and this drill helps them become more in-tuned with the carbine. The key to feeling the “clunk” is maintaining solid shoulder-to-stock contact.
The final piece of the speed magazine change is the War HOGG Ghost Reload. After firing the last round of the second mag, instead of just going admin, drop the mag, conduct a centerline sweep, and mimic putting a mag into the pistol. Then, cycle the slide forward and press the trigger. This dry trigger press is critical because it shows the shooter if they are putting any added input into the pistol.
Make Your Dry Fire Plan
Take your 10 magazine changes and figure out your average time.
Take a new page of The Firearms Training Notebook and title it “Carbine Speed Magazine Change.” Using your average time, between 0.25 to 0.50 seconds to account for dry fire. As you improve, making good dry trigger presses and sight on the target at or below the par time, you can start reducing your par time by .05 or .10 seconds. The goal is to keep decreasing your time until you reach your optimal performance.
Remember, do get wrapped around what others are doing for time — this is your firearms journey and you will get there if you put the time into your dry fire training.
Check On Your Work
Sometime near the end of the month, head back out to the range and reshoot the 10 rounds with your carbine speed magazine change. and see where your performance is at. If you’ve been diligent with your dry fire practice, you should see noticeable improvement in your performance.
Have Accountability
Accountability is crucial in improving your shooting performance. Yes, you can do it on your own, however having a shooting partner, tribe, group will help keep you in on track.
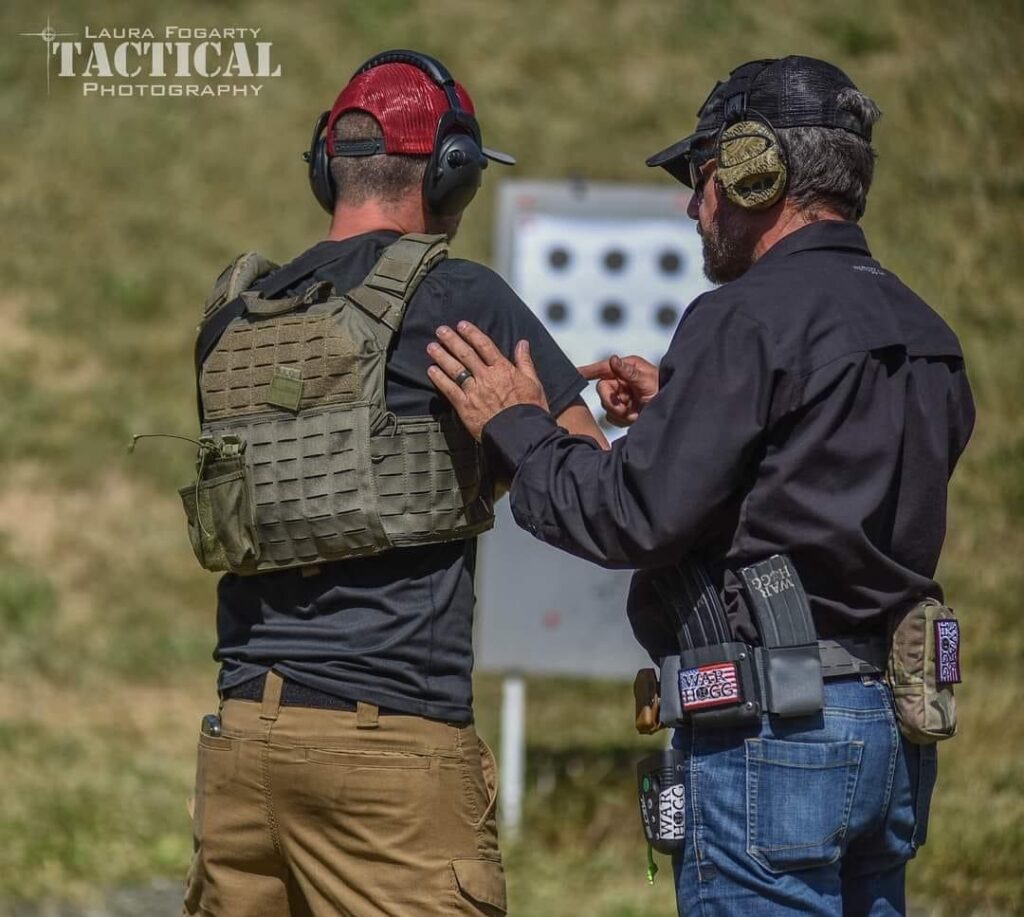
If you don’t have built-in accountability, you can always join us in sharing your marksmanship growth. Check out our On The Range (OTR) Patreon “CREW” member’s page or the On The Range Podcast “CREW’ Facebook group page.
My co-host and co-author, Mark Kelley of Kelley Defense, and I conduct a bi-monthly interactive Zoom call with our Patreon “CREW” members, where we break down each shooter’s skill builder. We’ ha’ve even reviewed video of “CREW’ members shooting during our Zoom sessions, providing immediate feedback on areas for improvement.
Conclusion: Put In The Work
To see improvement in your marksmanship skills you must put in the work. This means having a solid dry fire training plan and a way to record your progress, such as The Firearms Training Notebook. Use additional tools like a shot timer and video analyses to take your dry fire training to the next level with increased performance during your live training.
Train Hard, Stay Safe and see you “On The Range” – Rick