The AR-15 is perhaps the most versatile rifle platform yet conceived. Its modularity, compared with unparalleled aftermarket support, provides numerous options for every shooter. Optics compatibility is almost unlimited. From iron sights to simple red dots to high-tech scopes, the AR can do it all. An AR-15 optic setup is really only limited by your imagination.
We’ve identified five basic optics setups that allow you to get the most from your rifle. Each has its advantages, and you can choose what works best for you. Or you can do something entirely different. But here are our top five AR-15 optic setups. This assessment is based on the 50/200-yard zero with all optics and assuming a self-defense application with the 5.56 NATO or .223 Remington cartridge.
We’ll begin with the simplest: the unmagnified red dot. The other four setups are attempts to combine the red dot’s speed with the advantages of a magnified sight picture. But the magnification comes with a trade-off in terms of simplicity and speed. Each requires extra motion to maximize the setup. That means extra training. But, again, the AR-15 lets you choose what you like best.
1. Unmagnified Red Dot Only
Today’s red dot reflex sights allow lots of flexibility, from close-in self-defense to reaching out to 200 yards or more. You can hit targets at the rifle’s maximum effective range if you know your holds, but the red dot-only setup is most effective at shorter distances.
This option’s advantages are speed and simplicity. You can aim center mass out to 200 yards and be very accurate. You can actually do that at 300 yards, though you’ll likely hit your target around the belt buckle. The simple red dot doesn’t require adjusting magnification or the rifle’s attitude. It’s essentially point and shoot. Of course, you’ll need to practice shooting accurately, but that’s for another article.
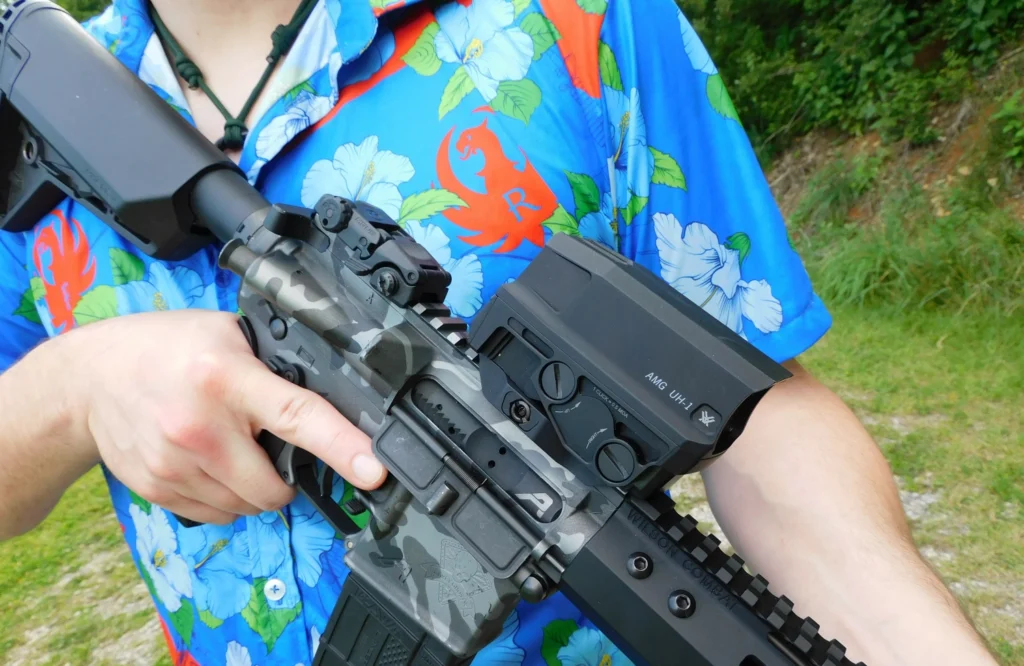
Multiple red dot styles work here. The photos here feature a Vortex UH-1 holographic sight, but I’ve used basic rifle red dots like the Vortex SPARC-AR and even small pistol red dots. If you can see the reticle, it will work.
Train to find the dot as you raise the rifle from the ready. You should be able to consistently focus on your target through the dot as it comes level with your eyes. This requires practice. I spend a lot of time just raising the rifle from the low ready and locking the dot on a target. Over and over. I do the same with acquiring the target coming from my “workspace” after a mag change. Then I move to target transitions. One to the next and back again.
Do all this at different ranges so you know what your dot looks like against smaller targets. I can do multiple reps in just a few minutes, even in my bedroom. I do it until my arms get tired. Your muscle memory will get to where your reticle lands on a target almost automatically.
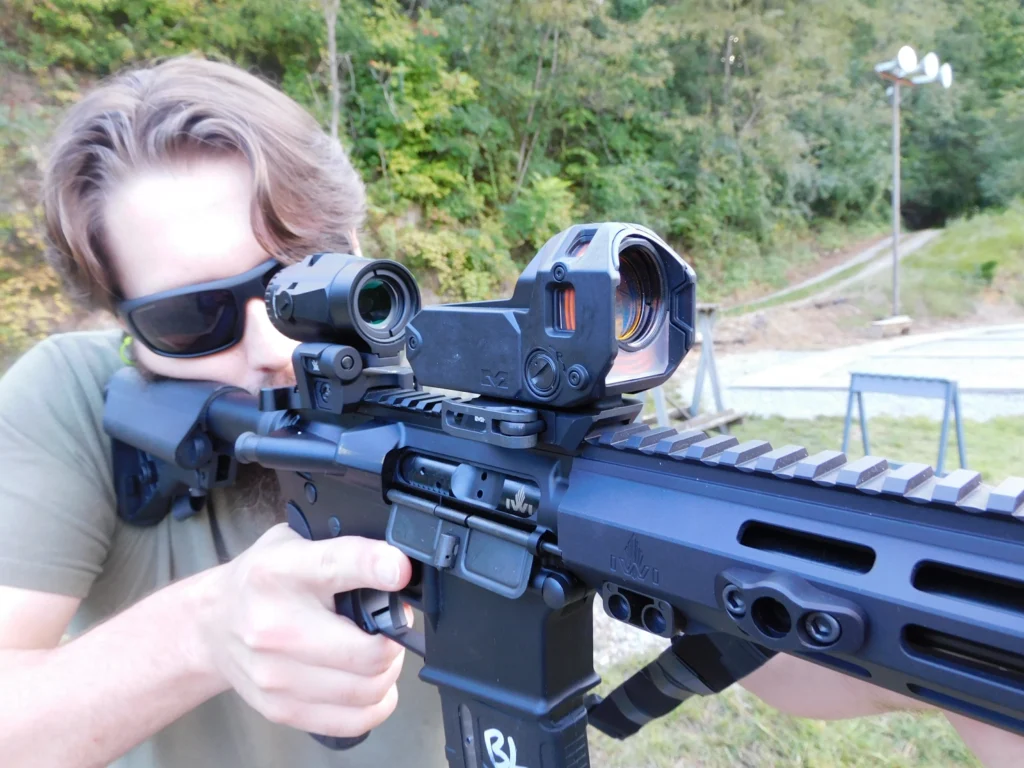
2. Red Dot with Magnifier
A great choice for a better sight picture is adding a 3x or 4x magnifier to your red dot. The concept is simple. You still have your familiar reticle, but give yourself the option to magnify it.
Modern magnifiers come with a pivot point to engage or disengage them as you want. That’s the extra motion, if you choose to use it. I set up my magnifiers to pivot to the right, and I manipulate them with my left hand, being a right-handed shooter.
That’s when I manipulate them at all. I often leave the magnifier engaged. Close-range target acquisition is a little different, but it’s not difficult with a little practice. I find that my accuracy at ranges past 25 yards or so is better than with just the red dot.
I train the same way as I do with the red dot by itself, but I add the steps of engaging and disengaging the magnifier. And that does take practice. It’s not a natural motion at first, and you need to create the muscle memory to snap the magnifier back and forth and go back to your off-hand grip. Once that’s done, you’ll need to do it while transitioning to longer or shorter-range targets.
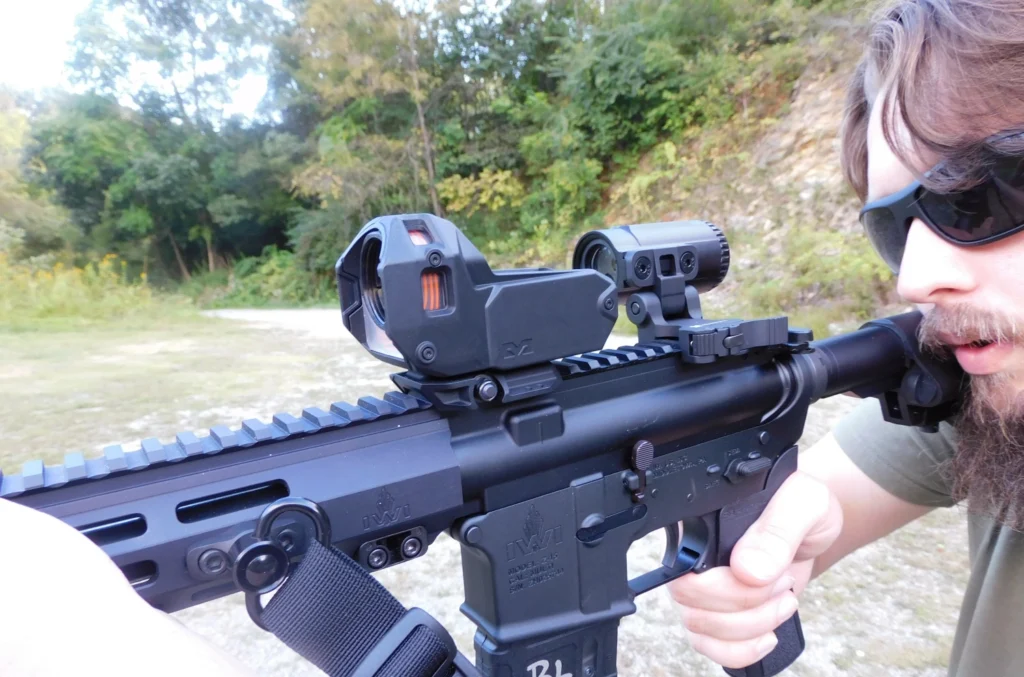
It’s more involved than just transitioning with the red dot, and you have to be smooth. But you get the benefit of a better sight picture downrange. I do all that, but I generally find that I’m fine with having the 3x or 4x magnification most, if not all of the time. The Meprolight M22 reflex sight and Vortex Micro3x magnifier pictured here is a great combo.
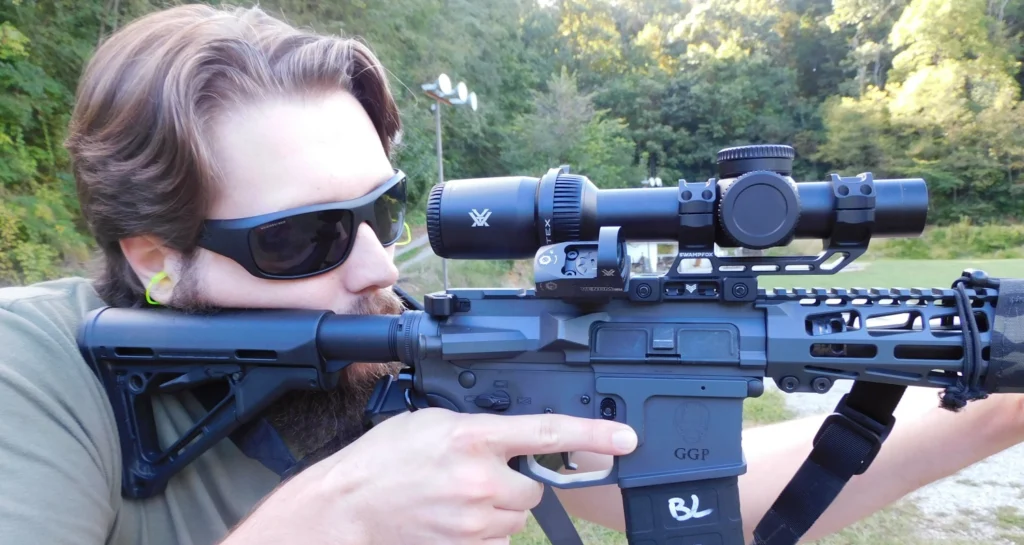
3. LPVO Rifle Scope
Low Power Variable Optics (LPVO) have become quite popular with the military and police. That enthusiasm extends to the civilian shooting world.
An LPVO lets you do it all with one optic. A good LPVO, like the Swamp Fox Arrowhead 1-8x pictured here, provides very forgiving eye relief at 1x, mimicking an unmagnified red dot. Most, if not all, LPVOs have illuminated reticles for that purpose. They will also have an etched reticle that doesn’t require illumination in daylight.
For longer range shots, LPVOs have rear-mounted throw levers for quick magnification adjustment. The eye relief and field of vision become more challenging as the magnification goes up. As with everything else, you’ll need to train yourself to use the throw lever and manage the eye relief effectively.
A 50-yard zero means you’re on the money out to 200 yards, just like a red dot. But an LPVO will also have etched and illuminated elevation and windage adjustments baked into the reticle. You’ll need to learn those to maximize your LPVO’s capability.
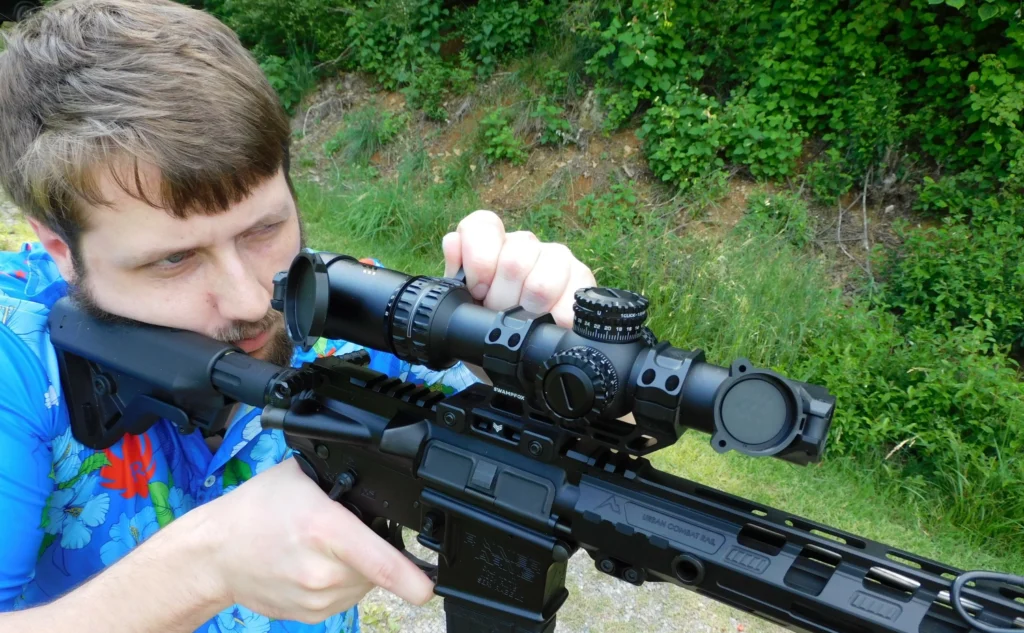
You’ll also need to decide whether you want a First Focal Plane (FFP) or Second Focal Plane (SFP) scope. An FFP scope’s reticle adjustments will be valid at any magnification, giving you greater flexibility and better accuracy potential. An SFP scope’s reticle adjustments are only accurate at full magnification.
This Arrowhead is an SFP scope. It’s great, but I have to understand when I can use those adjustments and when I can’t. FFP scopes cost more than SFP scopes, so that’s a factor.
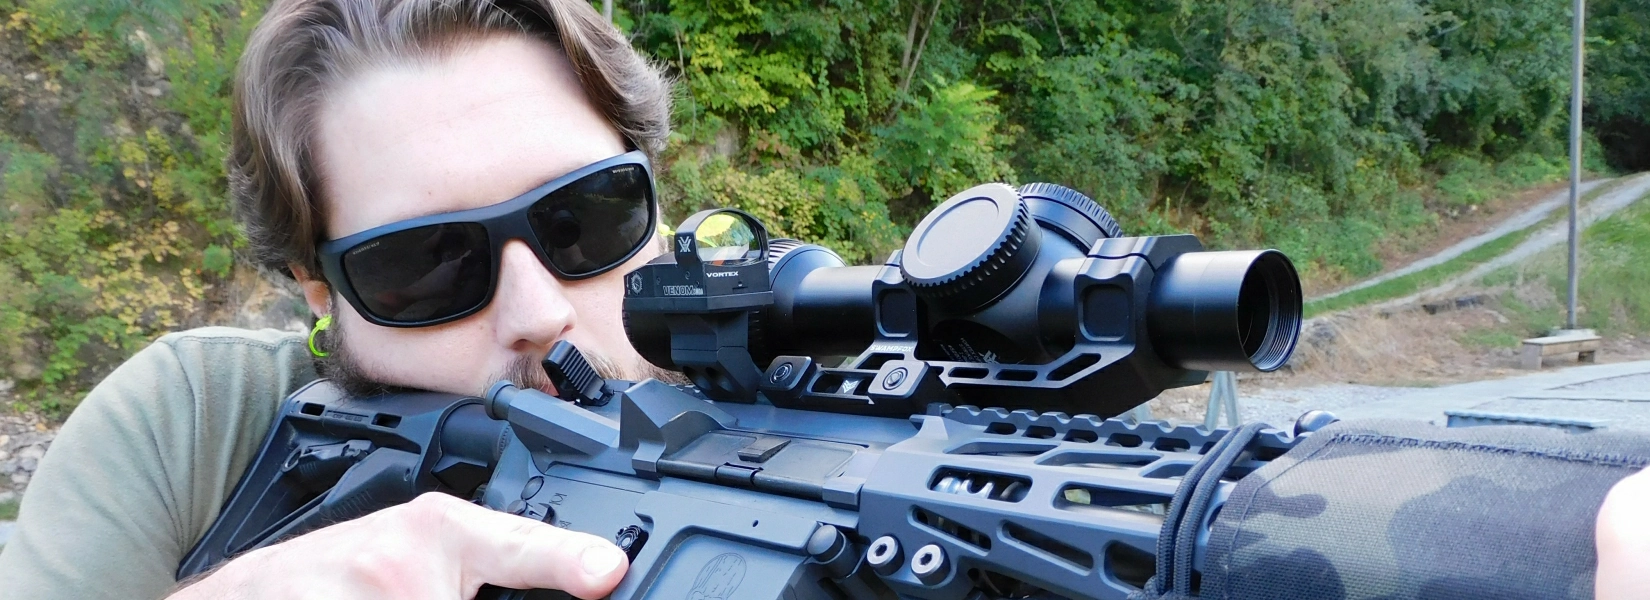
4. LPVO Scope with Offset Red Dot
This setup is designed to provide everything you need using two optics. I use an LPVO, but you can do this with any scope you like. The scope operates according to your needs. But an unmagnified red dot sits at roughly a 45-degree angle, providing quick acquisition capability without worrying about eye relief.
Switching back to the magnified LPVO doesn’t always require operating the throw lever, so this is a fast option, assuming you master the techniques to run it.
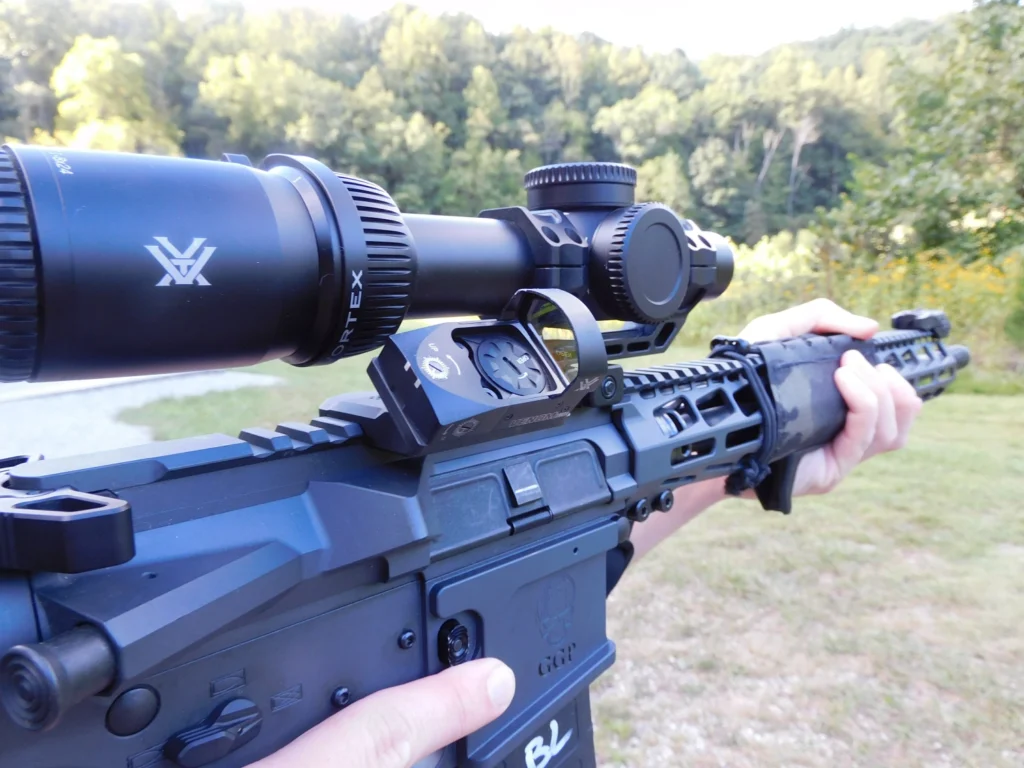
The rifle pictured here has an FFP Vortex Strike Eagle 1-8x LPVO with an offset Vortex Venom red dot. The Venom is outdated and about to be upgraded, but I haven’t done it as of this writing. I’ll be changing it to a Riton Optics Tactix PRD 3.
Switching between the two optics is as simple as rotating my rifle some 45 degrees to the left or right. It’s surprisingly simple, with the hardest thing being acquiring the reticle as it comes into my line of sight. Notice I didn’t say that I move my head. I bring the optic’s reticle into my line of sight by rotating the rifle, not by moving my head.
Again, practice makes it come naturally. I’ll rotate the rifle until my arms get tired. Once that’s done, practice rotating while transitioning to different targets. That requires looking through the reticle to the target. Practice makes perfect.
My personal preference is to leave the LPVO at 3.5x and do my thing. I’ve found that particular magnification to be a good balance between hitting at longer range while also managing eye relief for speed. I still work on operating the throw lever, but the 3.5x is good for almost everything I do with that rifle.

I emphasize horizontal and vertical transitions in my training, switching back and forth from LPVO to red dot. Don’t limit the red dot to short range, nor the LPVO only for longer ranges. You should be proficient with both at any distance. A lot of that can be done with dry fire training by getting used to changing optics while acquiring targets.
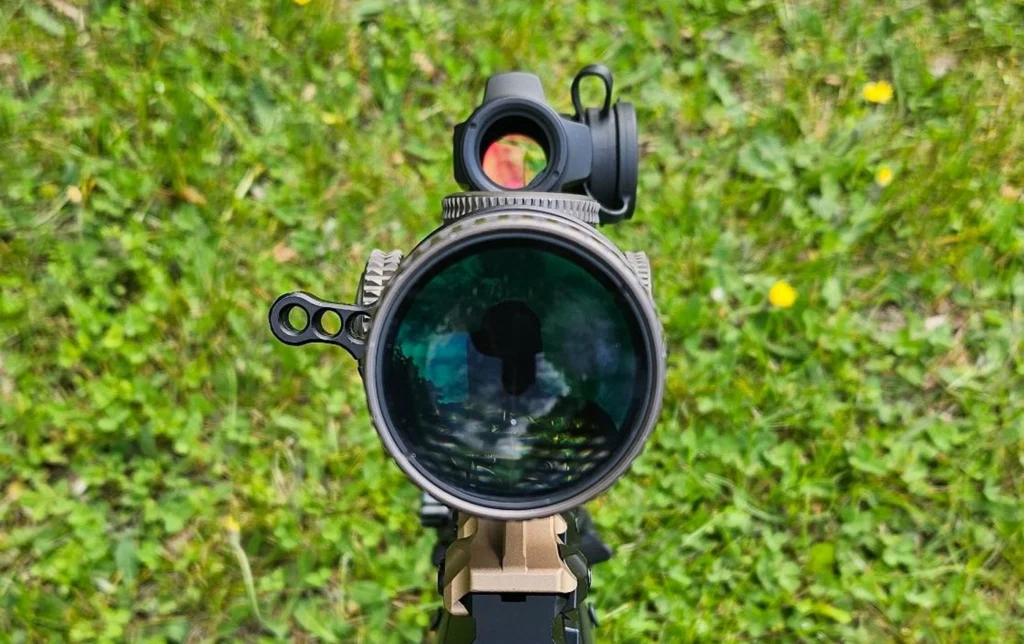
5. Scope with a Top-Mounted Red Dot
This setup operates essentially like the scope with an offset red dot. The difference is that the red dot, in this case, is mounted on top of the scope. Many shooters prefer this since it doesn’t require tilting the rifle. Some also prefer a higher cheek weld, which lends itself very well to this setup.
A downside could be that a throw lever could block, or at least slow down, access to the red dot, thus precluding a quick transition. I don’t run this setup for that reason since I like the throw lever function. You’ll notice that the photos are not of an AR-15. Unlike the others, that isn’t my rifle, and I had to go with what I could get. But they perfectly represent what that setup looks like.

That said, this is a great setup for certain scopes, and it’s been very popular with optics like the Trijicon ACOG. Like the other options discussed here, it’s a personal preference based on your equipment and how you use it.
Do What Works for You
I don’t consider any one of these AR-15 optic setups to necessarily be better than the others. Each has its strengths and weaknesses. Arguments can be made for or against all of them. It comes down to personal preference.
What are you comfortable with? Which one enables you to perform your best? Maybe it’s not one of these at all, but something else you’ve come up with.
Considering your rifle’s role will help you decide. A home defense rifle probably doesn’t need an LPVO. A hunting rifle doesn’t need a red dot. One consideration for a defensive rifle is whether you need long-range capability at all. It’s hard to justify self-defense at 200 yards unless someone is actively shooting at you. It might be sketchy even then. But that’s up to you.
However you use your rifle, there’s an optic setup that will help you maximize your effectiveness. The most important thing is to train with what you have. Any and all of these AR-15 optic setups will do the job so long as you do yours.