I feel like the older I get, the more aware I am that I should be prepared for emergencies. Sure, I have always tried to have some “supplies” on hand, but over the years, I’ve realized how much we take for granted, which causes us to overlook some important necessities. One of these necessities is water storage.
Water is the most critical element for human survival. Our bodies are roughly 60% water, and we can only last a few days without it. Water performs vital functions, from transporting nutrients and removing waste to regulating body temperature.
We grow up understanding that water comes from the faucet when we need it, right? It’s the most important thing we need to survive, and yet the cheapest and easiest to get, at least for most people. But what if something happens and water no longer flows right into our home?
While we’ve touched on emergency preparedness previously, this article will take a closer look at securing your most essential resource: water.
water Storage: How Much do you need?
Identifying reliable water sources is something you should do before an emergency. For those who have a written emergency preparedness plan at home, add a section about water.
You need at least one gallon of water per person per day for drinking, cooking, and basic hygiene. And this is just the minimum. If you want to survive an emergency for more than three days, you will need to store much more water than three gallons per person.
You need at least one gallon of water per person per day for drinking, cooking, and basic hygiene—that’s the minimum. Agencies like FEMA and the Red Cross recommend a three-day supply at minimum, and ideally two weeks’ worth to stay safe. Of course, the exact amount depends on your environment and personal needs.”
My plan is to store enough water so that I will have plenty of time to start collecting, filtering, and purifying water if needed. During an emergency, we never know how long it will last. But better safe than sorry, right?
Water collection, finding your lifeline
There are some obvious and some not-so-obvious ways to collect water. The important thing is to be mindful of your water supplies before and during an emergency. As soon as you know the water supply could be disrupted for an extended time, start collecting from every possible source.
Collecting water from your own home
There are a few places you can collect water right in your own house. These places are a one-time use and need to be collected as soon as possible if you plan to use them. They include:
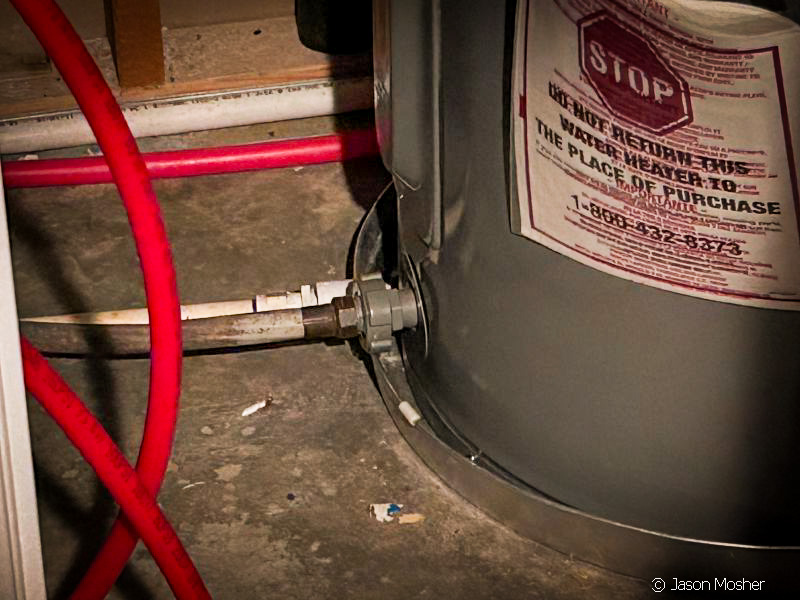
Hot water tank: Your tank holds anywhere from 30-50 gallons, depending on the size of your hot water tank. Simply turn off its gas or electricity and let it cool. Your water heater will have a water valve at the bottom of it. Hook up a hose and bazinga, you have water.
Water lines in your house: All the water lines running to various faucets, tub,s and toilets have water in them. Water from the hot water lines will drain back into your water heater, but you may need to cut a line to drain the water from other lines. If you do this, cut the line at its lowest point and be ready with something to catch the water.
Toilet tank: When most people see this, they scowl at the idea of drinking water from a “toilet.” But don’t worry, the water in the back of your tank is clean except for possible rust from metal parts. Even if you can’t use this water for drinking, it has plenty of other uses besides wasting it on a flush.
Melted ice cubes: Some people keep a lot of ice in their freezer. If you have a feeling that services will be down for an extended time, place the ice in a container so you can use the water from it. If not, it will simply melt in your freezer and possibly leak everywhere.
External sources of water
You can only store so much water in your home, and at some point, finding external sources may be necessary. Depending on where you live, this can be harder for some than others. But here are some ideas to keep in mind.
Rainwater harvesting: It doesn’t have to be a heavy downpour to collect water from rain. Set up rain barrels, cisterns, or even clean trash cans to collect water and precipitation from gutters. Cover containers with fine mesh to keep out debris.
This does take some pre-planning to make sure you have clean barrels and a roll of screen on hand. You would be surprised at how much water comes through the guttering of your home. As the barrels collect water, remove it for filtration, purification, and storage (which we will discuss next).

Wells: If you are lucky enough to have a well on your property, make sure you have a good handpump so you can use it when the power is out. A generator can also keep your electric pump working, but then you will be burning through gas.
Outdoor storage tanks: If you have enough land and a place to put it, a large outdoor water tank is another great option for water storage. Even if its primary purpose is for animals, it will come in handy during an emergency.
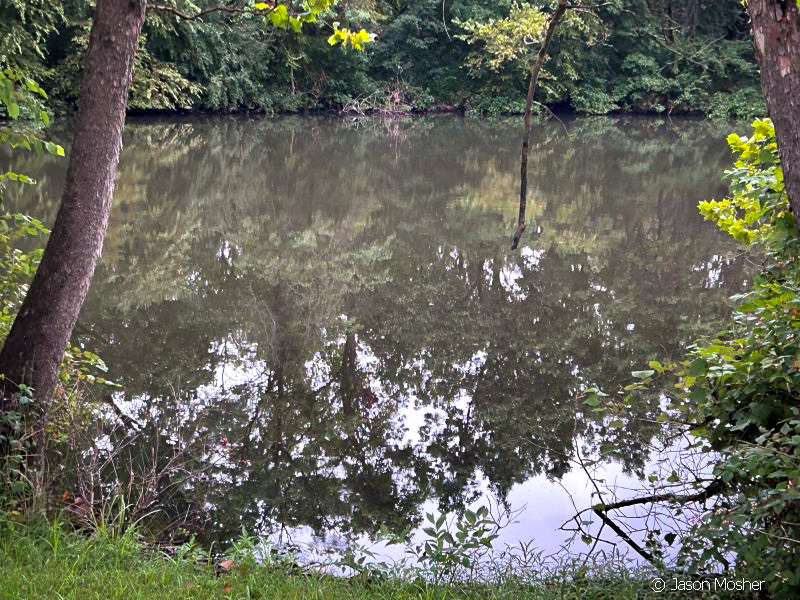
Natural sources: There are plenty of natural sources of water, but keep in mind, everyone else may be using them too. Emergencies and shortages of food and water tend to bring out the worst in people. Just look at how people responded to not having toilet paper… Think about how they would act if they were starving or in need of water.
The best plan is to travel as little as possible and know exactly where and how you will collect water from natural sources. Natural sources of water include:
- Streams, rivers, lakes, and ponds
- Snow and ice (during the winter months)
- Morning dew (drag a clean cloth over the grass or leaves early in the morning and then wring it out in a container.
Collected water should be filtered and purified as soon as possible and placed in food-grade containers for storage.
Water Filtration and Purification
When turning contaminated water into drinking water, it’s important to first understand the difference between filtration and purification.
Filtration removes larger particles, sediment, and some chemicals using physical barriers, like filters.
Purification is the process of eliminating microscopic threats like bacteria, viruses, and protozoa. Both steps are important when making water safe to drink.
Filtration
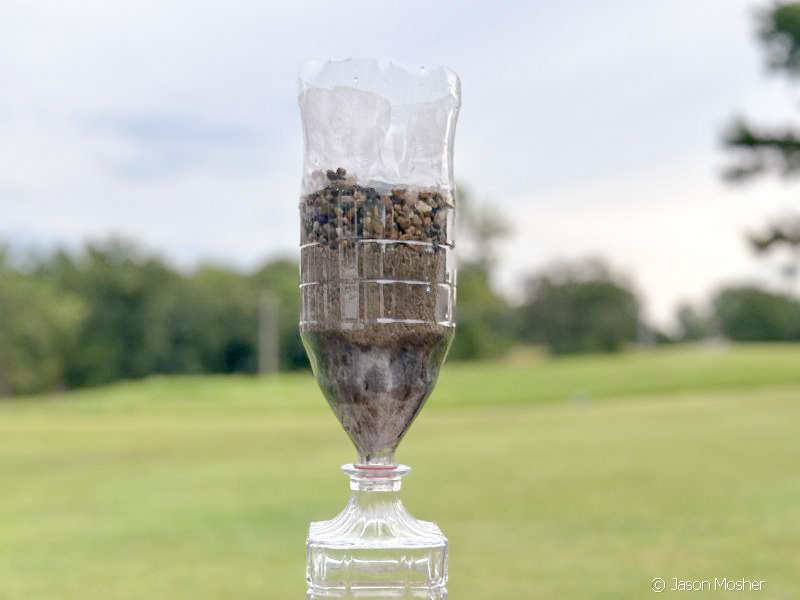
For basic filtration, you can improvise with materials like coffee filters, clean cloth, etc. You can make your own filter at home by doing the following:
- Cut the bottom of a 2-liter pop bottle off and turn it upside down. Use another bottle or glass jar to collect the water.
- Place a coffee filter in first, followed by activated charcoal.
- Next, add a layer of sand followed by another coffee filter.
- After that, add a layer of gravel and place one more coffee filter on top.
When using activated charcoal specifically, your filter can also work as an emergency purifier. The water will take a while to process (like a drip at a time), but it should be clean enough to drink in an emergency.
The best way to filter water is to have a family-sized water filter as part of your preparedness plan. Brands like Berkey, AquaTru, Waterdrop King Tank, Alexapure Pro, and ProOne are popular for emergency preparedness. These systems typically use advanced filters, often ceramic or carbon-based, to remove a wide range of contaminants, including pathogens.
Many of the commercial systems will both filter and purify your water. But if you are filtering water with a coffee filter or cloth, here are some ways to purify the water after.
Purification
We already mentioned the charcoal filter system. But you can also purify water by boiling it. Bring the water to a rolling boil for at least one minute (three minutes at altitudes above 5,000 feet) to kill most disease-causing organisms.
Solar Water Disinfection (SODIS) involves placing clear plastic bottles of water in direct sunlight for six hours (or two days on cloudy days). The UV rays and heat inactivate pathogens in the water.
Unscented household chlorine bleach can also be used to purify water and store it. For 6% sodium hypochlorite bleach, add eight drops per gallon of clear water. For 8.25% bleach, use six drops per gallon. Double the dosage for cloudy or very cold water. Stir the water and let it sit for 30 minutes. If you smell a slight chlorine odor, it should be working. If the smell is too strong, you can aerate it by pouring the water between clean containers.
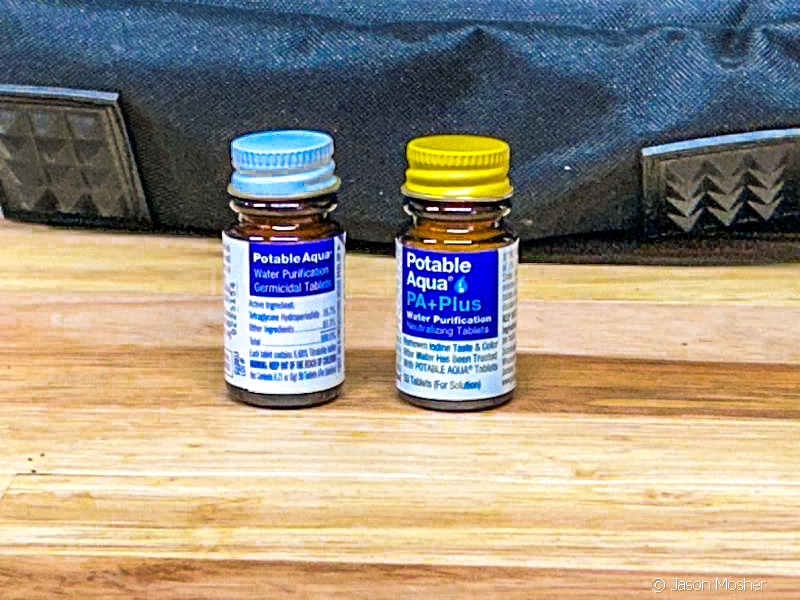
Iodine tablets or granular calcium hypochlorite are other chemical purification alternatives. These, however, should be used as a last resort. I prefer to purify water using commercial filters or the sun before I resort to using chemicals.
Water storage, preserving your preparedness
Once water is collected, filtered, and purified, you will need to store it properly. If you do not, it could become contaminated again.
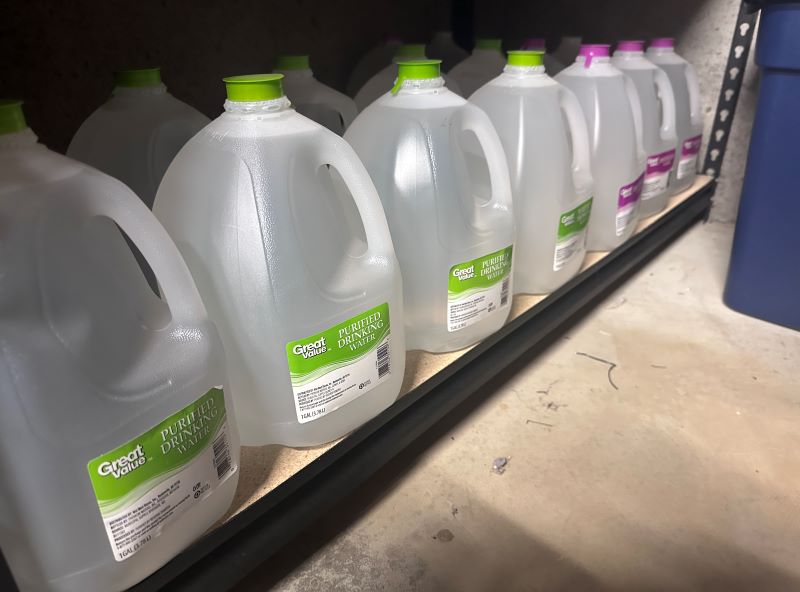
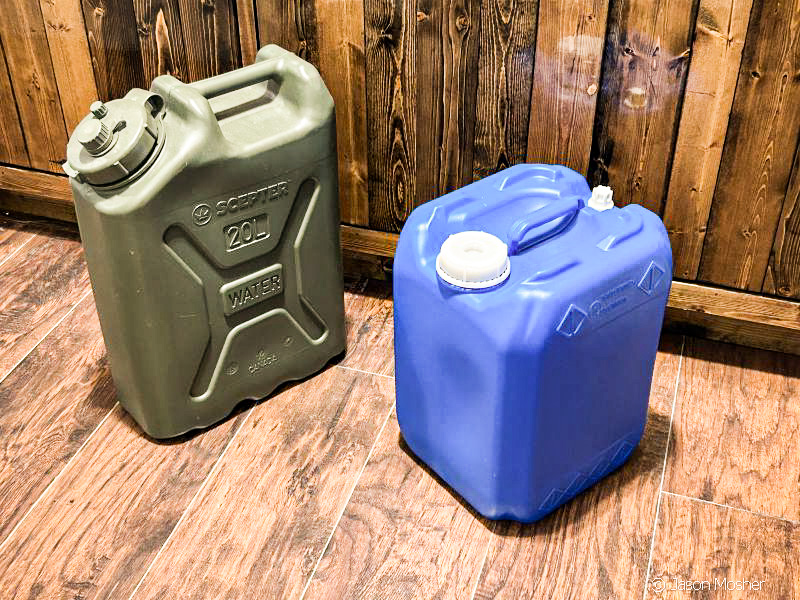
Always use clean, food-grade containers specifically designed for water storage. High-density polyethylene (HDPE, often marked with a #2 recycling symbol) plastic, stainless steel, and glass are excellent choices as they won’t leach harmful chemicals into the water.
Make sure all your storage containers have airtight seals to prevent air, dust, and bacteria from getting in.
For long-term storage, you can add unscented household chlorine bleach. Use approximately one teaspoon of 5.25% sodium hypochlorite bleach per five gallons of water.
If you’re using 4-6% bleach, use 4-5 drops per gallon, and for 8.25% bleach, use 6-8 drops per gallon. This maintains water quality by preventing microbial growth.
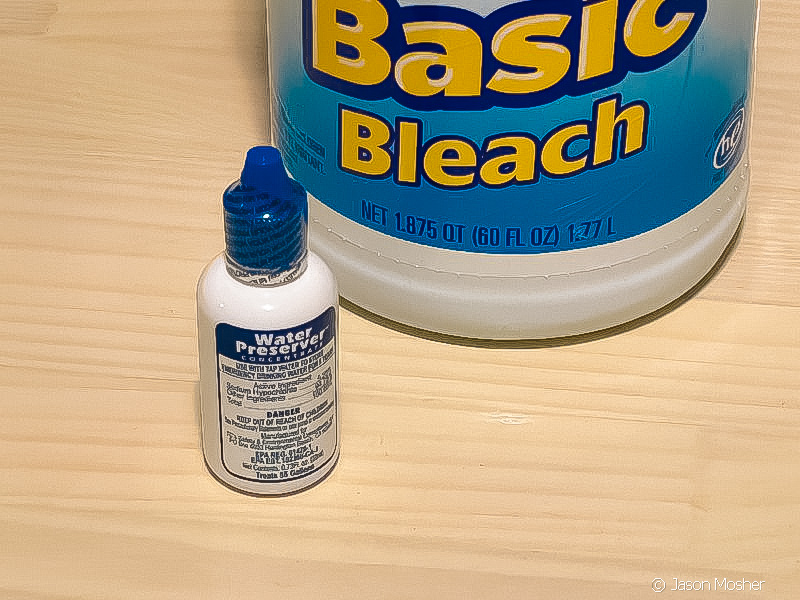
Commercial water preservation chemicals, like Water Preserver Concentrate or H20 ResQ, can extend water’s shelf life to five years or more. Just follow the instructions on the bottle when using it.
Store your water containers in a cool, dark, and dry location (just like ammo). This should ideally be between 50-70°F. Keep them away from direct sunlight, which can degrade plastic and promote algae growth. Also, make sure they are far from strong-smelling substances such as gasoline, pesticides, or cleaning supplies.
Label each container with the contents and date of storage. Regularly rotate your stored water, replacing it every six months to two years, or according to the lifespan of any preservation chemicals used.
Stock up on water before you need it
Storing water isn’t something we think about until we need it. When it becomes scarce, it’s just about the most important resource for human life.
We hope there will never be an emergency that requires us to use most of these methods. But it’s much better to spend a little time and money now than to be sorry later. Life is uncertain, and food and water should be something we all store, at least a small quantity of. So, start today and be ready for tomorrow.