Colonel Jeff Cooper is a legend in the world of firearms and firearms training. His Modern Technique laid the groundwork for contemporary handgun shooting, and he became a leading advocate for defensive pistol training for the average person. His school, Gunsite Academy, continues to operate today.
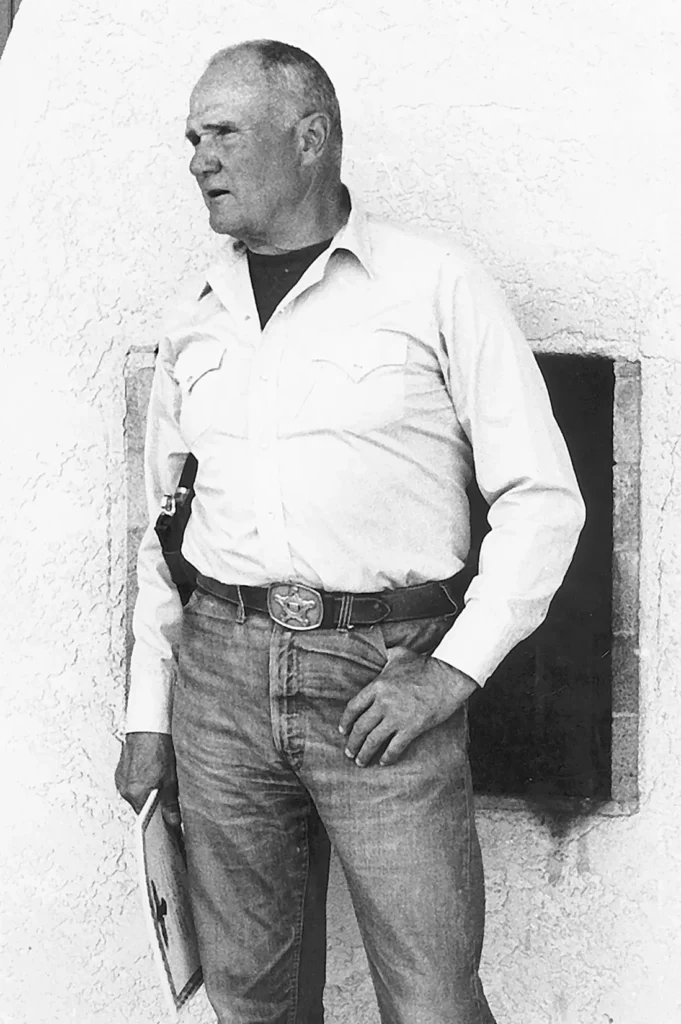
Colonel Cooper had a fascinating life, including service in the United States Marine Corps during WWII and the Korean War. He was a founding member of modern action shooting sports and helped create numerous firearm concepts and calibers. Throughout his career, he developed several practical shooting drills based on lessons learned from real-life violent scenarios.
Those drills are still a staple of his training philosophy. Today, we’ll examine three classic drills created by Jeff Cooper.
El Presidente
Jeff Cooper often trained police and military forces in the art of the handgun. He created the El Presidente drill while under contract to train a personal security detail in a South American country. He later released the drill to the public in the 1970s via American Handgunner magazine.
This drill is arguably Colonel Cooper’s most famous practical firearms training contribution. The United States Practical Shooting Association (USPSA) still uses El Presidente as a classifier to measure a shooter’s skill—a testament to its enduring relevance.
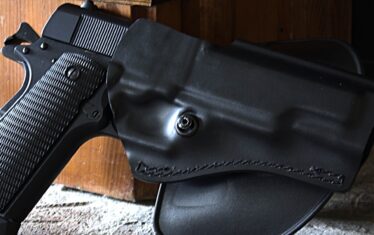
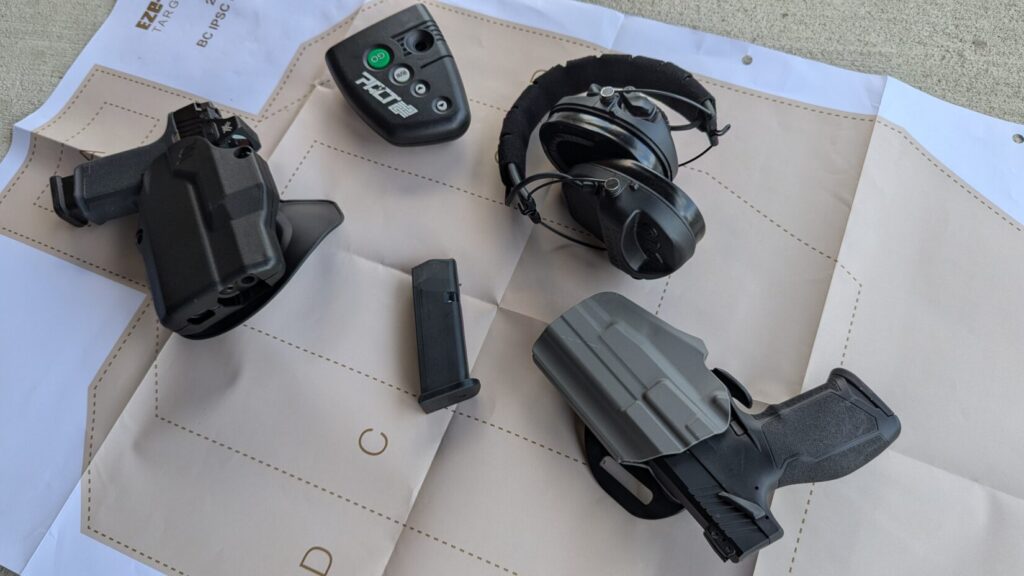
What you’ll need: a holster, a handgun, and 12 rounds per run (revolver or a semi-auto). Three targets — typically IDPA or IPSC-style — are used for scoring. You’ll also need a spare magazine or speed loader and a way to carry the reload. A shot timer is highly recommended to track your progress.
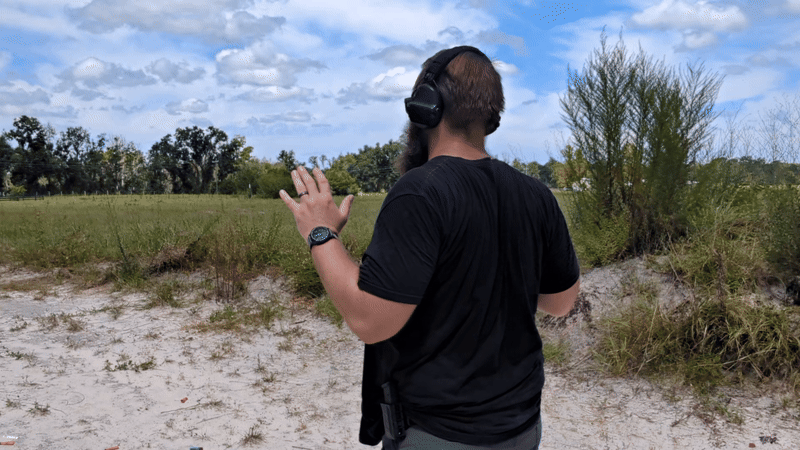
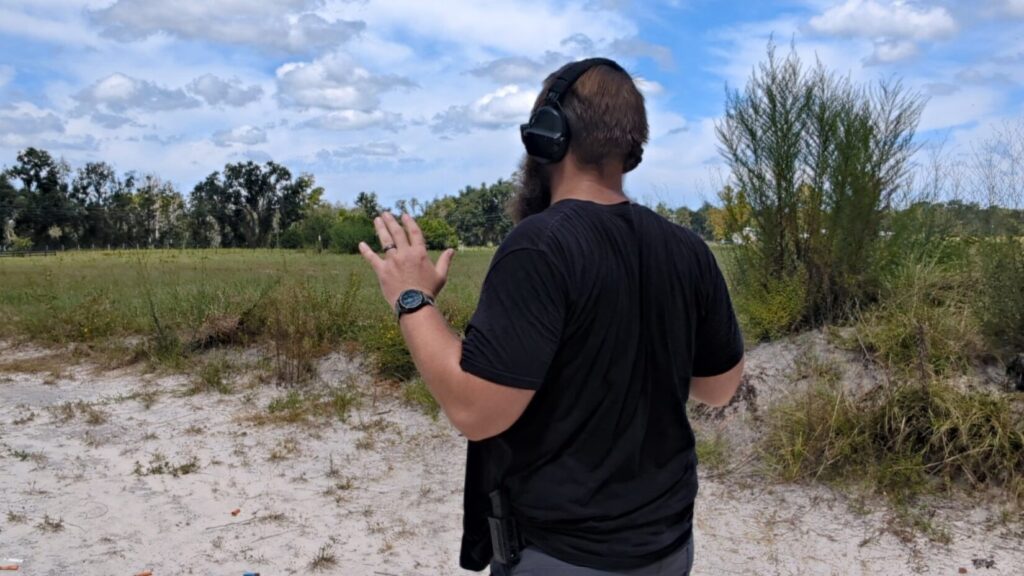
How to shoot it: Set up three targets, one yard apart from each other laterally, and 10 yards away from the shooter. The shooter begins with their gun holstered and their back to the targets, often with their hands in the surrender position.
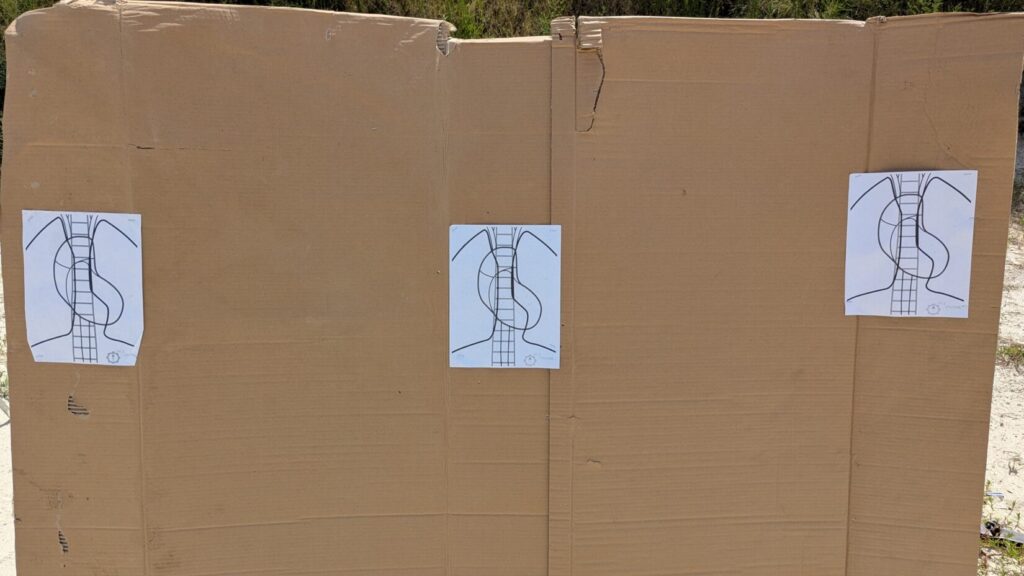
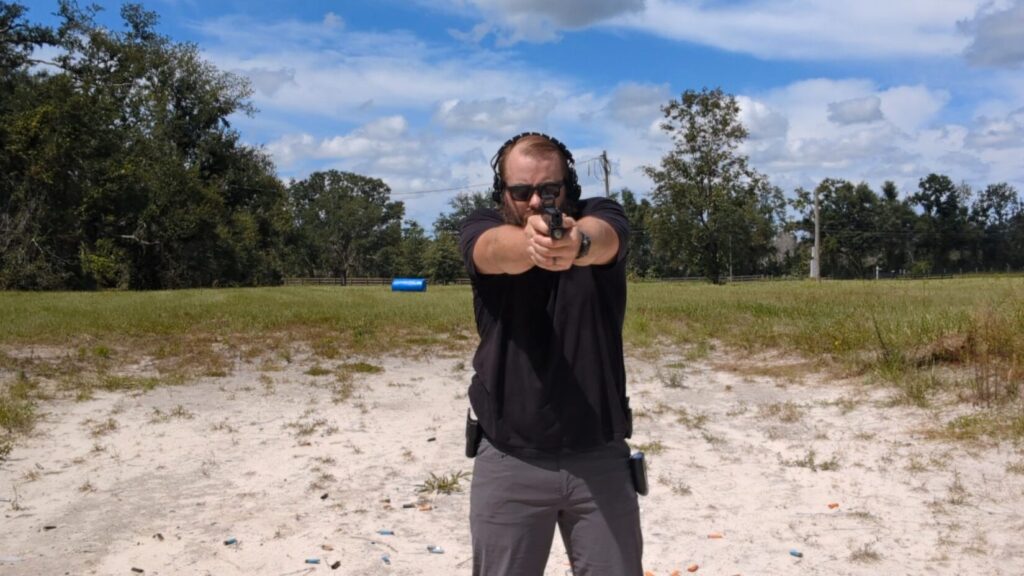
At the signal, the shooter turns, draws, and fires two shots to the chest of each target (six rounds). After a reload, the shooter fires two more shots at each target for a total of 12 rounds.
The standard goal is to complete everything in 10 seconds or less. Many modern shooters have pushed the time down to under five seconds.
For the full breakdown of the El Presidente Drill, read this.
Dozier Drill
The Dozier Drill was developed after the December 1981 kidnapping of U.S. Army General James Dozier by the Italian Red Brigades. In the actual incident, five terrorists posing as plumbers entered Dozier’s home; while one read a political statement, another retrieved and assembled a submachine gun from a tool bag.
Colonel Jeff Cooper studied the event and designed the drill to simulate that close-quarters, multiple-attacker scenario—testing how rapidly a shooter can draw, acquire multiple nearby targets, and deliver accurate shots before an opponent can assemble and ready a weapon.
What you’ll need: The Dozier Drill can be logistically complicated. It was originally designed for five Pepper Popper steel targets, but you can substitute IPSC-sized A-zones. You’ll need five rounds per run and a holster.
How to shoot it: Set five targets at varying distances from seven to 10 yards, spaced about a foot apart. The shooter starts with the gun holstered and their back to the targets.
At the signal, the shooter turns, draws, and fires one shot at each of the five targets. If a partner is being used, they will begin to assemble their pistol at the same time. The goal is for the shooter to finish before the partner can assemble their gun. The five-second par time for the solo version is tough but achievable.
Failure to Stop Drill (Mozambique Drill)
The Failure to Stop Drill, also known as the Mozambique Drill, is a simple and highly practical drill with a storied origin. It comes from a story told to Cooper by mercenary Mike Rousseau, who was fighting on an airfield in Africa when he rounded a corner and encountered an enemy.
He fired two rounds into the man’s chest with his Browning Hi-Power, but the fighter failed to stop. Rousseau then fired a third, well-aimed shot to the head, which neutralized the attacker. Cooper heard the story, recognized the drill’s practicality, and adapted it into his Modern Technique.
The drill is still widely taught and advocated, especially with the increased prevalence of body armor. Its usefulness has made it a staple in Marine and soldier training.
What you’ll need: This drill is endlessly customizable and adaptable to different platforms, including a handgun, rifle, or shotgun. However, it was originally designed for a handgun, so we’ll focus on that.
You’ll need a mere three rounds per run, a handgun, and a target with a head and chest area. You can and should add a shot timer, and starting from a holster allows you to practice your draw with every run.
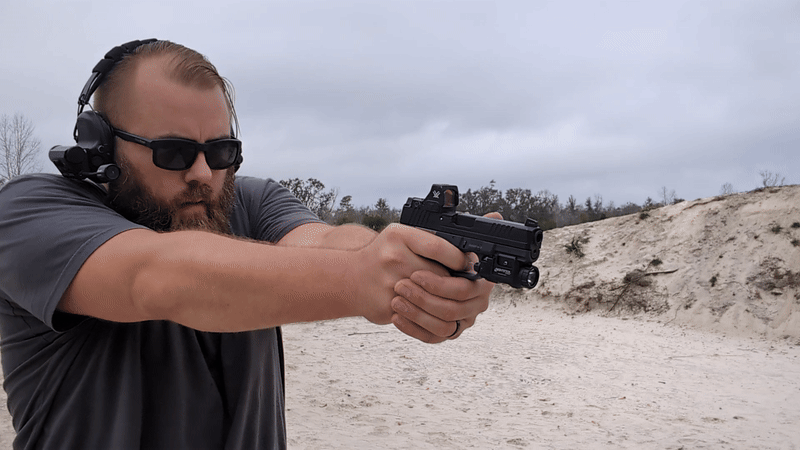
How to shoot it: At the signal, fire two rounds to the target’s chest and one well-aimed headshot. You can start from a holster for an added challenge.
While there isn’t a dedicated par time, a good goal is around 1.5 seconds without a draw and an additional second if you start from the holster. For a greater challenge, use a smaller target for the headshot, like a 3×5 index card.
For the full breakdown of the failure to stop drill, read this.
Colonel Cooper and His Drills
Jeff Cooper is a pillar of modern tactical shooting. He helped popularize realistic training that moved away from shooting bull’s-eyes and toward shooting to stop a threat. His contributions are still felt to this day.
His drills are just a small part of his legacy, but they are a part we can directly experience and enjoy. Give them a try and watch your skills grow.