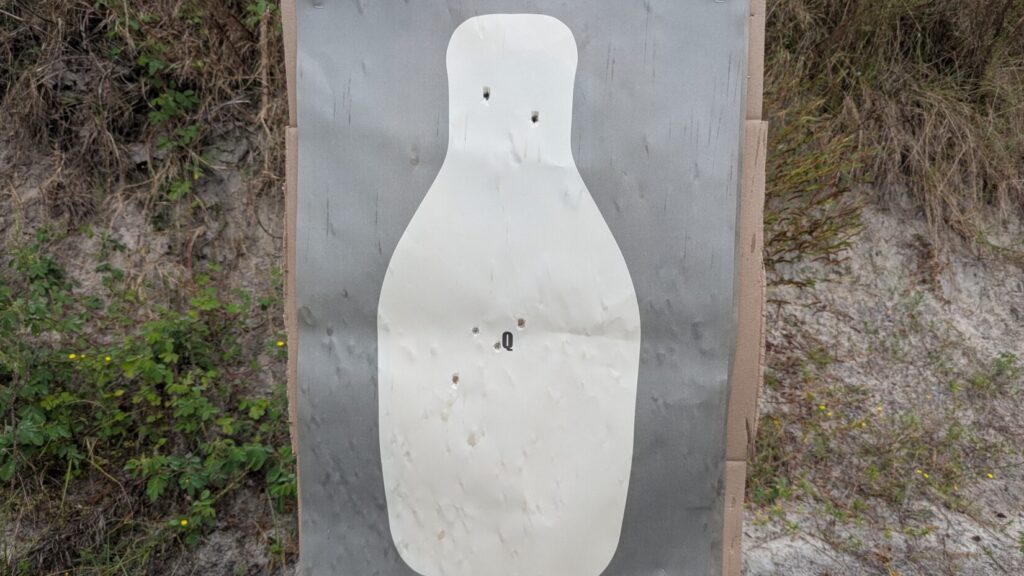
The Failure to Stop drill is, without a doubt, the most common defensive firearms drill. “Two to the body, one to the head” is legendary enough to have become a meme. It’s taught to police, military members, and civilian concealed carriers due to its simplicity and efficacy.
Five Adaptations of the Failure to Stop Drill
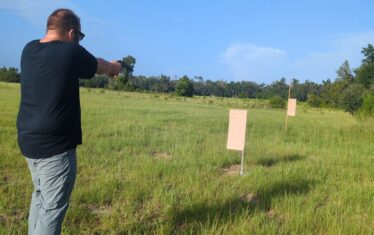
The drill only requires one target and three rounds to complete. This makes it easy to shoot, but also easy to adapt. Today, we are going to take the Failure to Stop Drill, throw it in a blender, and adapt it to meet various other situations, to work on additional skills, and to improve your training.
1. Pelvic Girdle Alternative
I learned this Failure to Stop adaptation from the Marine Corps. They are big fans of pelvic girdle shots. The pelvic girdle, or crotch, contains the pelvis bone, which is massive and critical to movement.
The Adaptation
At the beep, you draw and shoot two rounds to the chest, then fire one shot to the pelvic girdle. Maintain your aim on the pelvic girdle and fire follow-on shots if necessary.
Pelvic Girdle Breakdown
The pelvic girdle will not deliver a CNS stop to the threat like a headshot. In fact, it’s less effective than just shooting the chest repeatedly, so why would we practice shots to the pelvic girdle?
The Marine Corps taught me that shots to the pelvic girdle were ideal when a threat is wearing body armor and a head shot is not possible. A headshot might not be acceptable due to the environment. The head is a small target that can be easy to miss.
If you are in an environment where a missed shot poses an increased risk of hitting an innocent person, a pelvic girdle shot can be beneficial. The pelvic girdle is larger and easier to hit, and can effectively neutralize the maneuverability of a threat. If you do miss, the shot is traveling at a downward angle and will hit the dirt, lowering the risk of hurting other people.
This drill works best with a rifle or shotgun. Handguns are less likely to break the pelvic girdle with a single shot, which will call for follow-on shots to stop mobility.
2. Box Drill
This is another Failure to Stop adaptation that I’m borrowing from the Marine Corps and from the film Collateral. The Box Drill requires us to engage two targets with three rounds each. It keeps the core purpose of the Failure to Stop drill, but forces you to engage two threats.
The Adaptation
Position two targets side by side. Feel free to experiment with both right and left boundaries and the depth of targets to create an additional challenge. The shooter needs to have at least six rounds per run.
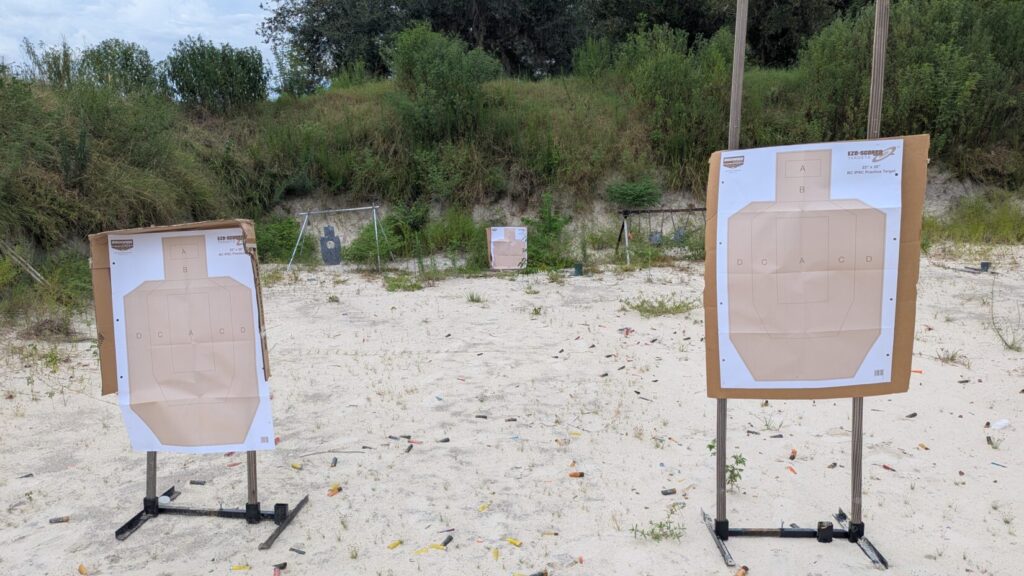
At the signal, the shooter will engage one target with two shots to the chest, transition to the second target, and fire two shots to the chest. Remain on the second target and transition to a headshot. The shooter then re-engages the first target with a shot to the head to end the drill.
Box Drill Breakdown
This drill forces you to shoot quickly against two threats and to create an efficient way to effectively stop two threats. The Box Drill allows us to get immediate lead on both targets, hopefully slowing them and buying valuable time to establish that CNS stop on both threats.
You can take any adaptation of the Failure to Stop drill and add two targets to make it a Box Drill adaptation.
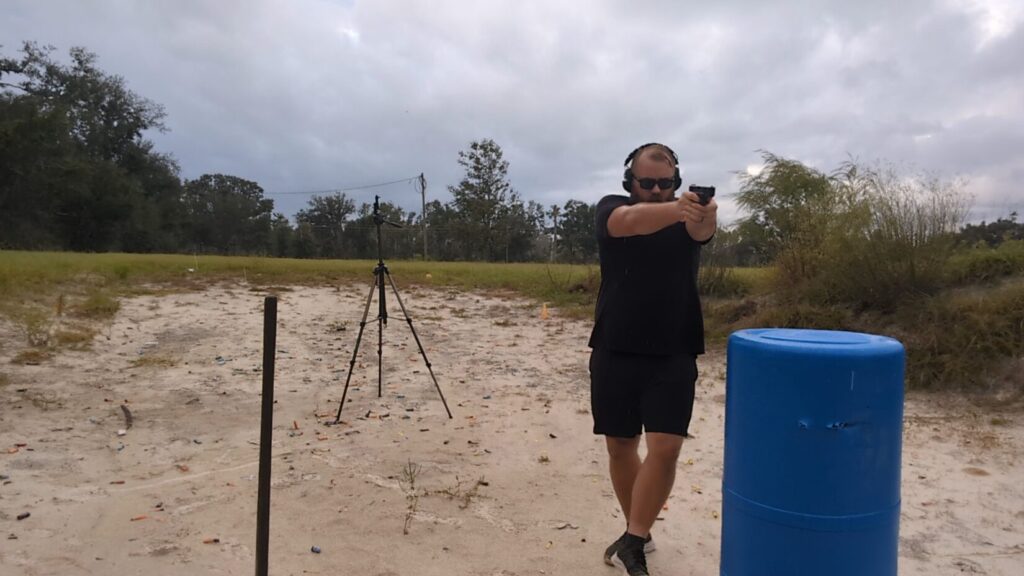
3. Moving Failure to Stop
I’m mixing the Failure to Stop drill with an idea I got from a Mike Seeklander drill. This adaptation makes us move while we shoot. Movement in defensive scenarios is both typical and important.
The Adaptation
You’ll need two obstacles to move around, set side by side about a yard apart. You can use two barrels, two target stands, or heck, stick two shovels in the dirt. These will be obstacles you move around while shooting.
The shooter will stand centered between the two obstacles, then begin to walk in a figure eight around the obstacles. While walking, hit the shot timer and, at the beep, start firing the drill while moving. Maintain your muzzle discipline and situational awareness as you move.
A traditional Failure to Stop drill is three rounds, but it’s a little tougher while moving. If you miss any of your shots, or they land outside of the chest and head zone of the target, keep shooting and moving until you make effective hits.
Moving Failure to Stop Breakdown
Start the drill moving slowly. Don’t rush it. Moving and shooting takes skill, and skill takes time and practice to build.
Being able to move means resetting a threat’s OODA loop and buying some time to react. The threat now has to react to you instead of you reacting to them. Movement can be vital in a defensive situation, so it’s good to move and shoot when you can.
Moving and shooting a Failure to Stop drill calls for specific accuracy standards and forces you to find the right balance of movement and accuracy.
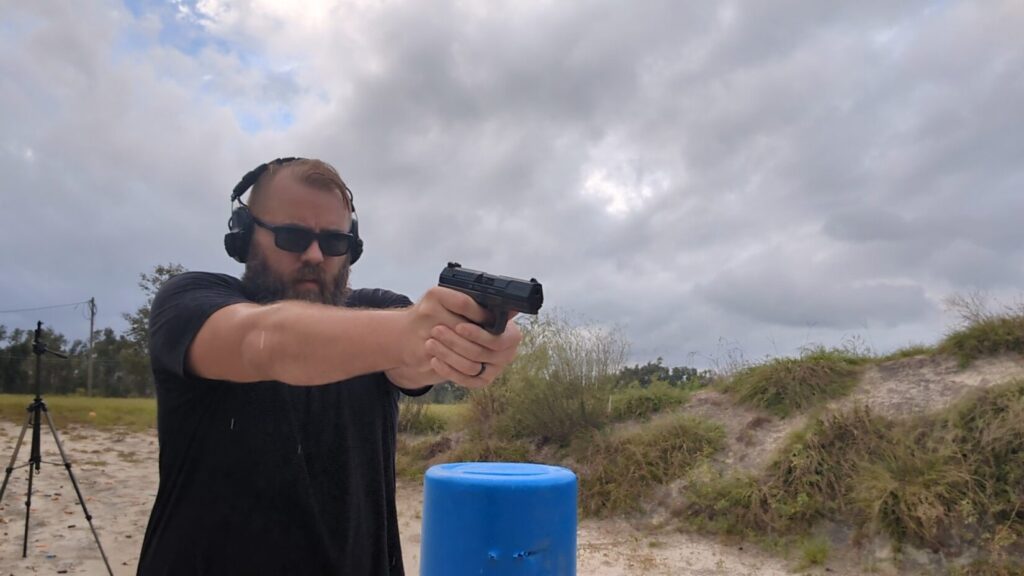
4. Failure to Stop From Cover
Cover is like that blanket you had when you were a toddler: it protects you! If you have the ability and opportunity to use cover, you absolutely should take advantage of it. In this Failure to Stop adaptation, we are going to introduce the use of cover.
The Adaptation
We need something to act as cover. I’m using a blue barrel, but you can use a VTAC-style barrier, or even a cardboard box if that’s all you have. It just needs to represent cover and give you the challenge of shooting around cover.
You’ll start outside of cover. Shooters can mix this up with lateral and forward or reverse positions. You might as well train from multiple directions to get used to finding and using cover.
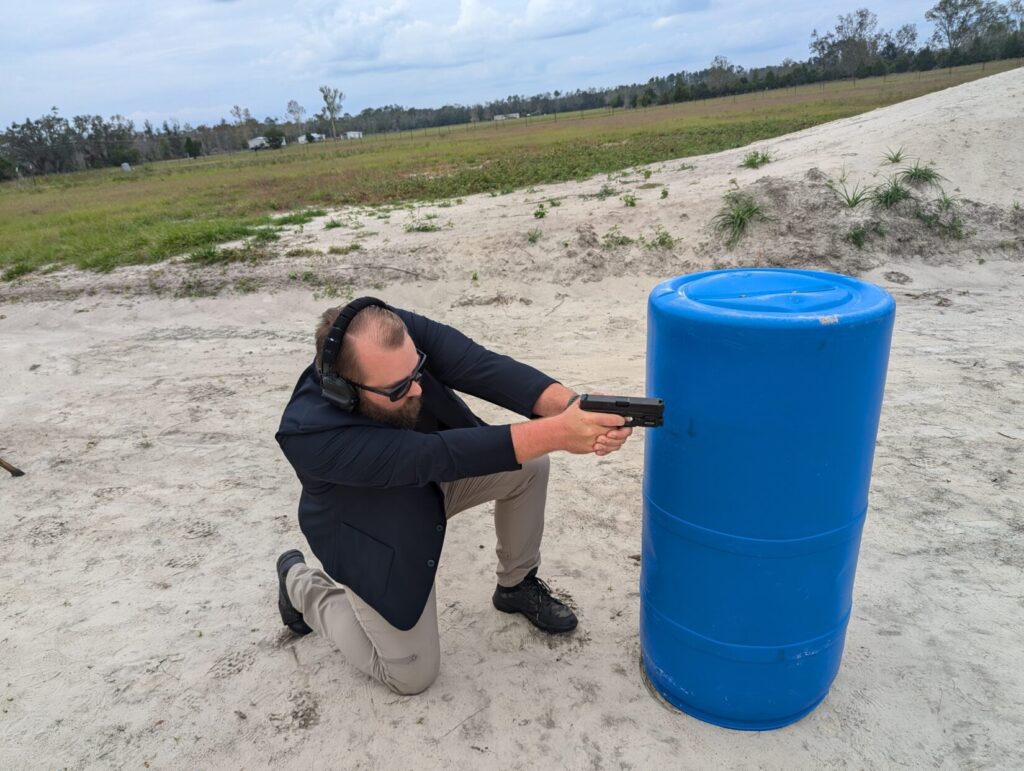
At the signal, seek cover and then engage the threat properly using cover. Fire two rounds into the chest and one well-placed headshot.
Failure to Stop From Cover Breakdown
Properly using cover means using as much of it as possible while engaging the threat. This means don’t crowd cover; make sure to give it room—about one arm’s length. Hugging cover too closely makes it tough to stay behind cover as much as possible while engaging the threat.
Using cover is critical to survival, and being able to effectively engage while using cover is a critical skill to learn. I recommend practicing this drill from as many angles as possible: from each side of cover, from over the top, and beyond.
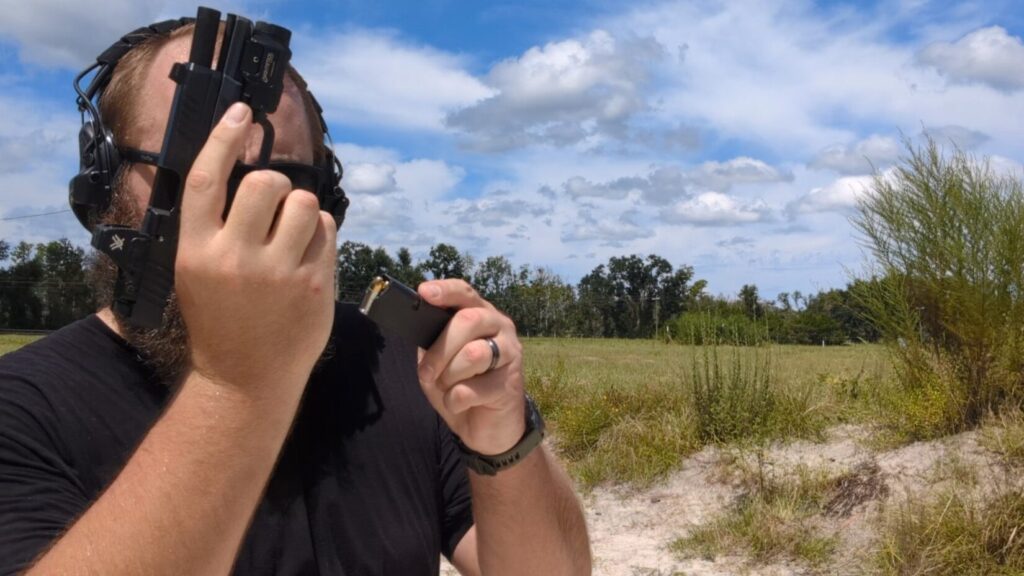
5. Failure to Reload
I bet you can predict what’s coming. We are going to mix in an emergency reload with a Failure to Stop drill. You’ll need two magazines: one loaded with two rounds and one loaded with a single round. Feel free to alternate which one you load first to keep things interesting.
The Adaptation
We are sticking a big, fat reload right in the middle of our Failure to Stop drill. This means you’ll need a magazine pouch to carry your spare mag. As mentioned, load whichever mag you prefer.
At the beep, shoot until your magazine is empty, reload, and complete the drill. You might shoot two rounds, then reload, or a single round and then reload. Doing both has value.
Feel free to mix this Failure to Stop adaptation with other adaptations to get ultra-adaptive. If you do this with the Box Drill, bring more ammo.
Failure to Reload Breakdown
If you are face-to-face with a threat and have to reload, you’ve entered a critical situation. You are face-to-face with the threat, probably able to smell his breath. That means you need to reload quickly or seek another means of attack.
Being able to quickly and efficiently reload is a very important skill to learn. Doing it under stress is even more valuable. Using a timer and having to reload randomly in the middle of a drill is a great way to build this skill.
Failure to Adapt
The Failure to Stop is a legendary drill. It’s been used by SWAT teams, military forces, and more to train shooters to not only be accurate and faster, but to replicate real-world skills.
It’s also nearly endlessly adaptable to various platforms, distances, and even completely rewritten as we did today. Give a few of our adaptations a spin and turn your Failure to Stop drill into a success.