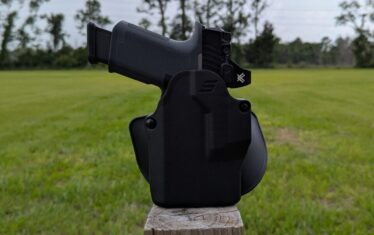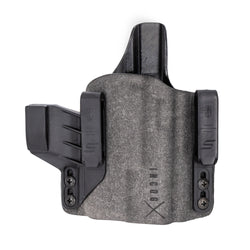


Setting shooting goals and having a solid training plan are key to improving your marksmanship skills. Each month, we bring you a skill builder exercise designed to be as indoor range-friendly as possible. This month, we’re focusing on drawing from the duty holster or outside the waistband holster.
May Skill Builder: Draw From the Holster
When practicing my draw, I include reps with my hands above and below the waist. Head out to the range and complete 10 draws with your hands above the waist, firing a single shot each time. Then, repeat with 10 draws from a hands-below-the-waist position. Skip the warm-up—just run the drill cold.
Record your time, marksmanship, target type, and distance in The Firearms Training Notebook. Don’t forget to use the notes section to capture anything you learned during the session—for example, a poor grip on the draw.
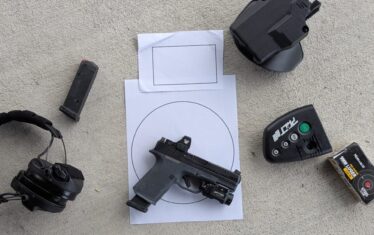
Equipment Needed
- Your normal range and firearms equipment
- Live Fire Range
- Dry Fire Training Area
- Shot Timer, we recommend the PACT Club Timer III. Click the link to learn how to use a timer effectively in your marksmanship training.
- The Firearms Training Notebook – available on Amazon
- Recording device and tripod or holder
- 3×5 and 4×6 index cards (Your Targets)
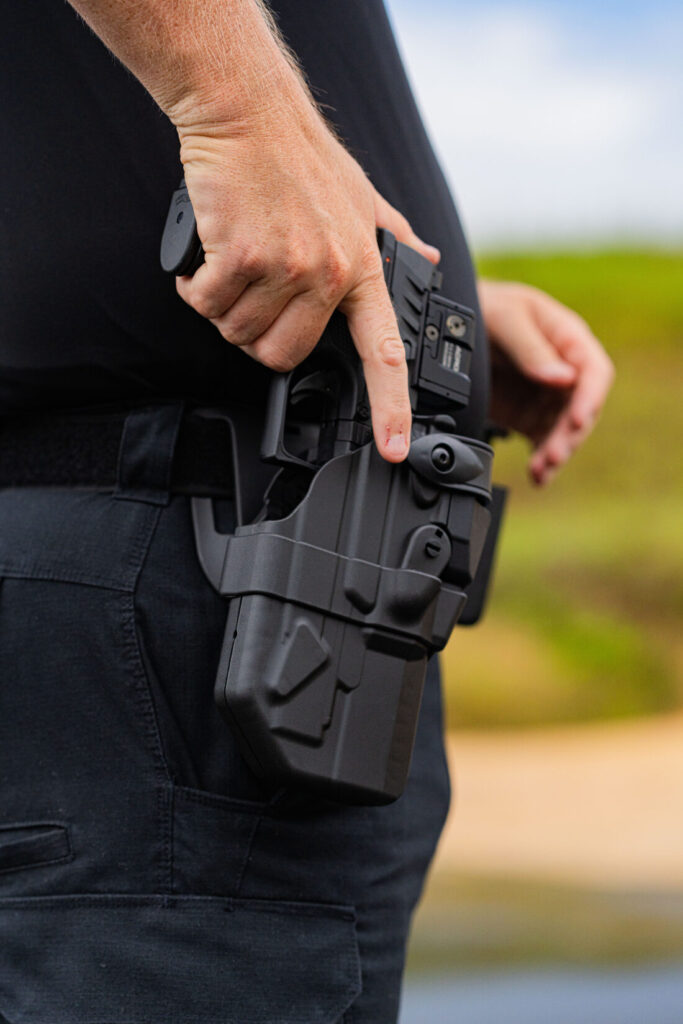
Draw Progression With A Level 3 Retention Holster
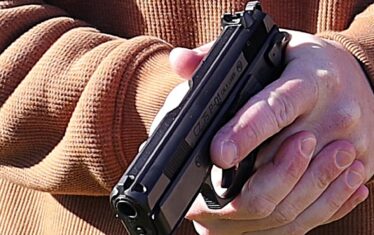
I start my progression with the hood forward, establishing a solid grip on the pistol and placing my thumb on the ALS. Once I’m comfortable with just the ALS, I will roll the hood back into position. From there, I continue practicing with a good grip, thumb on the holster hood, and work both retention devices as I draw.
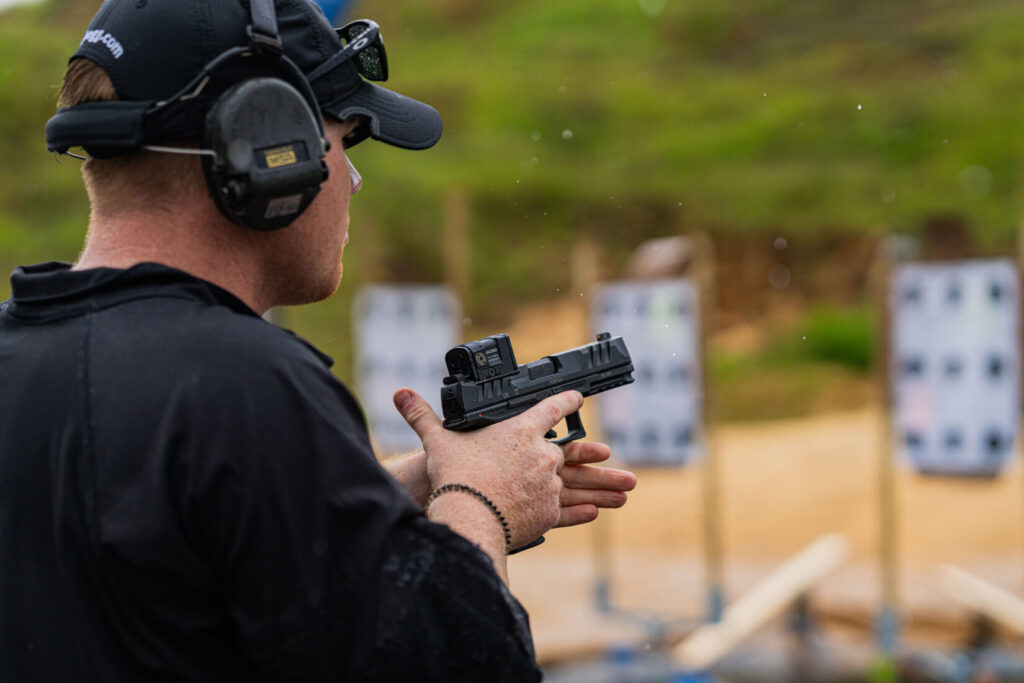
The Draw From The Holster Hands Above The Waist Mechanics
Start with your hands above your waist. On the first note of the shot timer, rapidly move both hands. The firing hand goes to the pistol, while the support hand moves to the centerline of your body, palm open and ready to receive the pistol.
Use the web between your thumb and index finger as a reference point to make solid contact with the pistol’s beavertail and establish a good grip. If you miss the beavertail, drive your hand forward until you make proper contact and secure your grip.
Once you have a solid grip, use your thumb to push the hood forward, pull the ALS back, and draw the pistol from the holster. As the pistol clears the holster, orient the muzzle horizontally and bring your support hand in to build your two-handed grip near your ready position. The ready position is a reference point, not a pause point.
From there, continue your presentation out to the target and press the trigger. Remember, don’t be in a rush to get the pistol back in the holster; get that good follow-through and recovery.
Above The Waist Variation
Instead of driving your hand straight down to the holster, you can use a “J-hook” draw. Your firing hand moves slightly past the holster, then makes a hooking “J” motion—similar to a draw from below the waist. Some shooters find this technique helps them establish a more positive grip on the pistol.
The Draw From The Holster Hands Below The Waist Mechanics
Start with your hands below your waist. On the first note of the shot timer, rapidly move both hands. The firing hand moves up to the holster, while the support hand moves to the centerline of your body, palm open to receive the pistol. Use your firing hand finger as a guide, sliding up the side of the holster to get your grip.
Once you have a good grip on the pistol, release the retention devices and complete the draw using the same technique as the above-the-waist method. Most shooters find that drawing from below the waist can feel “easier,” as using the holster as a guide often results in a more consistent grip on the pistol.
Reholstering
In my opinion, there is no rush to get the pistol back in the holster. When reholstering, look at your holster and reverse your draw sequence, ensuring your finger is off the trigger.
As the pistol goes into the holster, I place my thumb on the rear of the slide to ensure I don’t accidentally bump my pistol out of battery. Then I reset my hood to be ready for the next draw from the holster.
Making Your Dry Fire Plan
Take your 10 draws from the holster—hands above the waist and hands below—and calculate your average time. Open a new page in The Firearms Training Notebook and title it “Draw From the Holster.” Using your average time, add between 0.25 and 0.50 seconds to set your initial par time.
As you begin making consistent dry trigger presses with sights on target at or below that par time, start gradually lowering it by 0.05 to 0.10 seconds. The goal is to continue reducing your time until you reach your personal performance threshold. Remember, don’t get caught up in comparing your times to others—this is your firearms journey, and with consistent dry fire practice, you’ll get there.
Check Your Work
Toward the end of the month, head back to the range and repeat the 10 draws — hands above and below the waist — to assess your performance. If you’ve been putting in the dry fire work, you should see improvement.

Have Accountability
It’s important to have accountability for your shooting performance. Yes, you can do it on your own; however, having a shooting partner, tribe, or group will keep you in check.
If you don’t have any accountability, you can always join us in sharing your marksmanship growth. Go to our On The Range (OTR) Patreon “CREW” member’s page or our On The Range Podcast “CREW’ Facebook group page.
Me and my co-host/co-author Mark Kelley of Kelley Defense conduct a bi-monthly interactive Zoom call with our Patreon “CREW” members where we break down each shooter’s skill builder. We’ve even reviewed video footage during the calls, offering immediate feedback on ways members can improve their shooting skills.
Conclusion: Put In The Work
To see improvement in your marksmanship skills, you must put in the work. This means having a solid dry fire training plan and a way to record your progress, like with The Firearms Training Notebook.
Use additional tools like a shot timer and video to take your dry fire training to the next level and see the increased performance during your live training.
Train Hard, Stay Safe, and see you “On The Range” – Rick