Previously, in our Baer Solutions Medical Applications Course series, we broke down why you should carry a tourniquet every day. Today, we’re looking at what comes next: how to apply one when it matters most.
Applying a tourniquet is one of the most critical interventions in trauma care. During the course, students learn one of the main principles: “right patient, right place, right time, right care.”
The “high and tight” principle, used in conjunction with the three phases of care, provides guidance on this approach —always with the understanding that mission priority is paramount, By practicing these life-saving techniques under pressure and understanding which phase of care you’re in, students learn to provide the right intervention when it matters most — because when seconds count, hesitation costs lives.
The “High and Tight” Principle — Direct Threat Care Phase
Brian Delap, a law enforcement officer and student in the course, captured the first step of bleeding control in simple terms:
“The first thing that comes to my mind is identifying where the bleeding is coming from and getting high and tight on one of those extremities.”
That phrase — high and tight, over the clothing, until the bleeding stops — is more than just a catchphrase. It’s a foundational principle in trauma medicine: place the tourniquet as high on the limb as possible and tighten it enough to fully stop the bleeding.
This technique became standard practice in military medicine through the development of Tactical Combat Casualty Care (TCCC) guidelines. Originally introduced by special operations forces in 1996 and later expanded under the leadership of Dr. Frank Butler in 2001, TCCC emphasized rapid tourniquet application during the Care Under Fire phase, when immediate bleeding control is required in high-threat environments. In these moments, there’s no time to assess the exact location of a wound. The priority is to stop blood loss fast, while understanding that mission success remains paramount — high and tight gets it done.
The effectiveness of this method in combat led to its adoption across civilian emergency medicine, Tactical Emergency Casualty Care (TECC) — especially among law enforcement, EMS, and rescue professionals. It’s even reached beyond traditional first responders — finding its way into workplaces, schools, and public training events focused on life-saving interventions through Stop the Bleed.
The logic remains the same:
- “High” ensures the tourniquet is placed between the arterial bleed and the heart, covering all potential bleeding sites along the extremity.
- “Tight” means that the first pull is firm, so there is no gap between the looped tourniquet. This reduces the time needed to wind the windlass.
- “Over the Clothing” — mission dictates action. Operating in the direct threat phase, there’s no time to perform a full assessment.
- “Until the Bleeding Stops” — again, due to the phase of care, continue twisting the windlass until the bleeding visibly stops or until you feel it has, with an emphasis on getting the casualty off the X.

Where Not to Place It
Delap also reminds students that placement matters just as much as speed:
“You’re not going to put it around their neck or in certain areas like that—it’s going to go on an extremity—an arm or a leg.”
Tourniquet Placement Guidelines
Over the years, best practices for tourniquet placement within the tactical environment have evolved. To be effective and safe, proper placement is essential. Here’s what students are taught in the course:
- Never place a tourniquet over a joint like an elbow or knee—it won’t compress effectively and may cause further injury.
- Always place the tourniquet in accordance with the phase of care you are in:
- Direct Threat Care – high and tight, over the clothing, until the bleeding stops.
- Indirect Threat Care – expose the extremity to visualize the specific site using sweeps and rakes if applicable, then apply the tourniquet 2–3 inches above the site of arterial bleeding, avoiding joints.
- Apply it immediately. Seconds count. Get it on, get it tight, and check for bleeding control.
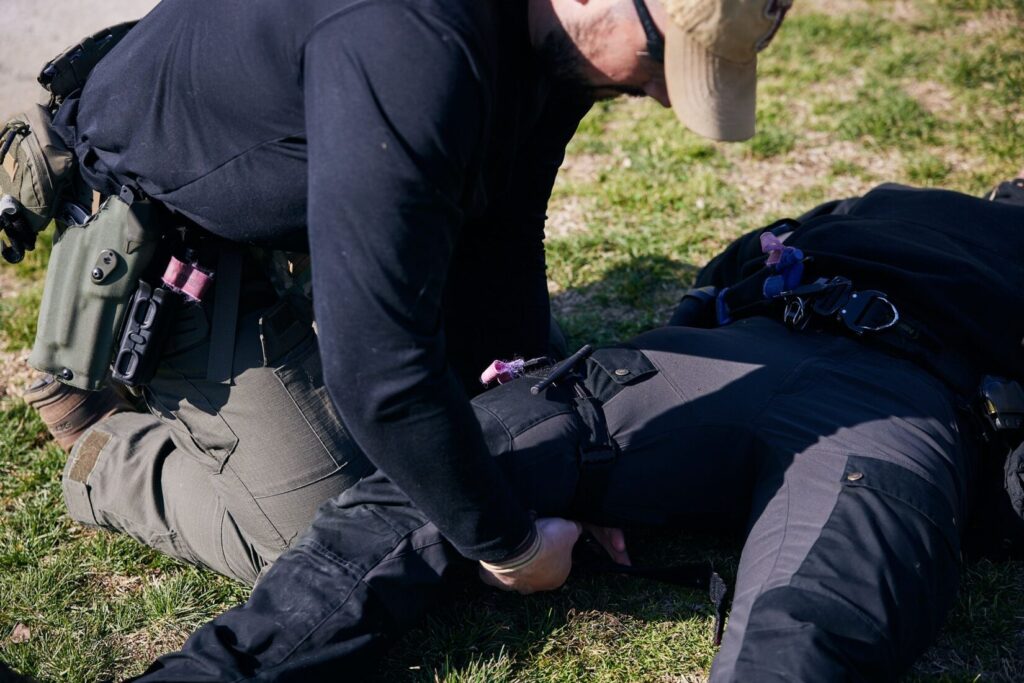
Step-by-Step Application
Fellow student and officer Tristan Mayfield explains the process for both arms and legs:
“To apply a tourniquet, first you have to figure out where the injury is. If it’s an arm, super easy—you can just slip the tourniquet over the arm, cinch it down, twist up your windlass, and then Velcro it over.”
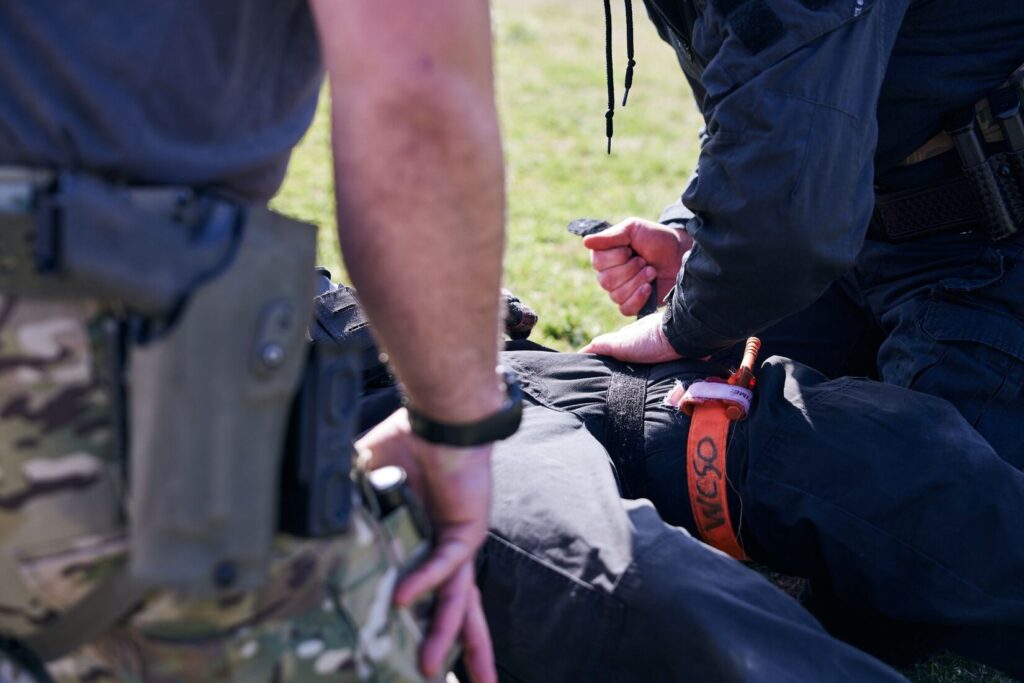
“If it’s a leg, same thing. You might not be able to just loop it around; you may have to undo it completely, slide the Velcro in through the buckle, cinch it down again, tighten your windlass all the way, and then make sure you throw it in that C-clamp and Velcro it off so it doesn’t move again.”
This hands-on breakdown reinforces one of the course’s biggest takeaways: know your gear and train with it regularly.
Get It Right, Get It Tight
A tourniquet is a simple tool, but it only works when used correctly and with confidence. In the right hands, it can mean the difference between life and death. Whether it’s a shooting, a car crash, or an accident on the range, the ability to apply a tourniquet quickly and effectively is essential.
Coming Up Next
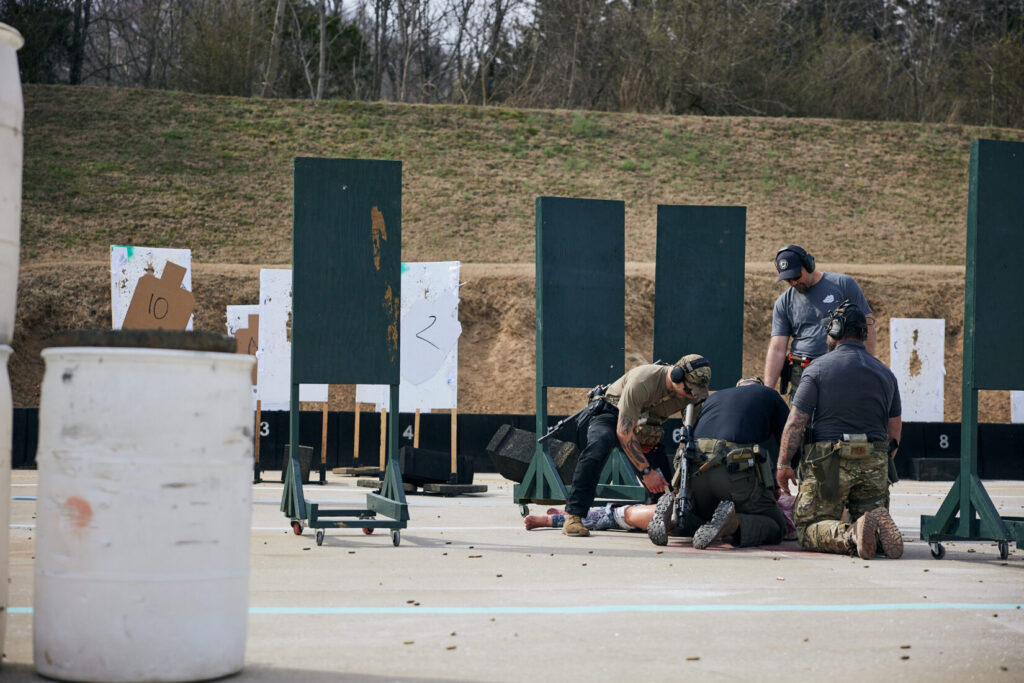
In the fifth and final article of our series, we’ll follow Baer Solutions through their integrated “officer down” scenario, where students apply all they’ve learned to assess threats and render aid under pressure.
Be sure to check out the Baer Solutions website for upcoming classes.