We always hope for the best but plan for the worst. This mindset dictates how we set up a range for a class or for continued training. Make no mistake about it, there is always an inherent risk when training with firearms, and even the best in the business have experienced an accident or negligent event.
Typically, at the start of a shooting class, the instructor will ask who has advanced medical training, and a “doc” is assigned. Other roles, like a “runner” to escort responding medical services to the scene, and a “caller” responsible for calling “9-1-1” and relaying information, may be assigned as well.
Depending on where the event is held, the plan may be to stabilize the patient on-site and wait for help, or it may be to evacuate the patient to get help. Should you decide to hold an event, or if you are ever thrust into a scenario where you need to transport a patient, this guide will help you create a strong plan to best address that emergency.
Establishing a Range Medevac Vehicle Plan
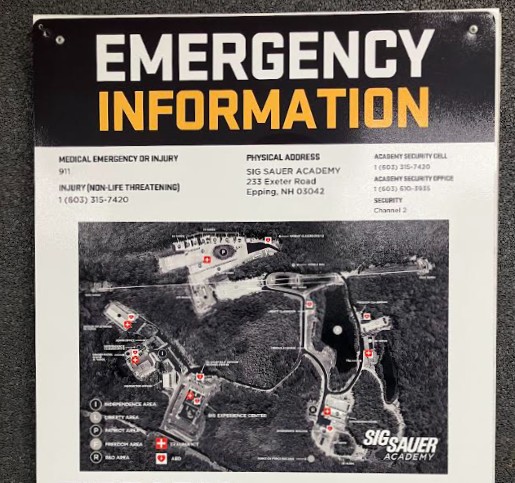
Even if you plan to move a patient, you should always activate emergency services ahead of time by calling for help. When you call for help, always use clear, objective language and remain calm on the line. Provide concise information about the patient’s status, mechanism of injury, a timeline of events, your location, and what is needed. This information can be posted on a large board that is easily seen and recited over the phone.
Listen to the dispatcher’s instructions. This may be difficult if you don’t have control of your scene or haven’t moved uninvolved people away from where the activity and care is taking place. Always state you have a medical emergency from a training accident versus a shooting, since the goal is to have the fire department and paramedics show up first instead of patrol cars running hot.
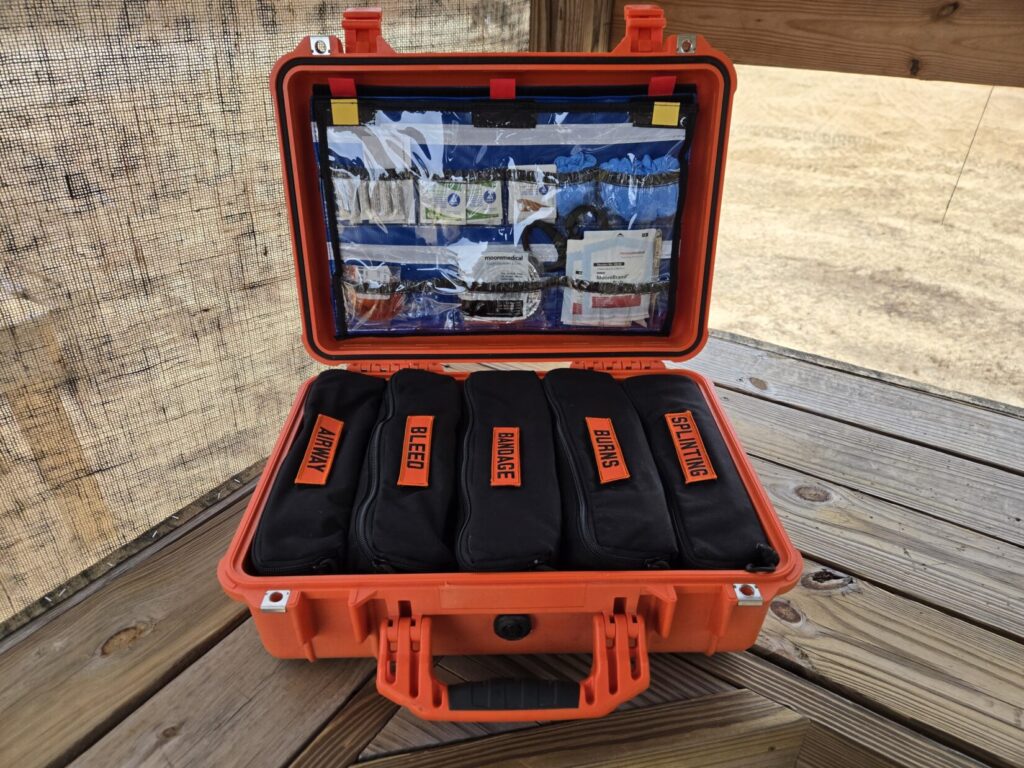
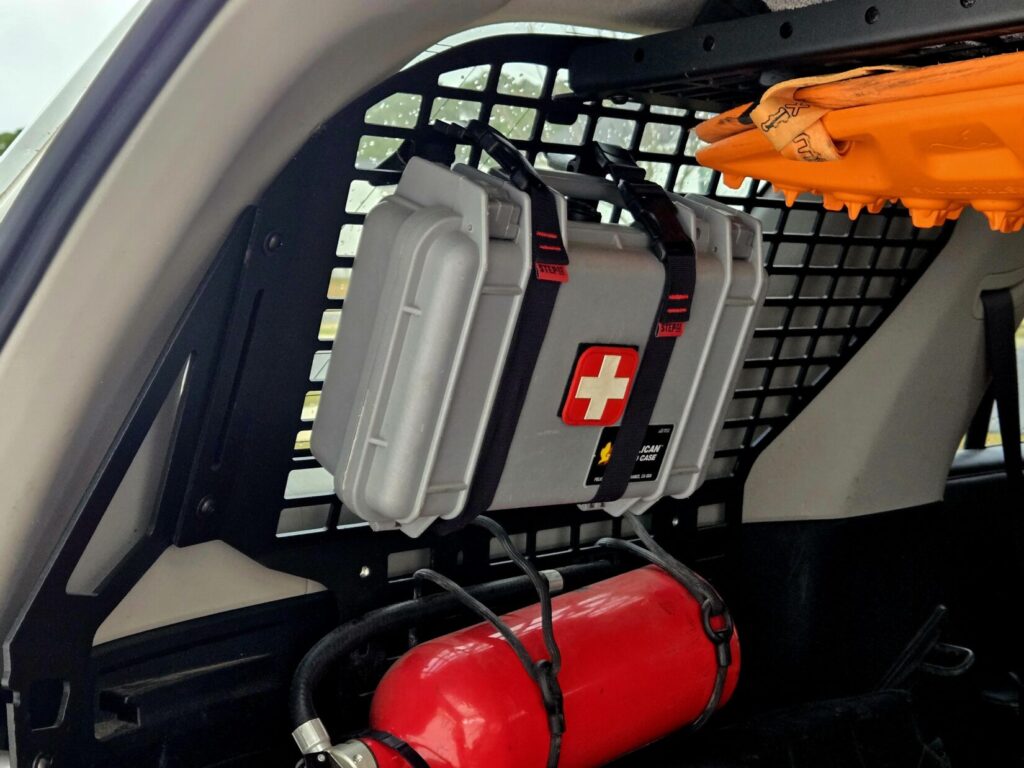
Another good practice is making sure the primary medical kit is identified and placed prominently where the training is taking place. If the majority of your equipment is MultiCam or black, make sure the kit you use is a contrasting color, or it has clear labels indicating its contents.
Don’t put all of your emergency supplies in one place if possible. Have some immediate-access items on each person, backed up by a more substantial kit off-body and staged at your vehicle. One smart integration is using a portable folding stretcher to contain additional chest seals, tourniquets, hemostatic gauze, and additional medical supplies. If the vehicle cannot be positioned where the training is taking place, the folding stretcher will make transporting a patient to the vehicle easier than a manual carry.
Choosing the Most Capable Medevac Vehicle
When you think of an ambulance, you imagine a driver, a medic, likely another medic, room for a patient secured on a stretcher, and panels upon panels of emergency supplies. Those in attendance at your event are likely not pulling up in ambulances, so you’ll have to make do with what you have.
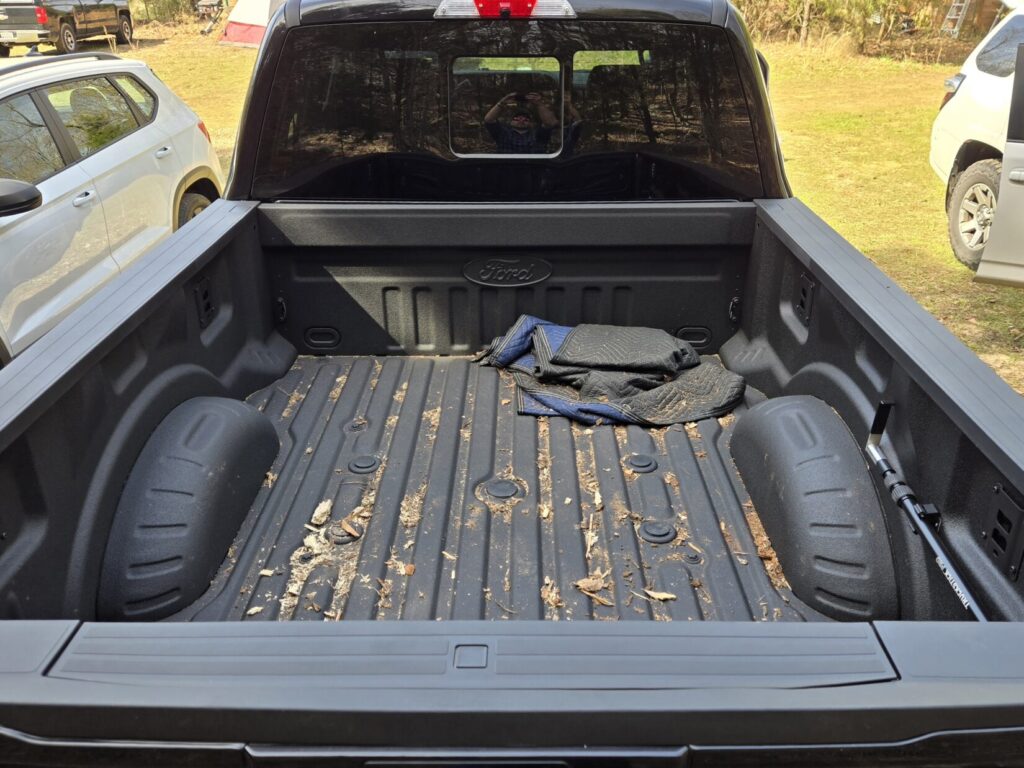
If you have the choice, pick the largest SUV possible with a clear cargo area. Ideally, this vehicle is mechanically sound, all of the fluids are topped off, and the tires are in good form. The vehicle should have enough room for a driver, navigator, a primary medic, and, if possible, a backup medic to assist with patient care on the move.
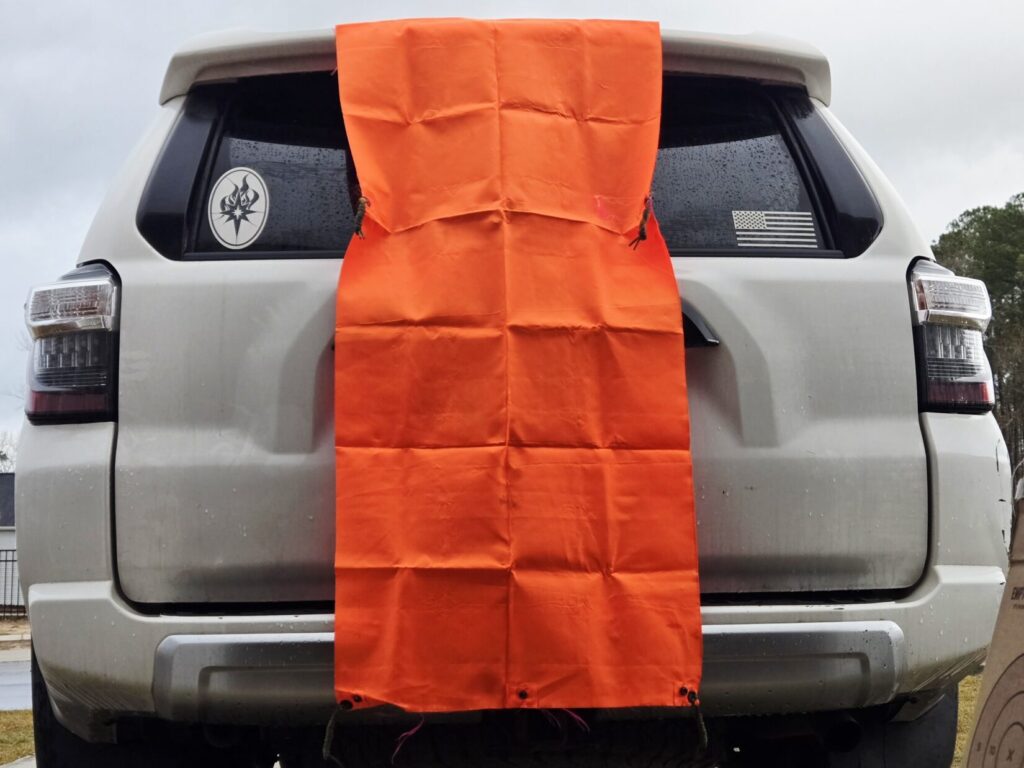
The vehicle should not be cluttered with excess kit, and it should be visually identified as the designated medical vehicle to the entire group. Don’t rely on memory; if possible, mark the vehicle with a VS-17 panel or other brightly colored cloth.
Medevac Vehicle Staging
Once the medevac vehicle is chosen, it should be placed in a position where it can be accessed easily, loaded quickly, and moved off-site with haste.
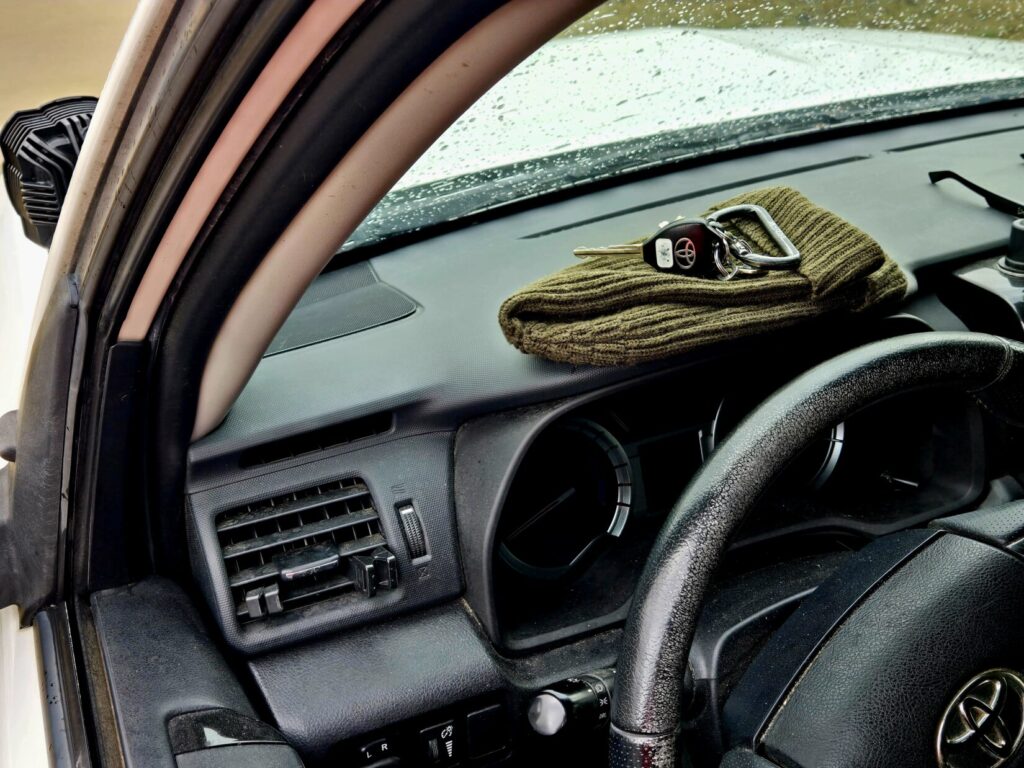
The medevac vehicle should be equipped with trauma gear for the medical team to use. It also should have the directions to the closest facility with the highest level of care achievable printed out and pre-programmed into a dedicated GPS unit. Additionally, the keys to this vehicle should be placed on top of the dashboard of the vehicle, and the windows should be rolled down for fail-proof access. It sounds obvious, but make sure the vehicle is gassed up and the battery is strong.
The medevac vehicle should be parked where the patient doesn’t need to be moved very far. The alternative wastes too much time as a runner needs to get the vehicle and return with it.
Prior to the first hot-range iteration, the medical team should assess the vehicle and see where they would be seated for patient care to make sure it is set up correctly.
Staging a BackUp Medevac Vehicle
In a perfect scenario, a vehicle would be able to make it from the training site to a medical center without issue. Unfortunately, Murphy’s law dictates that something will go wrong. A vehicle could have a mechanical issue, a tire could go flat, ruts or mud in the road could leave it stuck in place, or perhaps there is another variable you haven’t considered.
There’s an old expression, “one is none, and two is one.” It should be applied to a medevac vehicle as well.
Just as the medical team has a secondary medic to take over if the first doc or medic becomes exhausted, a true medevac plan should have a backup vehicle. The goal of the medevac is to move the patient, and if the patient were the person you cared about most in the world, you would not take any chances.
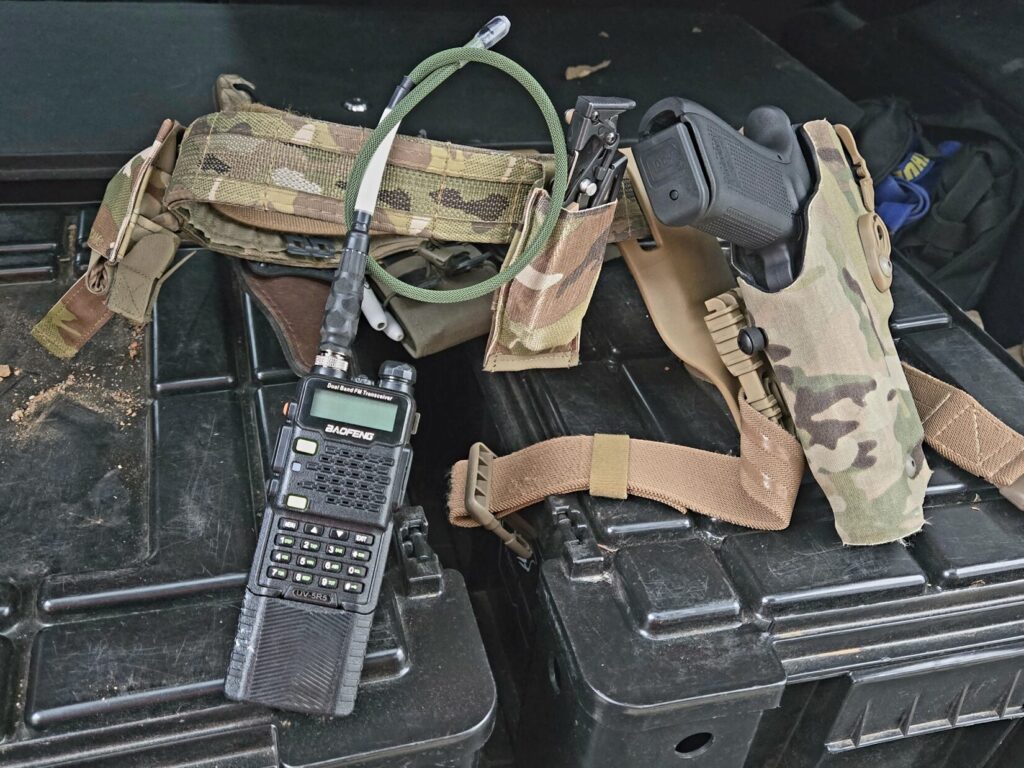
A secondary vehicle trailing not too far behind the primary vehicle makes sense, and it should be equipped accordingly as well. These vehicles should be equipped with short-wave radios to make communication expedient.
The Minutia
Setting up a medevac vehicle correctly is one aspect of good planning. Another is understanding how it falls in place with the rest of the medical team’s plan. Moving a patient all the way from the range to the hospital emergency room isn’t always the best option. This is where the expertise of those with experience and knowledge will come into play.
Sometimes, a hybrid approach is necessary or the safest practice.
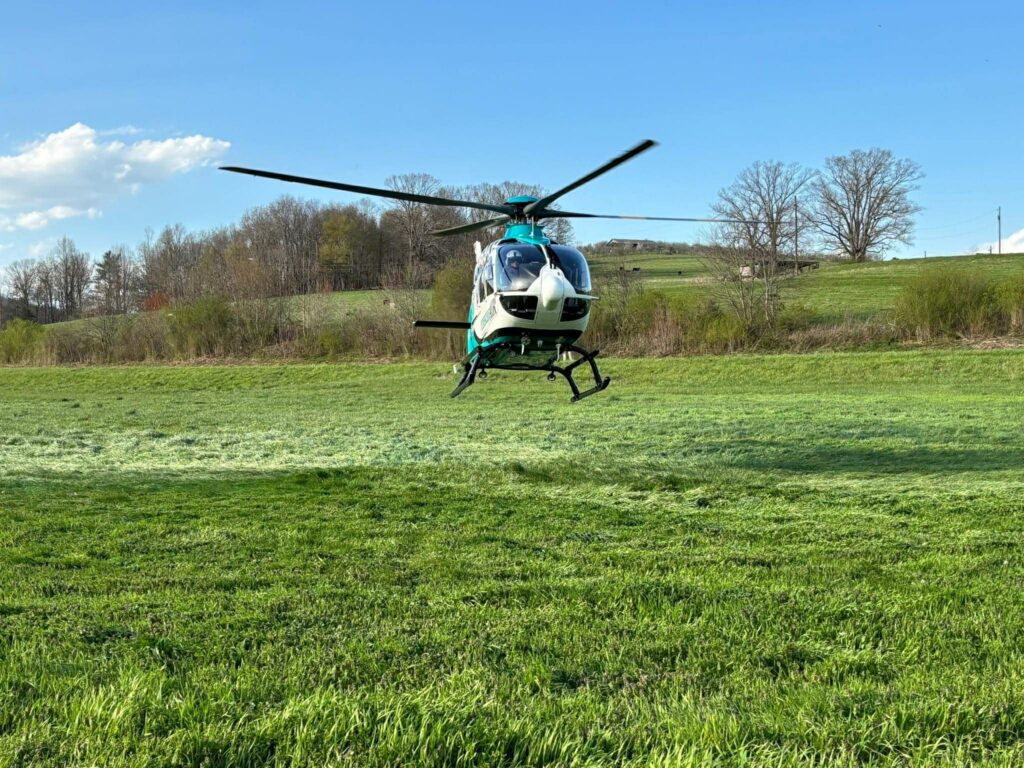
Depending on the training location, you may only have to move your patient to a location better suited for a Life Flight helicopter to land. You may also end up meeting an ambulance on the pavement where the dirt road begins. Whatever you decide is the best course of action, it must be relayed to an emergency dispatcher to coordinate the handoff.
When evaluating medical facilities, understand the distinction between trauma designations. While Level 1 trauma centers maintain comprehensive, in-house surgical teams 24/7, Level 2 facilities are also highly capable and should not be bypassed if a patient requires immediate, life-saving stabilization. Do not compromise a patient’s golden hour by driving past a closer, fully equipped emergency room just to reach a Level 1 center. Local emergency departments can perform critical stabilization procedures before transferring the patient to a higher tier of care.
While not always possible, the key to success is rehearsal, which would involve taking the medical team along the proposed medevac route to understand the topography and transit times. Navigating the twists and the bumps in the road ahead of time exposes improvement points for the team, allowing you to tune the system before it matters.