Setting shooting goals and having a solid training plan are key to improving your marksmanship skills. Each month, we’ll bring you a skill builder exercise designed to be as indoor range friendly as possible, while improving your marksmanship skills.
The last couple of months of shooting skill builder exercises were based on the War HOGG Self Eval. Building off your performance from the self-eval, this month will blend these skills together.
Let’s look at transitioning from your carbine and drawing from the duty or outside the waistband holster. We are basically conducting two separate skill sets that we practiced early in the year: the carbine low-ready presentation and the draw from the holster.
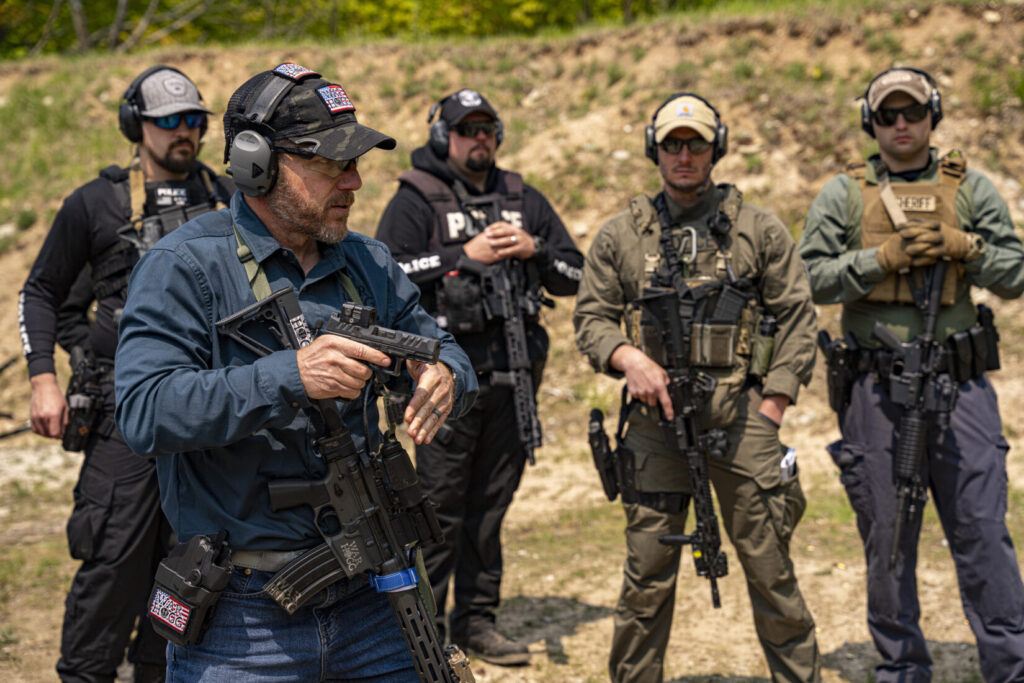
Our intent at War HOGG Tactical is to supplement your firearms training program and help you become more efficient and effective with your firearms. Remember our mantra is Be 1% Better Everyday!
How The Skill Builder Works
At the beginning of the month, shoot the monthly skill builder shooting exercise. When you’re done, record your data in your copy of The Firearms Training Notebook. From that, you will develop your dry fire training plan and work on it throughout the month. Around the end of the month, reshoot the skill builder to see your shooting performance improvement.
Equipment Needed
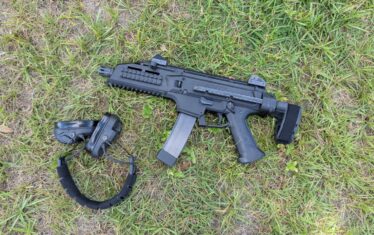
- Your normal range and firearms equipment
- Live Fire Range
- Dry Fire Training Area
- Shot Timer, we recommend the PACT Club Timer III. Click the link to learn how to use a timer effectively in your marksmanship training.
- The Firearms Training Notebook – available on Amazon
- Recording device and tripod or holder
- Target of choice
July Skill Builder: Carbine to pistol transition
This month’s skill builder is going to focus on transitioning from a carbine to a pistol, drawing from a duty holster or outside the waistband (OWB) holster.
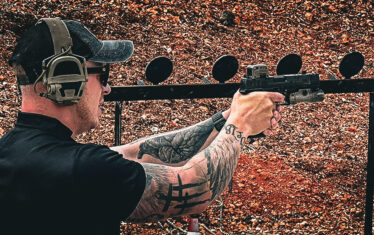
Head out to the range and conduct 10 carbine to pistol transitions. Using your shot timer, fire one shot with your carbine, transition to your pistol, and fire one shot. Remember, no warmup, just shoot the drill.
Record your time, marksmanship data, target used, and distance in The Firearms Training Notebook. Don’t forget to use the note section at the bottom of the page to write down any information you learned during that range session. For example, poor grip on the draw, fumbled the safety, etc.
THE WORD “TRANSITION”
For me, verbiage is important; when I go from firing a carbine to firing a pistol, I call that a transition or transitioning.
When I’m shooting multiple targets, I call that target indexing.
A transition is conducted when something goes wrong with your carbine at close distances—whether it’s a malfunction, you’re out of ammo, or something else. This is where knowing your firearms skills times is important.
Here’s how I look at it:
I know at close distances I have a 1.2-second draw, but my carbine speed magazine change is 3 seconds. Since a person can cover 21 feet in about 1.5 seconds, transitioning to my handgun is the better option.
The Progression For A Carbine Transition
I start my progression with a solid draw from the duty holster and carbine presentation. For the transition, I drive my carbine to the target and fire the shot(s). Once I am done firing, finger off the trigger and PLACE IT ON SAFE!
Now, there are instances where your carbine will not go on safe. A prime example is failure to fire; the hammer has not recocked on your AR-style carbine, and the safety won’t engage.
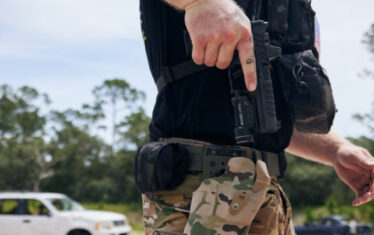
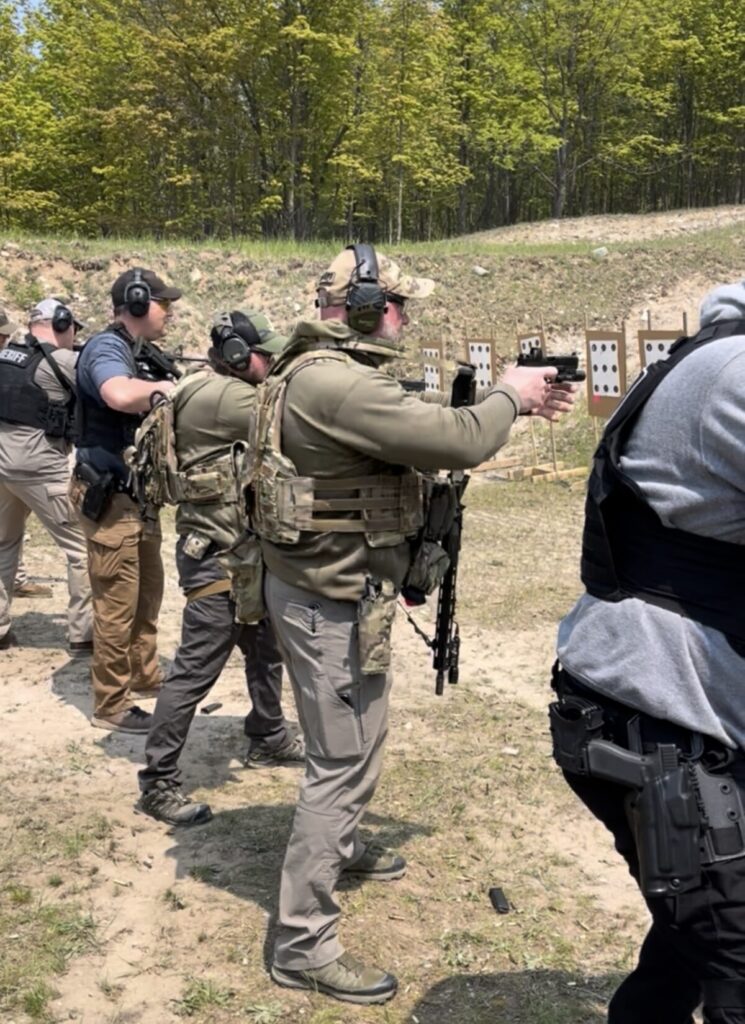
Once the carbine is on safe, both hands move simultaneously in separate directions: the support hand lowers the carbine, and the strong hand moves to the pistol. The firing hand releases the carbine pistol grip and goes to the holster while the support hand lowers the carbine to your front. I’m not a fan of throwing the carbine to the side because I feel it is an inefficient movement.
Once the firing hand contacts the pistol, start your draw from the holster sequence. Establish a good grip, use your thumb to push the hood forward, pull the ALS back, and remove the pistol from the holster. As the pistol clears the holster, orient the muzzle in a horizontal position. By this time, the carbine should be lowered, and the support hand is moving into position to receive the pistol, as practiced with hands below the waist draw drills.
Use your support hand to build your two-handed grip in the vicinity of your ready position. Remember: the ready position is a reference point, not a pause point. From there, conduct your pistol presentation back out to the target and press the trigger.
Don’t be in a rush to get the pistol back in the holster. Focus on good follow-through and recovery. Your carbine just went down, and now you’re betting your life on your pistol.
Making Your Dry Fire Plan
Start by running 10 carbine-to-pistol transitions and recording your average time. This gives you two key data points:
- Your draw time from the holster
- Your reaction time to the shot timer and low-ready carbine presentation
From there, review your performance over the past month and determine if you’ve maintained, improved, or dropped in your skills.
Title a new page, Carbine to Pistol Transition, or simply Transition, in The Firearms Training Notebook. Take your average time and add .50 to .25 seconds to set an initial par time. As you start making good dry trigger presses and sight on the target at or below the par time, you can gradually reduce your par time by .05 or .10 seconds. The idea is to keep reducing the time until you are at your best personal performance.
Remember, don’t get wrapped up in what others are doing for time. This is your firearms journey, and you will get there with consistent effort in your dry fire training.
Check On Your Work
Near the end of the month, head back out to the range and reshoot the 10 carbine-to-pistol transitions. Compare your results to the early session. If you’ve put in the dry fire work, you should see improvement.
Have Accountability
It’s important to have accountability for your shooting performance. Yes, you can do it on your own; however, having a shooting partner, tribe, or group will keep you in check.
If you don’t have any accountability, you can always join us in sharing your marksmanship growth. Go to our On The Range (OTR) Patreon “CREW” member’s page or our On The Range Podcast “CREW’ Facebook group page.
Me and my co-host/co-author Mark Kelley of Kelley Defense conduct a bi-monthly interactive Zoom call with our Patreon “CREW” members where we break down each shooter’s skill builder. We have even reviewed video of “CREW’ members shooting during our call and given immediate feedback on where we see they can improve their shooting skills.
Conclusion: Put In The Work
To see improvement in your marksmanship skills, you must put in the work. This means having a solid dry fire training plan and a way to record your progress, like with The Firearms Training Notebook. Use your additional tools, like a shot timer and video, to take your dry fire training to the next level and see the increased performance during your live training.
Train Hard, Stay Safe, and see you “On The Range” – Rick