Drawing quickly isn’t just about moving your hands fast; it’s about economy of motion. A fast draw requires you to blend speed and efficiency, and it all starts with the Master Grip.
The Master Grip is best defined as a grip that requires zero adjustment as you draw, present, and extend the gun to the target. Achieving your Master Grip is where you win at the holster. If you lose at the holster, you’ll spend the rest of the draw stroke correcting your mistakes.
What does that mean? A poor presentation, a slower draw to the first shot, and less control. Every draw stroke begins with the Master Grip. Today, we are going to learn how to achieve it.
The Basics of a Master Grip
Our objective with a handgun is to get our hands as high as possible without getting them in front of the slide. A higher grip allows us to maximize our leverage on the gun to better manage recoil.
This must start at the draw. We don’t draw and then establish a good grip, or at least, we shouldn’t. They say “perfect practice makes perfect,” and establishing a Master Grip is a vital part of that equation.
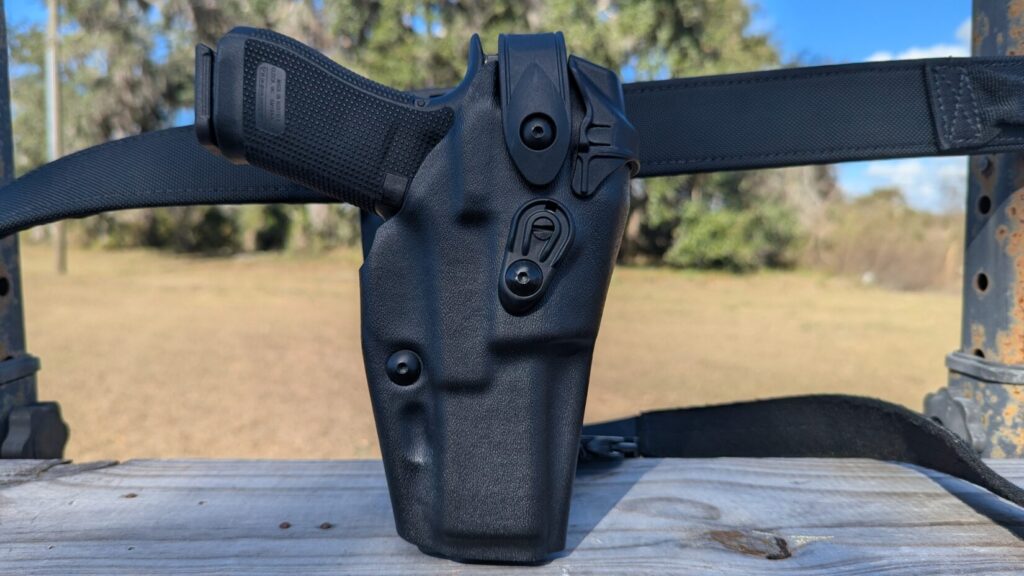
When using a Safariland holster, we must establish a Master Grip while defeating retention devices. The ALS and SLS systems will not compromise your Master Grip, but they do require specific movements to defeat during the draw.
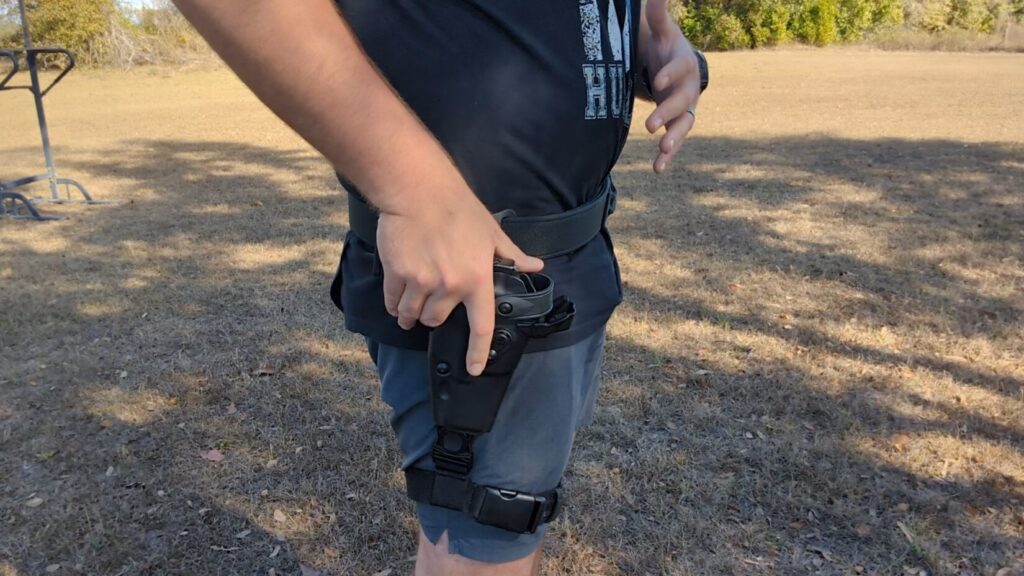
Step 1: The Grab
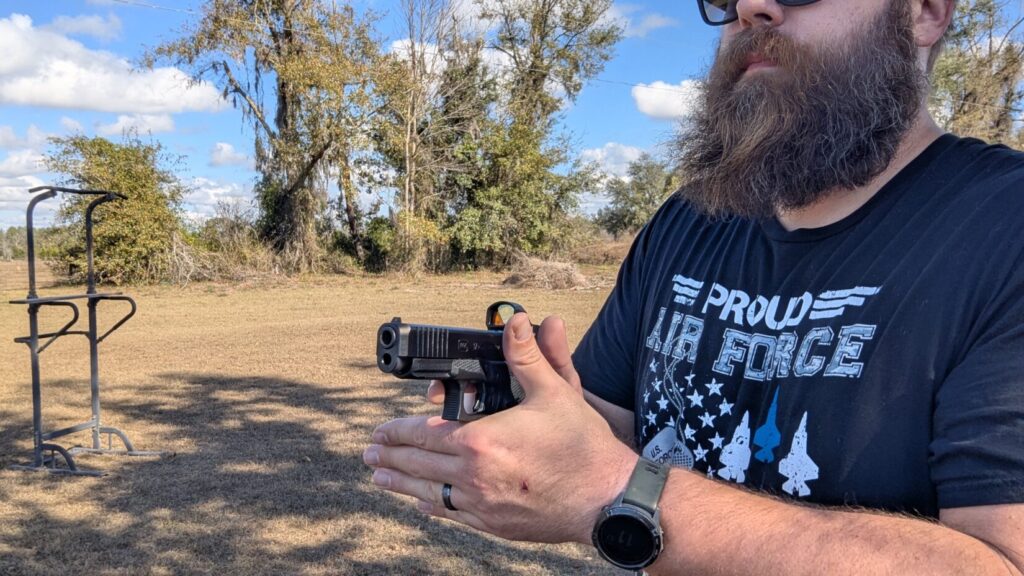
At the signal to draw, your hand moves to the gun. You want to push your hand as high on the grip as possible. If the gun has a beavertail, your hand should be pressing firmly into it. I describe it as “hammering” my hand downward against the grip.
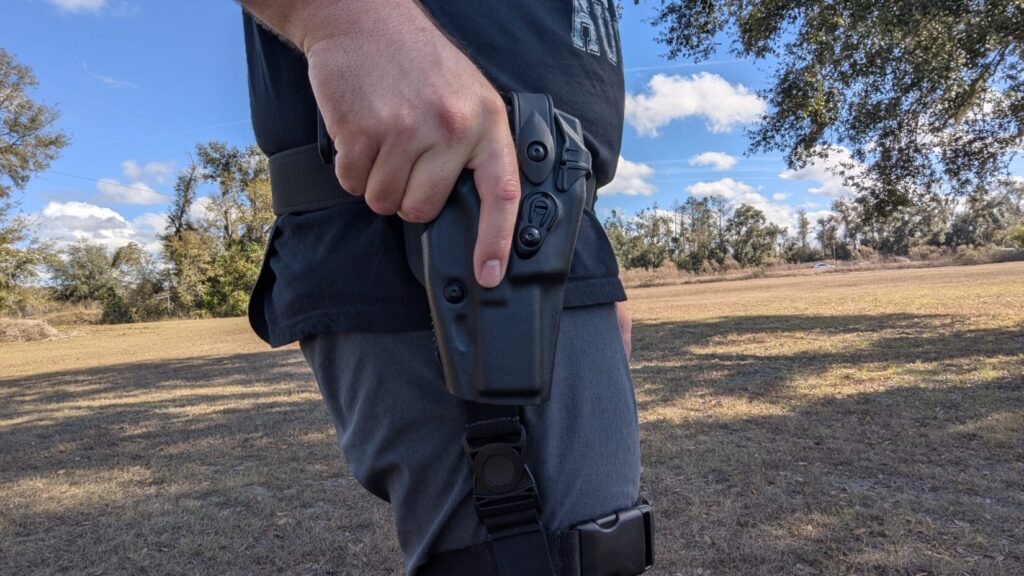
It’s a quick, confident movement that ensures my hand is high and ready. You want the gun to be in a straight line with your arm. The beavertail should sit deep in the web of your hand, between the thumb and index finger.
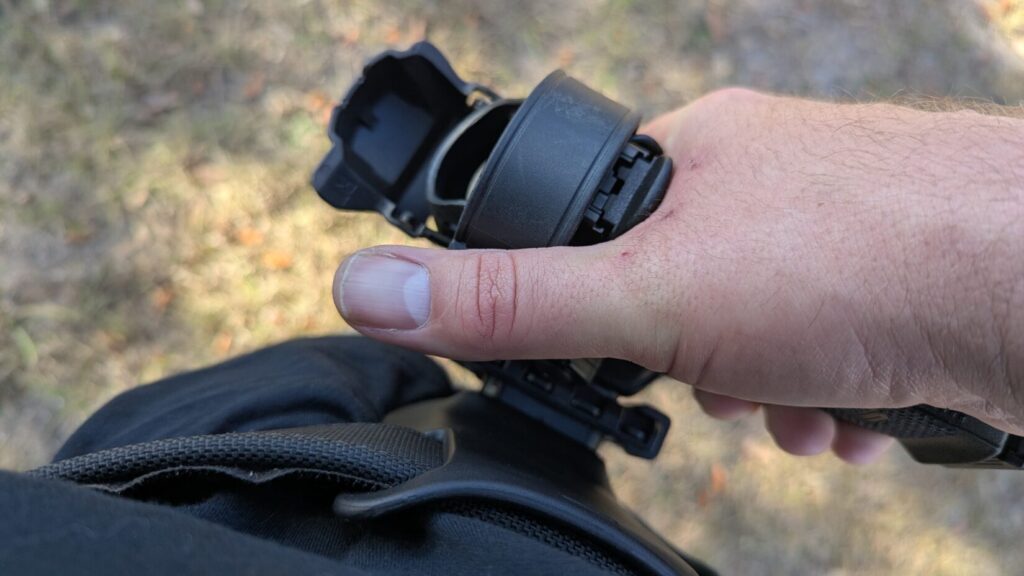
Step 2: The Thumb
Your thumb should be flagged, floating slightly off the grip. It will press down and then forward on the SLS hood, immediately moving to the ALS lever. I use the movement of pressing the SLS hood forward to drive my hand further forward and ensure it is high and tight on the grip. Keep your thumb flagged! Don’t let it rest against the frame just yet.
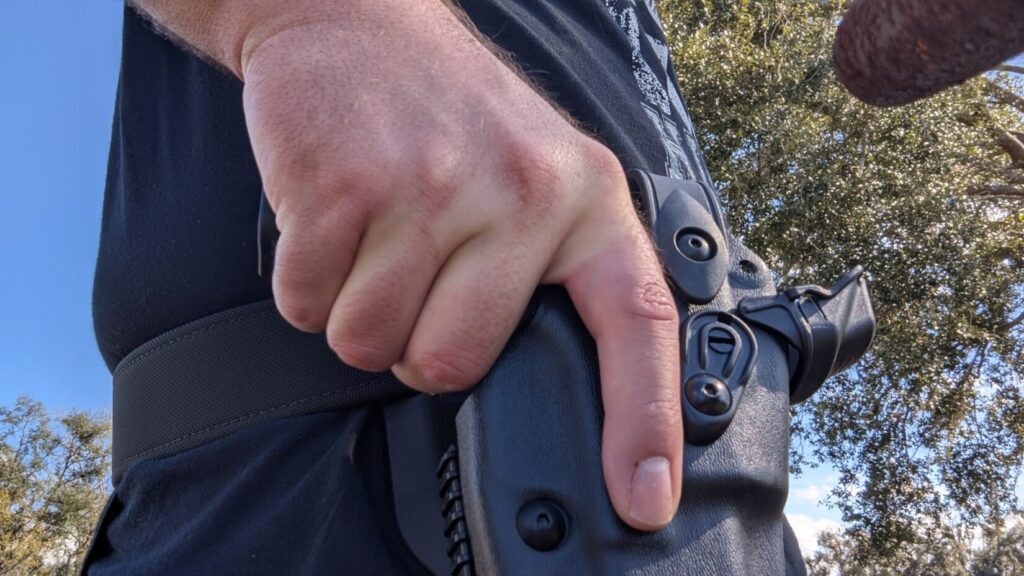
Step 3: The Three Fingers
As your thumb engages the SLS and ALS devices, your middle, ring, and pinky fingers should wrap around the front of the grip. Your middle finger should be pressed firmly against the bottom of the trigger guard, which reinforces the high grip. At this point, apply your desired level of grip pressure.
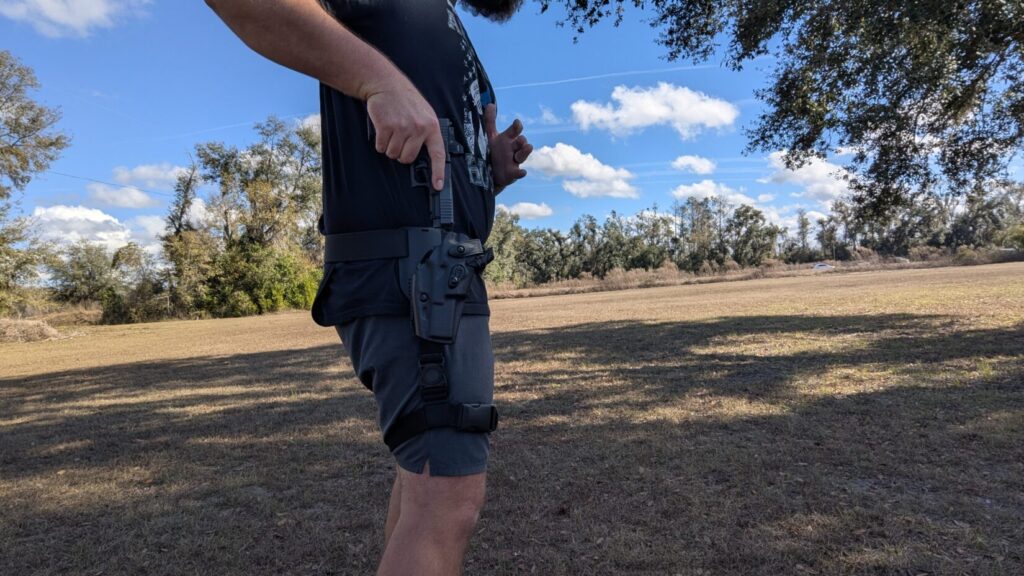
Step 4: The Up
Pull straight up. Avoid “scooping” the gun at an angle or engaging in any unnecessary forward or rearward movement. It needs to be a clean, vertical pull. As the gun clears the holster, rotate the muzzle forward toward the target. Your thumb remains flagged out slightly.
Step 5: The Support Hand
At this point, your support hand meets the gun as you move into your presentation. Your index finger should use the trigger guard as its index point to form a tight, cohesive grip. Assume support-hand pressure as soon as possible during the presentation.
The primary thumb remains flagged to allow the support hand to assume its position without interference. Once the support hand has established its grip, the primary thumb can then rest comfortably on top of it.
The Master Grip and Mid-Air Adjustments
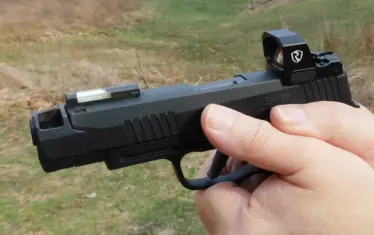
I’ve been shooting a lot recently with the Mantis TitanX, at least half an hour a day. I find a sweet spot between responsibilities to get my dry-fire practice in.
Most of my practice involves drawing to the first shot and running Bill Drills. After hundreds of draws a day, I can tell you that a bad grip leads to chaos. I start my training with slow, perfect draws, and I only stop when I get fatigued and my form begins to break down.
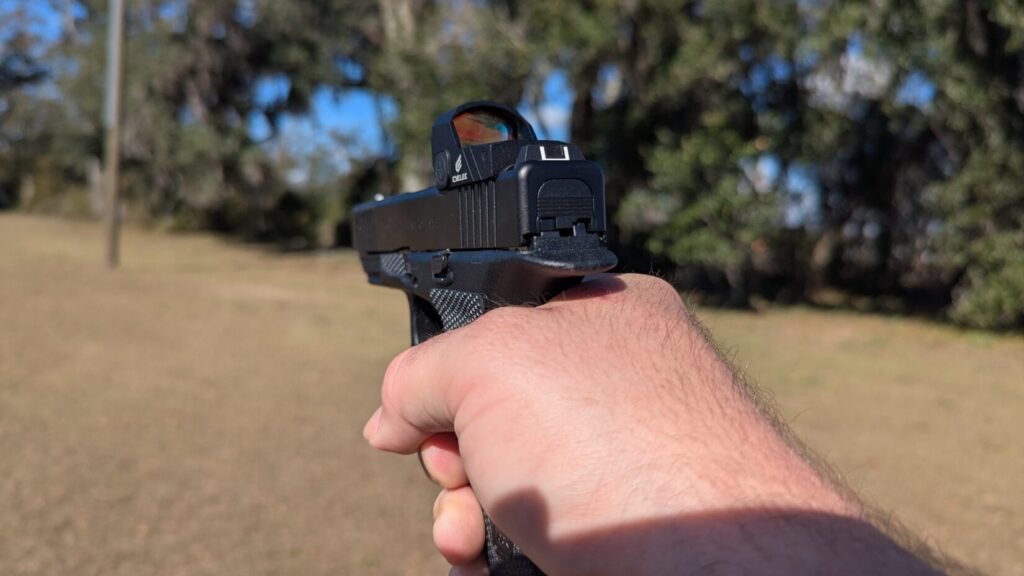
One clear sign that my form is failing is the lack of a proper Master Grip. As I present and extend the TitanX, the sights aren’t where I want them; for me, they often end up a little high. This causes a slower, less accurate shot. If your grip is off even slightly to the left or right, your sights won’t be aligned on target. You’ll have to adjust mid-air, which eats precious time.
Additionally, if you take a shot with a poor grip, your recoil control is compromised. Your first shot might be fast, but your follow-ups will be much more difficult.
Optimizing the Hardware
Your holster setup can help or hinder your Master Grip. If your gear is positioned incorrectly, you’ll fight against it.
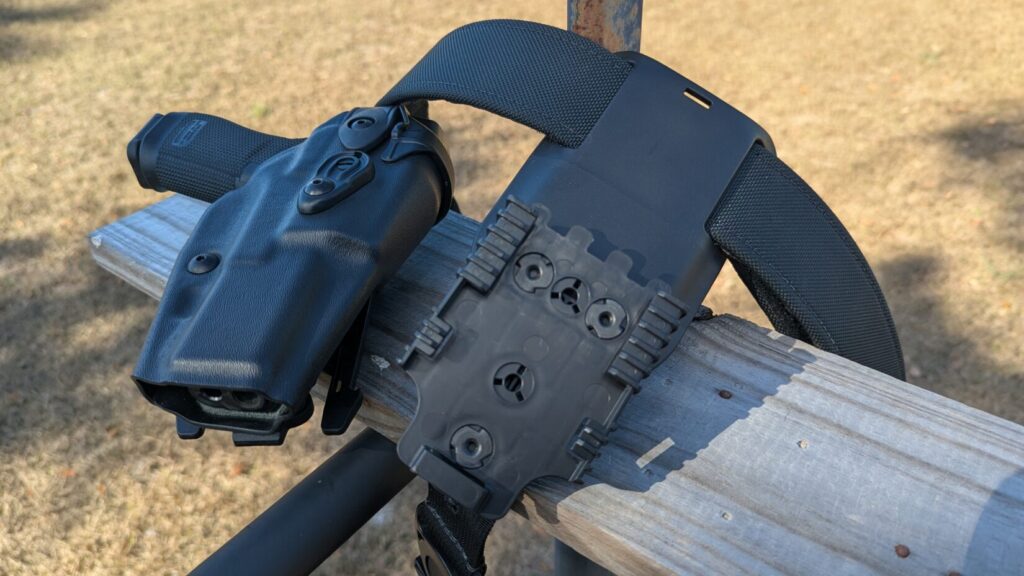
- Mid-Ride UBL: For duty holsters, this is often the perfect option. It positions the gun at a height where you aren’t reaching too high or too low. It also usually clears plate carriers and vests.
- QUBL/QLS: These systems allow you to adjust the height at will, which is great for varying torso or arm lengths.
- Cant: In the modern duty world, a neutral (vertical) cant is preferred. Forward cants (like the “FBI cant”) force the wrist into an unnatural angle when trying to achieve a high-tang grip, often leading to a lower, less desirable grip.
The Practice Session: Touch and Prep
Practicing the Master Grip should be a regular part of your dry-fire routine. One of the best ways to practice is the Touch and Prep Drill. Do this slowly, ensuring you maximize your grip at every step.
Start by focusing on your target. At the signal:
- Establish your grip on the gun in the holster.
- Defeat the retention devices and pull the gun upward about one inch.
- Pause. Look down at your grip.
Ask yourself:
- Is my hand as high as possible?
- Is my index finger along the frame/holster?
- Is my middle finger indexed against the trigger guard?
If so, that’s a Master Grip. Repeat this drill extensively. I use it as a warm-up, performing it roughly 20 times before I ever do a complete draw. Your goal is for your hand to automatically land in this perfect position every time you reach for the holster.
Grab and Go
A fast draw is built on efficient movements. If you establish a Master Grip at the holster, you don’t have to make mid-air adjustments. Your gun is ready to fire the moment it’s on target, allowing for multiple shots with excellent recoil control. Mastering the Master Grip is the first—and most important—step in a capable draw.