Setting shooting goals and having a solid training plan are key to improving your marksmanship skills. Each month, we’ll bring you a skill builder exercise designed to be as indoor-range-friendly as possible, but this one might be a little difficult for an indoor range.
Over the last year, our shooting skill builder exercises were based on the War HOGG Self Eval, building a solid marksmanship foundation off your performance from the self-eval. This month, let’s look at adding some movement with the War HOGG V drill. Our intent at War HOGG Tactical is to supplement your firearms training program and help you become more efficient and effective with your firearms. Remember our mantra is Be 1% Better Every Day!
How The Skill Builder Works
Start the beginning of each month, shooting the monthly skill builder shooting exercise. After shooting the skill builder, you will need to record your data in your copy of The Firearms Training Notebook. You will develop your dry fire training plan and work your training plan throughout the month. Around the end of the month, reshoot the skill builder and see your shooting performance improvement.
Equipment Needed
- Your normal range and firearms equipment
- Live Fire Range
- Dry Fire Training Area
- Shot Timer, we recommend the PACT Club Timer III. Click the link to learn how to use a timer effectively in your marksmanship training.
- The Firearms Training Notebook – available on Amazon
- Recording device and tripod or holder
- Target of choice – I’m using a C zone steel for this drill
- 3 orange cones
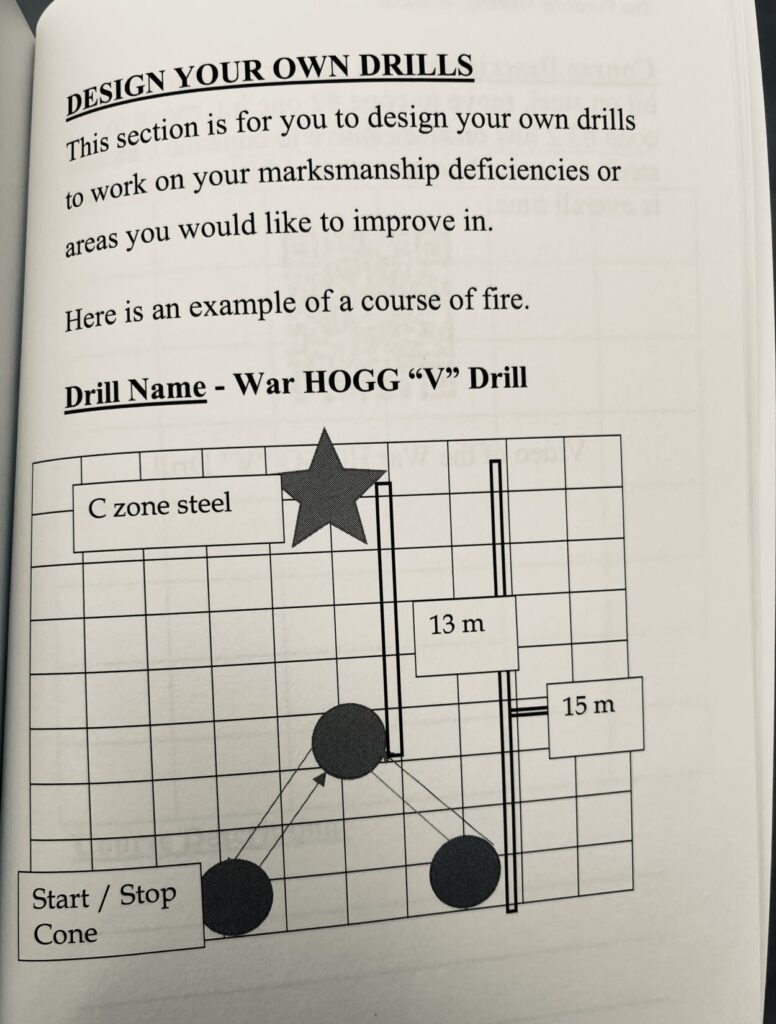
Set Up for the War HOGG “V” Drill
I use a “C” zone steel target. From there, pace off 10 meters for my first cone, walk out at a 45-degree angle for 5 meters to the left and right to place the flank, and place my cones at 15 meters. My closest cone is at 10 meters because I’m using a steel target. The beauty is that you can use whatever target and distance you want, depending on your firing range.
How to Run The War Hogg “v” drill
Start on either 15-meter flank cone. On the shot timer beep:
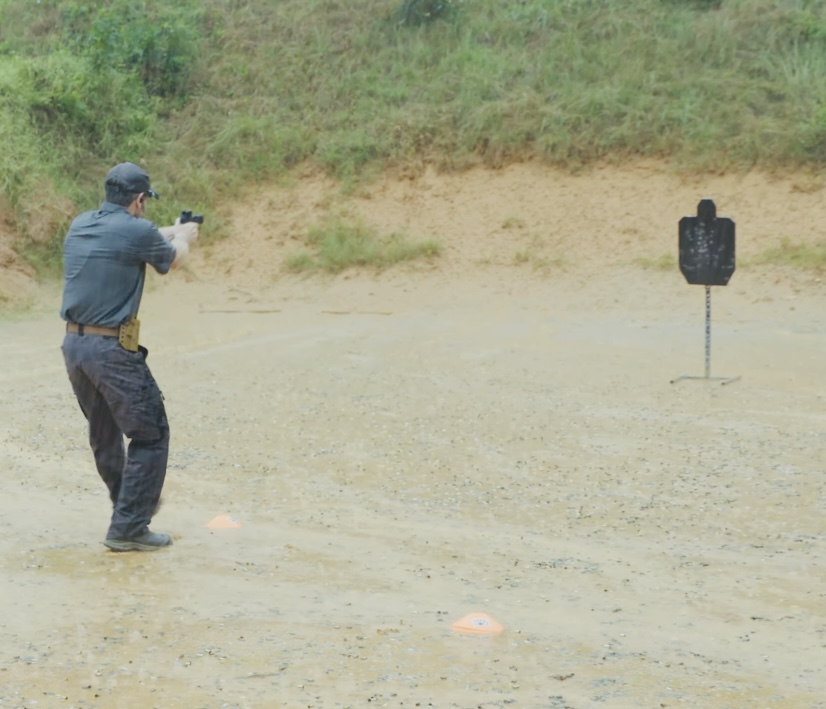
- Draw and get one solid hit on target.
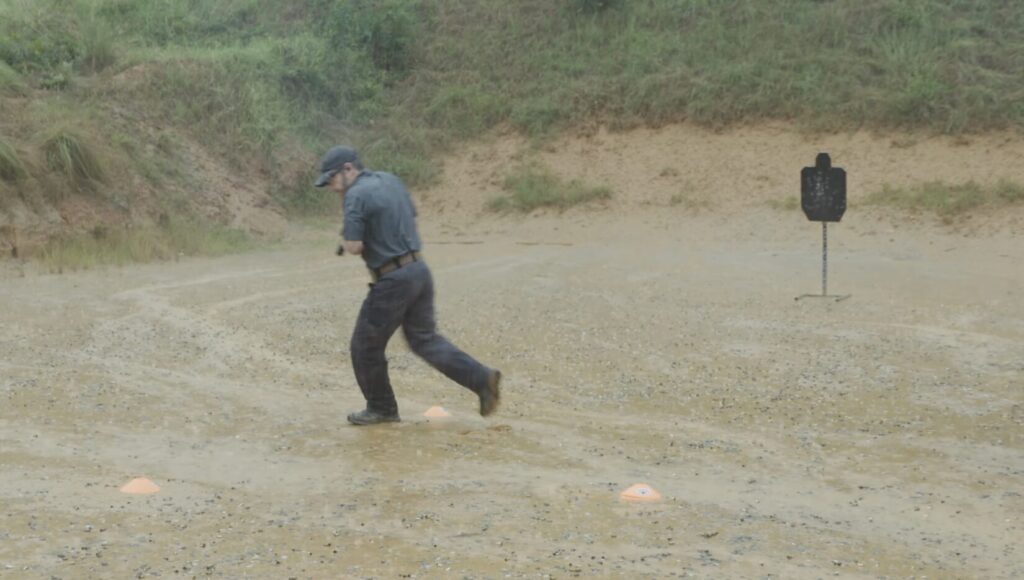
- Move to the 10-meter center cone, one hit.
- Move to the rear flank cone, two hits.
- Return to the center cone, one hit.
- Finish at your start cone, one hit.
Clean run = 6 rounds.
focus Skills
This month’s skill builder is going to focus on moving from cone to cone, shooting a pistol, and building on the following skills.
- Pistol Presentation
- Draw from the Holster
- Calling Your Shot
- Foot movement
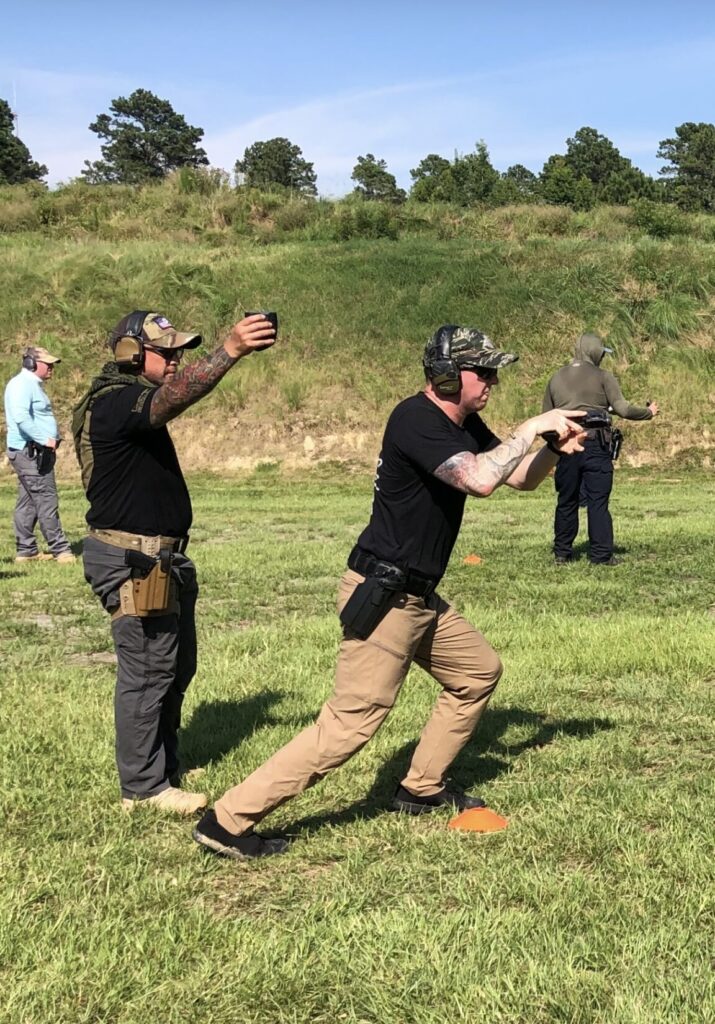
A couple of key things to remember when shooting this drill. Don’t wait for the audible “ding” of the steel; see your sights lift off the target, call your shot, and rapidly move to the next cone. You don’t have to look at the cone, but pick it up in your periphery.
Once you are about three steps away, take a deep breath and plant the rear foot, simultaneously bringing the support foot forward as you are presenting your pistol to the target. Once you see your sights lift off the target with a good hit, pivot and start moving to the rear target. I am training for the real world, so I bring my pistol to a sul or low ready position, because my range allows that.
The pivot is something you are going to have to test, which way works best for you. Figure out what’s fastest and most stable for you. I often use my support-side foot to start my movement and pivot on the ball of my strong side foot.
Example: moving to the rear left cone, bring the pistol to ready as that support foot hits and turns you. Keep the good muzzle discipline; economy of motion wins.
Record your overall time, marksmanship data, target used, and distance in The Firearms Training Notebook. Don’t forget to use the note section at the bottom of the page to write down any information you learned during that range session. For example, poor grip on the draw, bad pivot, etc.
Making Your Dry Fire Plan
Take your performance from running the War HOGG V drill and figure out your average time. Look at the six individual shots and break them down shot by shot, because that will give you info on what’s happening at each cone.
Your footwork and pistol presentation on the move will be key pieces to work on during your dry fire sessions. You should work on the foot plant and pistol presentation. This is an area where shooters think both feet have to be planted before presenting the pistol; they don’t.
Take a new page of The Firearms Training Notebook and title it “War HOGG V drill.” Using your average time, I would add anywhere from 1.5 to 2 seconds. As you start making good movement and dry trigger presses with sight on the target at or below the par time, you can start setting your par time lower. The idea is to keep reducing the time until you are at the best time for your performance.
Remember, don’t get wrapped around what others are doing for time. This is your firearms journey, and you will get there if you put the time into your dry fire training.
Check Your Work
Sometime near the end of the month, head back out to the range and reshoot the drill and see where your performance is at. You should see improvement if you have put in the dry fire work during the month.
Have Accountability
It’s important to have accountability with your shooting performance. Yes, you can do it on your own; however, having a shooting partner, tribe, or group will keep you in check.
If you don’t have any accountability, you can always join us in sharing your marksmanship growth. Go to our On The Range (OTR) Patreon “CREW” members page or our On The Range Podcast “CREW’ Facebook group page.
Me and my co-host/co-author Mark Kelley of Kelley Defense conduct a bi-monthly interactive Zoom call with our Patreon “CREW” members where we break down each shooter’s skill builder. We have even reviewed video of “CREW’ members shooting during our Zoom call and given immediate feedback on where we see they can improve their shooting skills.
Conclusion – Put In The Work
To see improvement in your marksmanship skills, you must put in the work. This means having a solid dry fire training plan and a way to record your progress, like with The Firearms Training Notebook. Use your additional tools, like a shot timer and video, to take your dry fire training to the next level and see the increased performance during your live training.
Train Hard, Stay Safe, and see you “On The Range” – Rick