Shooting on the move is a critical firearms skill for close-quarters combat (CQB). It’s built in dry fire and then solidified on the flat range. Many people assume you must only practice this on the live range, but your foundational improvements come from dry fire. Below, I’ll cover shooting on the move — both forward and lateral — with pistol and carbine.
When I was an instructor at the 7th Special Forces Group for the Special Forces Advanced Urban Combat (SFAUC) Course, shooting on the move was a key skill we taught our Green Berets before going into the shoot house. We built a marksmanship foundation with both pistol and carbine, then added forward and lateral movement in day and night conditions.
At War HOGG Tactical, we combine real-world experience with a building-block instructional methodology. Try to always treat the flat range like the real world when you train: add both shoot and no shoot targets so you can get that target ID while moving. Percentage targets are also useful as you start building this skillset.
Equipment Needed
- Normal range and firearms equipment
- Live-fire range
- Dry-fire training area
- Shot timer (we recommend the PACT Club Timer III). Click the link to learn how to use a timer effectively in marksmanship training.
- The Firearms Training Notebook – available on Amazon
- Recording device and tripod/holder
- Target of choice
- Visible laser
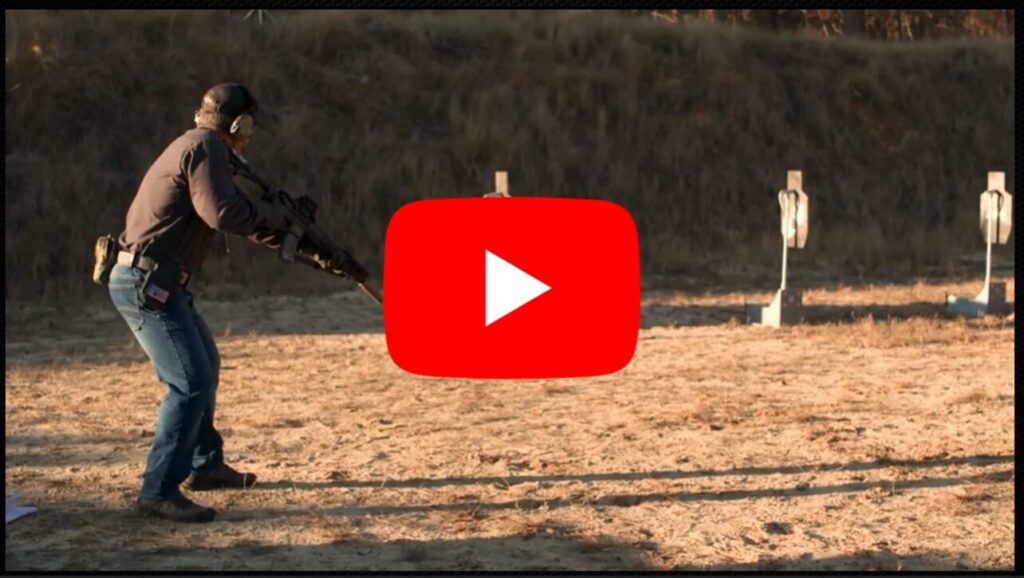
Shooting On The Move – Forward
When it comes to shooting on the move, a lot of people overthink the process. I try to walk as naturally as possible while keeping my sights as still as I can. There will always be some sight movement; it’s the amount of movement that matters.
Some people think that your feet have to be in a solid spot to fire the shot. The key is this: if the red dot (or sight) is on the acceptable target area, send the shot. If you consistently shoot low, you’re probably taking the shot as your lead foot comes down — that downward movement can cause the shot to go low.
Last thing, remember the difference between point of aim and point of impact with your carbine. You can have the best technique, but possibly miss your shots because you forgot that point of aim, point of impact difference.
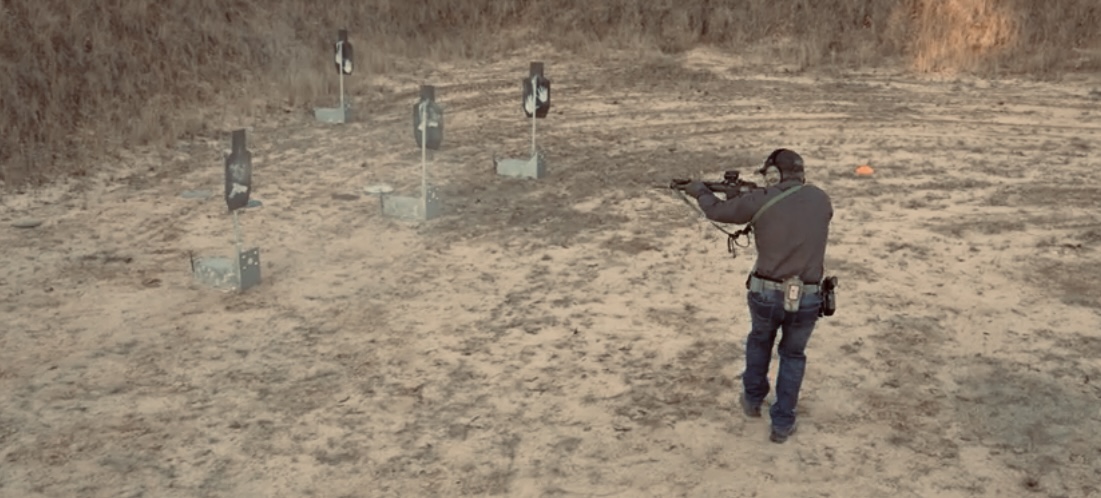
I would recommend learning shooting with forward movement before trying shooting with lateral movement. Once you feel comfortable with one target, try placing a couple others out at maybe 15–20°. Don’t forget, whenever you are setting up the range for shooting on the move, follow the four rules of firearms safety, especially rule four: identify your target, what is in line with it, and what’s behind it. Never shoot anything you have not identified, and ensure all rounds go into the berm.
When you start your live fire, start close to build your skill. You may not fire many rounds early on, but this will build your foundation. As you start moving further back, if you lower your firearm to a low ready position, don’t forget: finger off the trigger and weapon on safe.
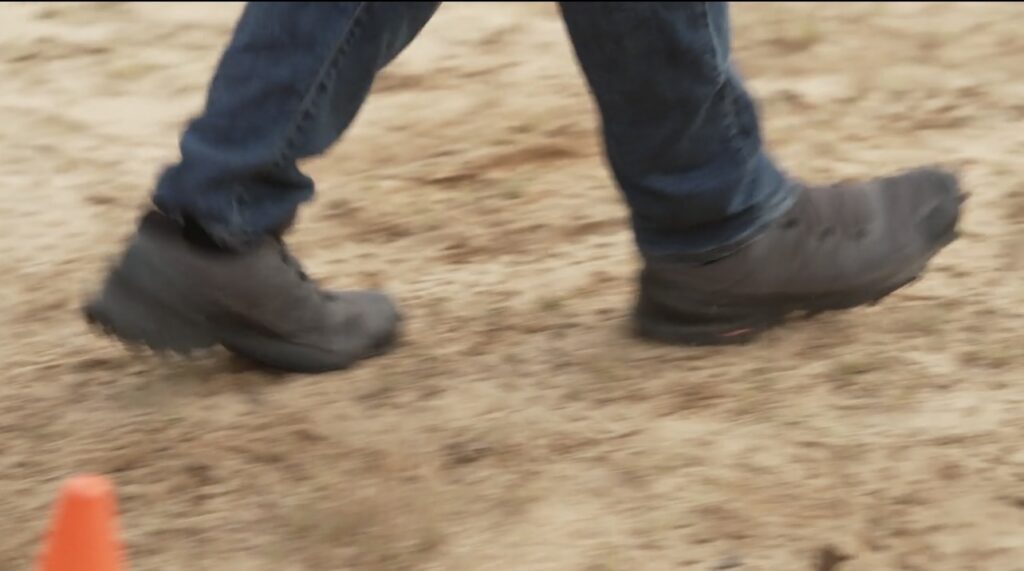
Foot Movement
Let’s start with our feet. Try to walk as normally as possible—I walk heel to toe just like I normally would when just walking. I like to take shorter steps to help with my stability. If I need to move faster, I just increase my step frequency while keeping the shorter stride. I add a slight bend in my knees to act as a shock absorber over uneven terrain. This is what works for me; you’ll need to experiment to find what fits your body type.
Using A Visible Laser Pointer
A visible laser can be a great dry fire tool for movement work. You can use something like a PEQ-15 or a handheld visible laser.
I like the laser for a couple of reasons. First, if you’re new to a red dot, you may or may not see how much that dot is moving. The laser does make it easier to see the amount of movement in your platform. Second, if you have a training buddy, they can see how much the laser is moving and give input to improve your technique.
Shooting On The Move – Laterally
Apply the same principles as forward movement, with one important addition: the waist pivot. Some people struggle with the waist pivot, and it affects their ability to shoot on the move laterally, especially with a carbine. I want the ability to pivot at least 90° to each side. Get your technique solid, then introduce a plate carrier or other kit you normally wear to address any gear-related issues.
Moving Laterally with a Carbine
Most shooters find operating a carbine easier from the support side because of body mechanics. The key to success when using a carbine, especially off your firing side, is to slide your hand back towards the magazine well. If you keep your hand in your normal position, it will greatly restrict the amount of movement you have in your waist, thus restricting your possible engagement area. This is something you are going to have to figure out for your body style.
Also, remember, if you have to move your hand back, are you losing contact with your white light or IR laser pressure pads?
Have Accountability
Accountability matters in your shooting performance. You can do it alone, but having a partner, group, or tribe helps keep you on track. There might be something they see that you missed.
If you don’t have a network, join ours. Share your marksmanship growth on the On The Range (OTR) “CREW” member’s page or our On The Range Podcast “CREW” Facebook group. My co-host Mark Kelley of Kelley Defense and I hold bi-monthly interactive Zoom calls with CREW members. We break down each shooter’s skill builder and even review members’ training videos live, giving immediate feedback on ways to improve.
Conclusion“ –“ Put In The Work
To improve your shooting-on-the-move marksmanship, you must put in the work. That means a solid dry-fire plan and a way to record progress — like The Firearms Training Notebook. Use tools like a visible laser and video to level up your dry-fire training and see the improvement in your live training.
Train hard. Stay safe. See you “On The Range.”