“It’s just a .22”. You’ve probably heard that at the range or at the gun shop counter. Marginalizing statements about rimfire rifles aren’t uncommon, but they are often misleading.
One would think the humble little .22 is a starter rifle or perhaps something you grow out of, but the reality is, they can train you at any stage in your life. While not as powerful as its centerfire counterparts, a scoped rimfire can help identify issues with your skills and rifle setup. Fundamentals can be practiced, and you can hone your marksmanship and understanding of the equipment you use.
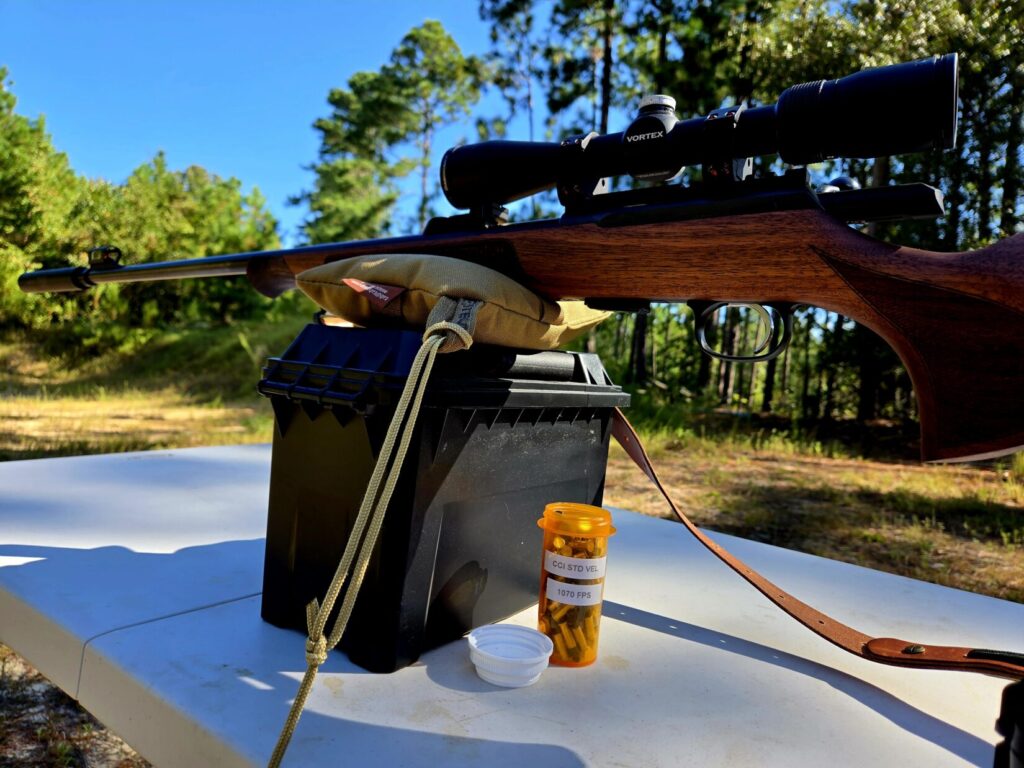
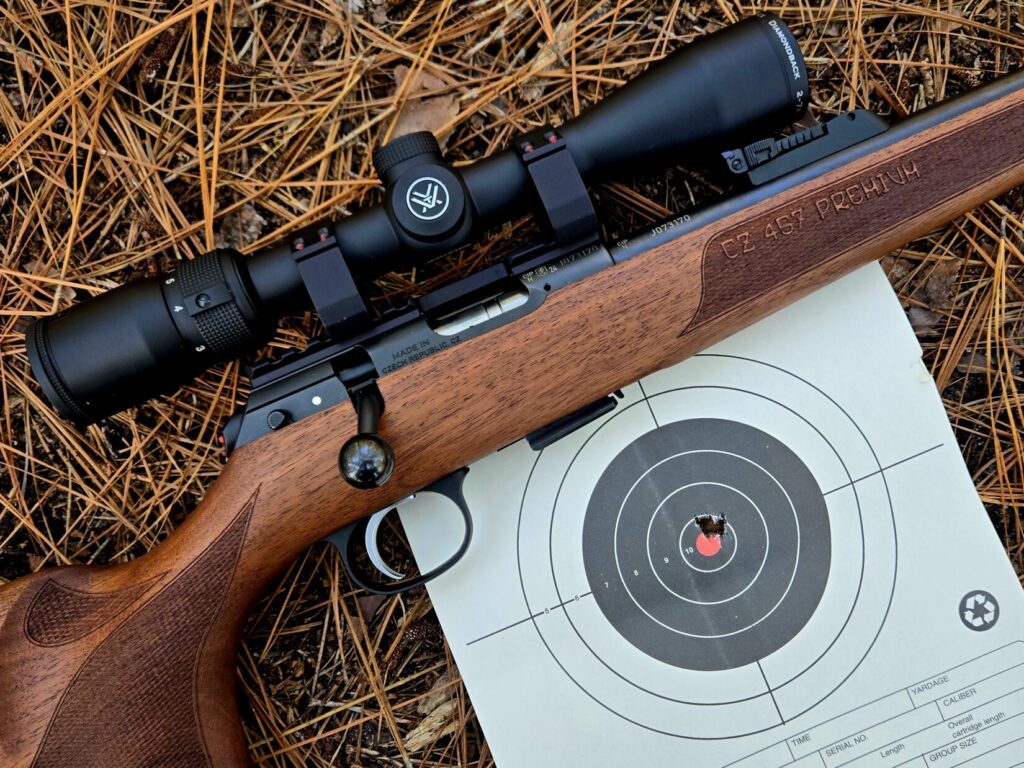
That little .22 can help build foundational habits and skills that transcend caliber. I grabbed my CZ Premium and took to the range to demonstrate a few skills you can build upon in this Safariland Cadre Dispatch article.
Quick Evaluation
You should always know the status of your rifle, and with a scoped rimfire, you should assess if it is configured correctly in three simple steps. Assuming you recently mounted an optic or purchased a rifle with an optic on it, you can check the level of the reticle with either a plumb bob on the vertical axis or the horizontal axis against water inside a translucent water bottle at a distance.

Ideally, the top of the rifle’s receiver and the reticle are both level, but it is more important that the optic is level when mounted in the shooter’s shoulder, even if the rifle has a slight cant. This will come into play with more powerful rifles at greater distances, where you’ll have perceived windage errors.
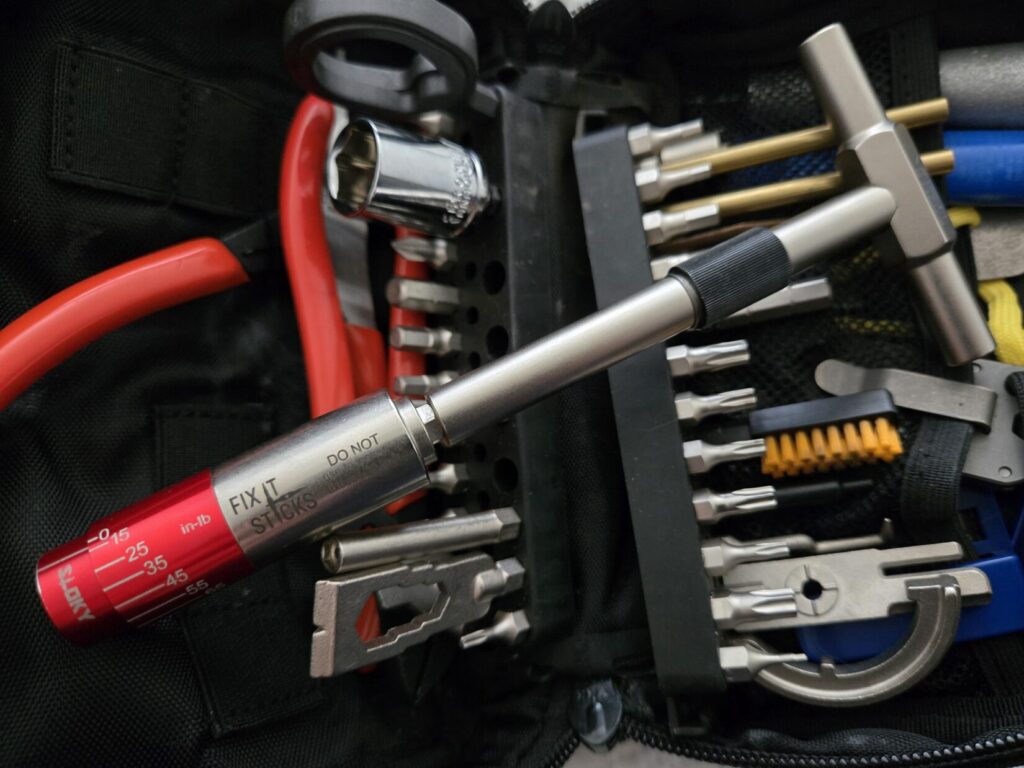
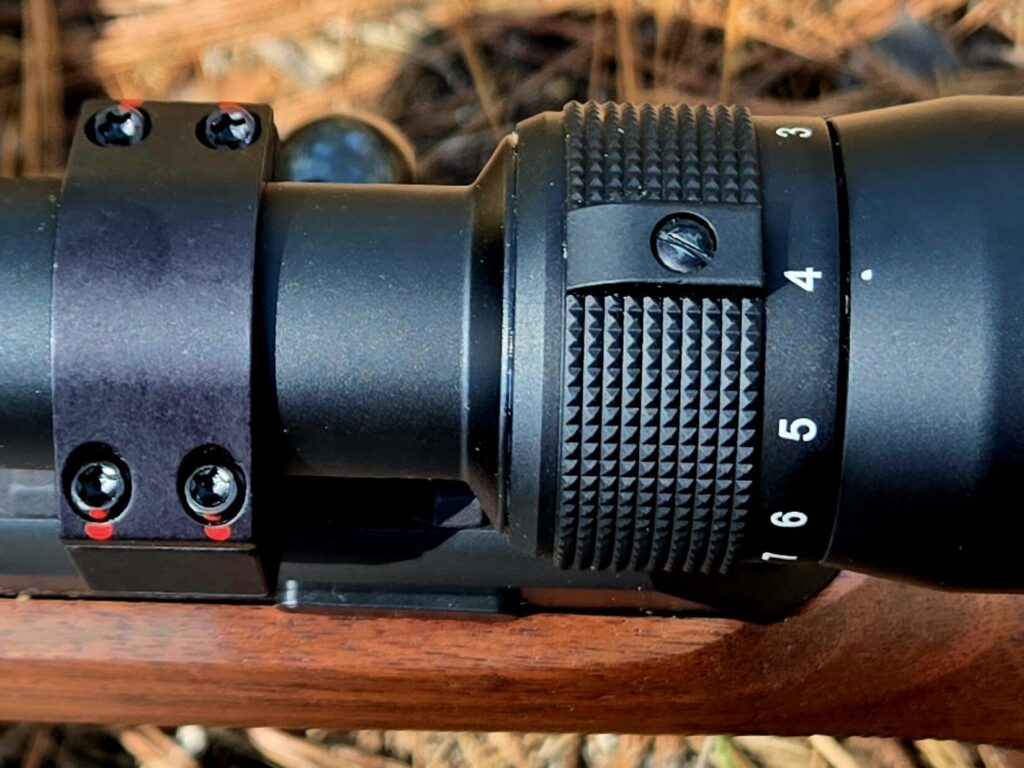
Also, if you haven’t marked your optic screws, you can check the torque with a proper torque wrench. Don’t hand-tighten to an unknown torque spec, and definitely don’t overtighten and potentially damage your optic.
Finally, you can check if the rear objective of the optic is the correct distance from your eye so that there is no shadow anywhere in the sight picture. This last step is most easily done with a partner who can move the optic forward and backward as you provide feedback based on the clarity of the reticle.
Box Drill
When you have confidence in your equipment, you don’t question it. A simple drill to run with your optic is a box drill. This drill can be done with as few as 30 rounds of ammunition with a single point of aim.
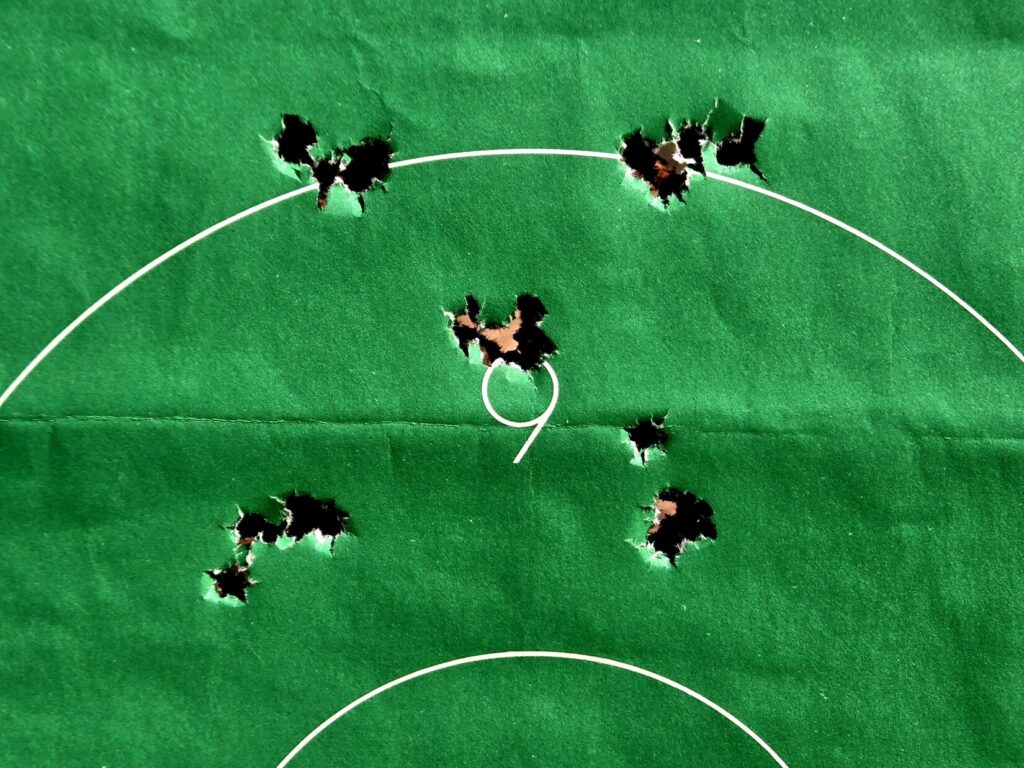
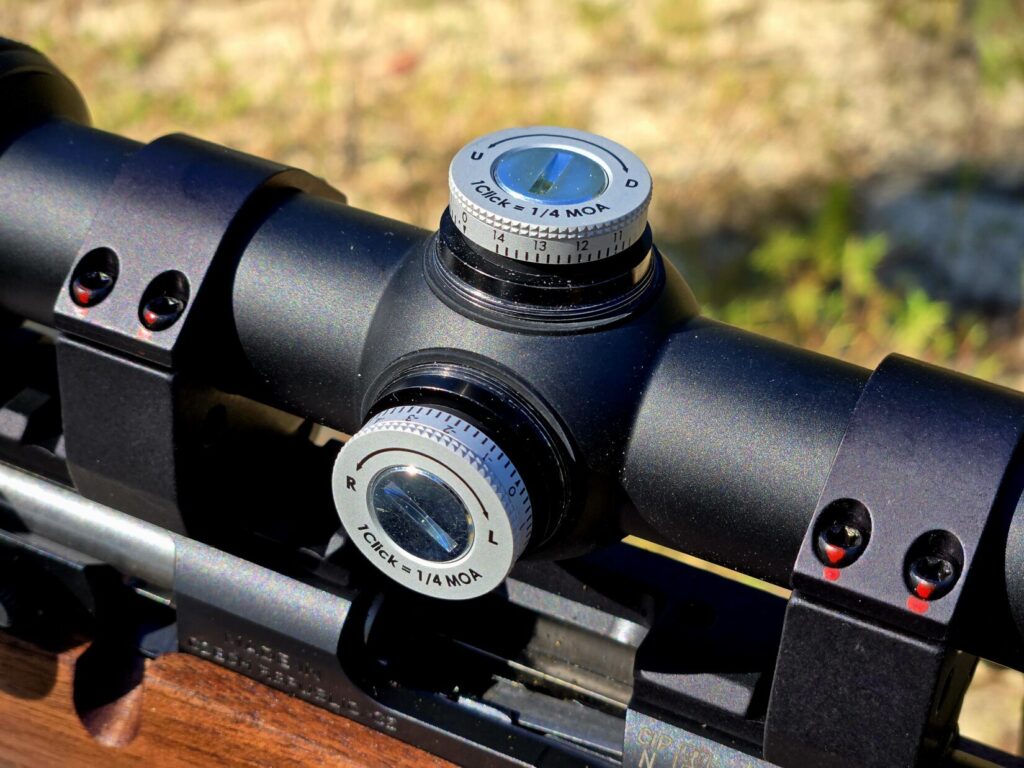
Starting with your 25-yard zero, fire five rounds at the center of a target. Assuming you have an optic with ¼ minute of angle adjustments, you will have to double the adjustments since the distance to 100 yards has been cut in half.
Input 16 adjustments down and 16 adjustments right, and fire five more rounds with the same point of aim. The bullet holes will appear in the lower right-hand corner of your target.
Now input 32 adjustments up and fire five more rounds. Fire five more after inputting 32 adjustments left, and then another five after inputting 32 adjustments down.
Fire the last five rounds after making 16 adjustments right and 16 up. This will test your optic and leave you with a box if you connect the perimeter groups.
A similar test to judge scope tracking is referred to as a tall target test. This test can be done on a cardboard box typically used for shipping firearms.
Using the elevation adjustments, groups are fired at the same point of aim after a minute of angle or more is dialed into the optic. If the scope and ammunition are consistent, the shooter should be left with a target with a series of five-shot groups consistently spaced apart from one another.
Low/Mid/High Magnification Groupings
The temptation to use your highest magnification is very real. The tradeoff for a closer look at your target is the smaller field of view and the more perceptible movement of the reticle.
There is truth to the expression, “Aim small, miss small”. A great drill to force the shooter to strict adherence to the fundamentals is the low/mid/high magnification group drill.
Starting with the lowest magnification, aim in at a fresh target. Hard focus on your reticle and make sure it has equal space around it with the dead center of the reticle over your target.
Maintain consistency with your shots, pressing the trigger at the same point in the respiratory pause, and use the most stable body position you can (prone or seated with a front and rear rest).
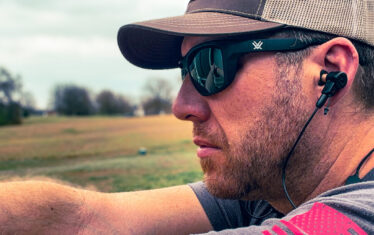
Move to your mid magnification setting and repeat the process on a new target. For a 2-7 power like my Vortex 2-7×35 Diamondback, the mid setting is just about 4 power. Look at the throw of the magnification dial. Halfway through the movement of the ring is your mid power.
Repeat the process on one more clean target on the highest setting. You may be surprised to find you are most accurate with the smallest group at the lowest setting. Then again, you may find the mid setting to be what gives you the most success.
Whatever it is, it is better to learn it ahead of time than before it is too late in the field.
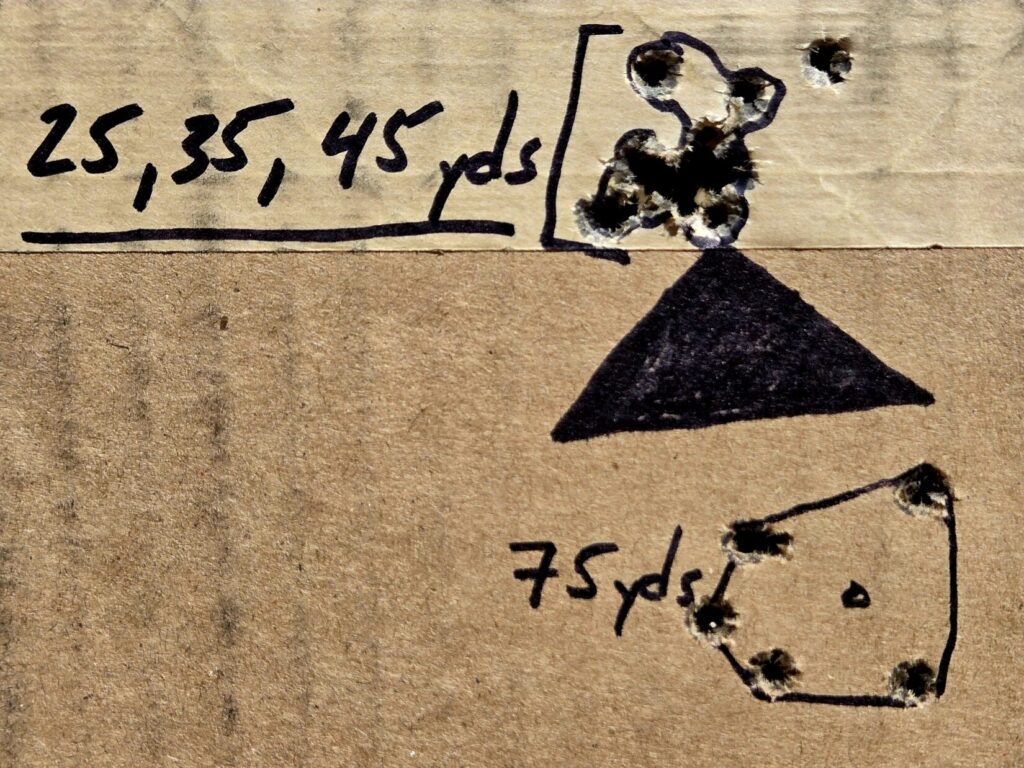
Holds at 25, 75, and 100 yds
A great evaluation of your rifle that makes sense and offers a good amount of relatively cheap fun is the analog walk back.
In this day and age, larger centerfire rifles can be plugged into a Kestrel, and shooting solutions can be determined at any range. Prior to the age of modern ballistic calculators, analog walk backs involved shooting your rifle at different distances from the target and measuring the center of the group from the point of aim.
Shooting a true five-shot group at 25-meter intervals can not only add up financially but also put a lot of wear on your equipment. The rimfire will likely never be an expensive firearm to feed, and the old-school walk back still applies.
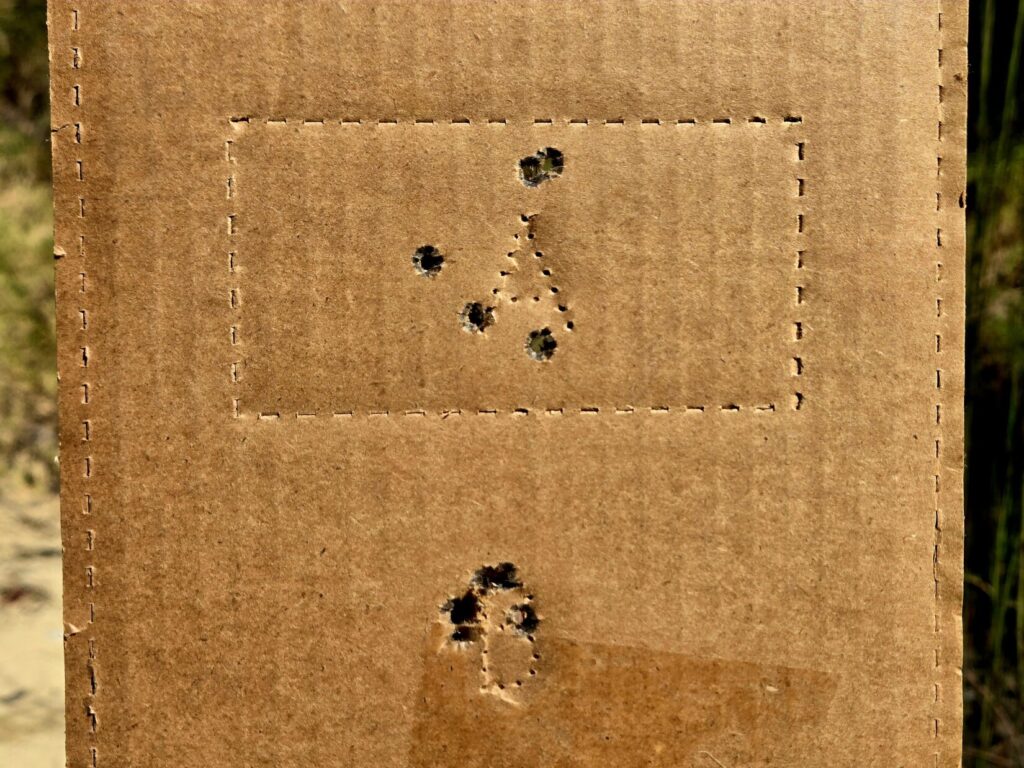
Starting with a standard-size cardboard target backer, create a small aiming point at the very top of the target about 5 inches down from the top. If you have a 50-yard zero, your first shots at 25 yards will be low. Fire five rounds and mark the group and each bullet hole to avoid confusing them as you push further back.
With each group, measure the distance from the point of aim to the center of each five-shot group. Measure the size of each group and note the point at which the group became too large for comfort.
In other words, if you notice your group is two to three times the size of a small game animal you intend to hunt, you may not want to take a shot at that distance, wounding or missing the animal altogether.
The next time you handle a rimfire, consider it a valuable training tool rather than a “fun gun”, “range toy”, or some other title that takes for granted its potential. Learn your tools inside and out and understand how to extract the most from them.