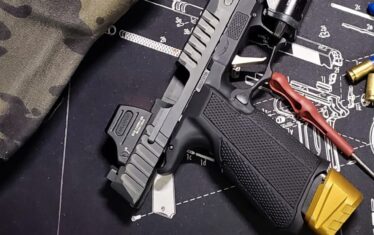
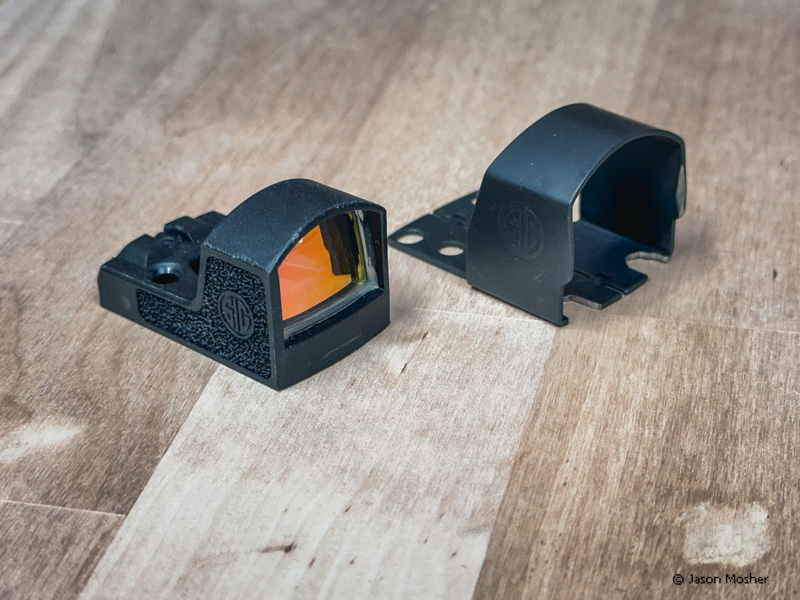
The Romeo Zero is a very compact red dot for those smaller handguns like the Sig P365 and others. It uses the RMSc footprint and comes with a metal cover to provide additional protection.
Not all gun companies also make optics, but Sig Sauer has been doing it for a while, from long-range scopes to micro-compact red dots.
A red dot helps the shooter with target acquisition and accuracy. Mounting a red dot on a handgun is becoming more popular as time goes on. It’s now more of a standard feature on newer handguns.
Compact firearms tend to be less accurate because of their size, so what better tool to have? This doesn’t mean you must have an optic, but they do help many shooters who carry a compact handgun. I’ve used my Romeo Zero on a few different guns including the Masada Slim and Ruger Max9.
Because handgun-mounted red dots are so common today, the market is becoming crowded with options. But which one do you select when there are so many?
I used to say, “You get what you pay for,” and that theory still works, to a point. However, today’s technology enables companies to make quality products at a cheaper price. So, when you compare the Romeo Zero to some others out there, you get more than what you pay for.
Sig Romeo Zero red dot
The Romeo Zero is a micro-reflex red dot sight that was designed to work with the P365 handgun. To maximize weight and space, the Romeo Zero is about as small as red dots come.
Made of ultralight polymer, the housing of the optic is strong and durable. I’ve run mine through quite a bit and it’s still running strong. During other reviews, I’ve dropped it, baked it in the oven, and frozen it. It still runs and I’m still using it.
Like many red dots of today, the Romeo Zero has a motion-activated feature. Sig calls theirs the MOTAC, short for Motion Activated Illumination. There are eight illumination settings and the CR1632 battery has a mind-blowing battery life rating.
According to Sig, the little coin cell battery will power the Romeo Zero for 10 years. That’s hard for me to believe, but I’ll admit, I haven’t replaced the battery in mine yet. The lens has a Spectra Coat HD Polymer lens that is supposed to have 10 times the impact resistance over other glass lenses.
As I mentioned above, the Zero uses the Shield footprint. But it will also work with the J-Point footprint and mount directly to Sig’s P365 handgun.
When it was first released, the suggested retail was $249 which is a little high. Today, however, it can easily be purchased in the $150 range or less. For such a small sight that weighs 0.4 ounces and runs for a decade, it’s hard to talk yourself out of buying one.
Mounting and Zeroing
Because the Romeo Zero uses an open-bottom design, the battery is not self-contained. Instead, it’s held in by mounting the optic to the handgun. Keep this in mind when removing the optic because the battery can fall out as you lift it off the gun.
Depending on the footprint the handgun uses, there will be either two or four stabilizing bolts. These bolts go into the lug sockets on the optic. I currently have the Romeo Zero mounted on my Ruger Max 9, which uses the RMSc footprint.
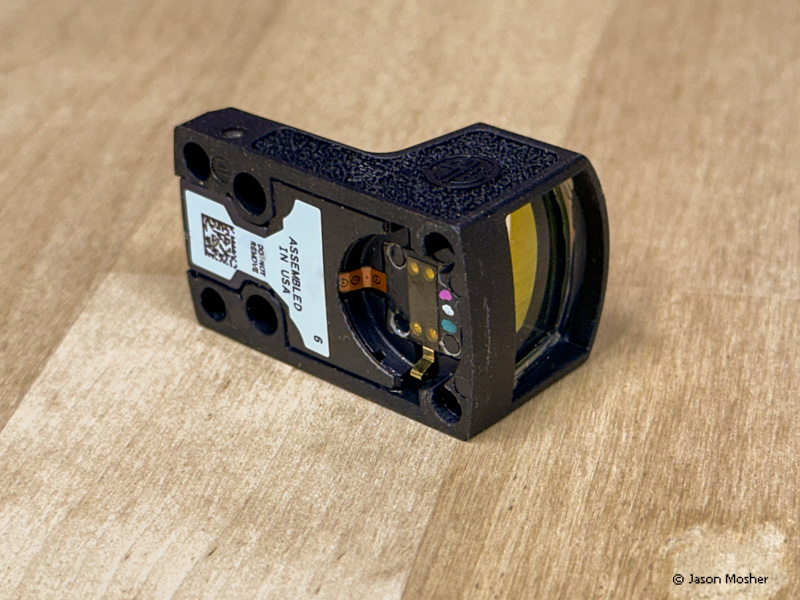
To install, simply place the battery in the bottom compartment and hold it in while setting the optic over the two front bolts. Once the optic is on the gun, use the two provided screws to secure it. Make sure you do not over-tighten the screws on the optic.
Most Romeo Zero red dots come with an exterior metal shield for added protection. If you want to use it, insert the red dot (with battery) into the metal shield before placing it on the gun.
Once installed on the gun, It’s time to zero the optic. For smaller concealed-carry-size handguns, I like to start at 10 yards and fire a few rounds to see where it’s hitting.
With handgun optics, it’s not uncommon for them to be extremely close, as the factory may have zeroed it before shipping. If it’s not close, I make some adjustments before moving out to 15 yards. This is about as far as I go with concealed carry guns.
On the range with the Romeo Zero
It doesn’t take long to zero a handgun optic for close distances. But I would recommend firing at least 50 rounds through it before using it for self-defense. This allows you to make sure the optic will stay zeroed and make sure it’s not going to come loose.
On more than one occasion, I thought my optic was good and tight only to have it fly off while I was shooting it. If you plan to leave the optic on the gun, use a little Blue Threadlocker from Loctite to keep the screws from coming out.
When I mounted the Romeo Zero on the Max 9, I fired 200 rounds through it from 10 and 15 yards. The 115-grain ammo used for the review was provided by AmmunitiontoGo.com.
I tried to find a bright sunny day for review because I wanted to see how the red dot held up on bright days. We often mount red dots indoors where the dot is easy to see. But it’s easy to forget that a sunny day can wash out a red dot if it’s not bright enough.
When I turned the dot on inside, I set it to the fifth brightness setting. The idea is to have it just bright enough to see but not more. This helps make it more accurate. In the sun, I turned it up to 7 and could see it without any issue.
It’s a small optic with a small window, which makes the dot harder to find than on larger optics, but it gets easier with training. Once I had about 50 rounds through the gun, I could lift it up to eyesight and have the dot on target.
How did it hold up?
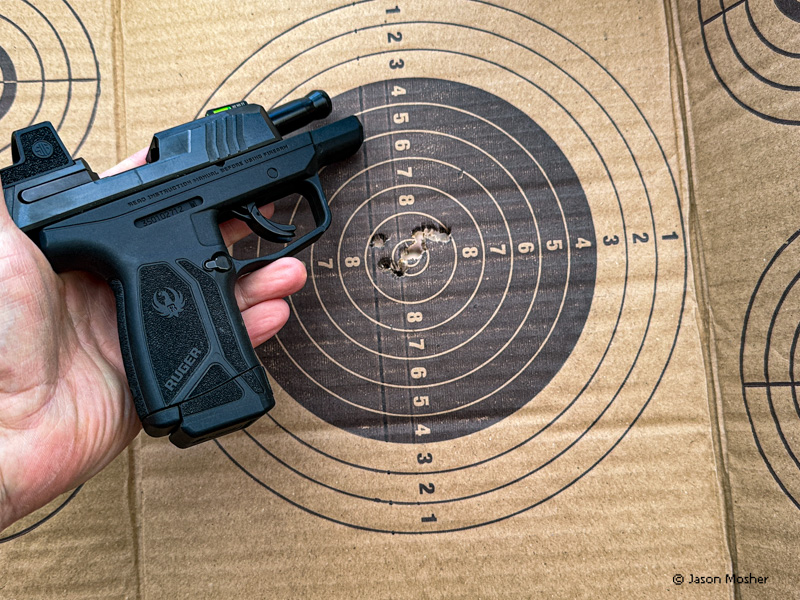
When I was close to the 200-round mark, I set up a new target and fired several magazines through it. The grouping was still dead on, making it easy to keep a small group (see photo above).
The only thing I wish were different on the Romeo Zero was the function button. Instead of having a button on the side, it’s located just behind the glass on the top of the optic floor. I found it impossible to change the setting with gloves on because the button is so small and in an awkward place.
This does keep it out of the way so it’s not accidentally bumped, but I would like to see it in an easier-to-reach location. Other than that, this is a great little optic for the price. I’m not using the external metal shield right now, but I like that it comes with one.
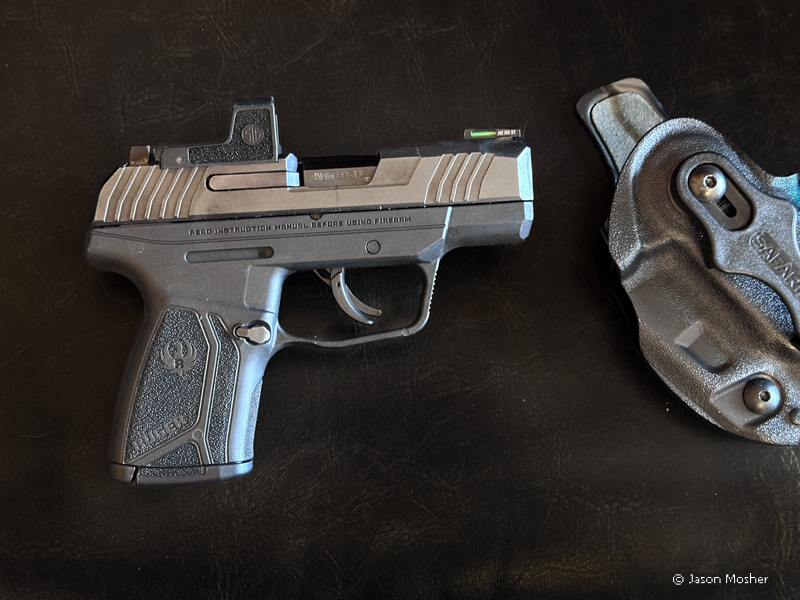
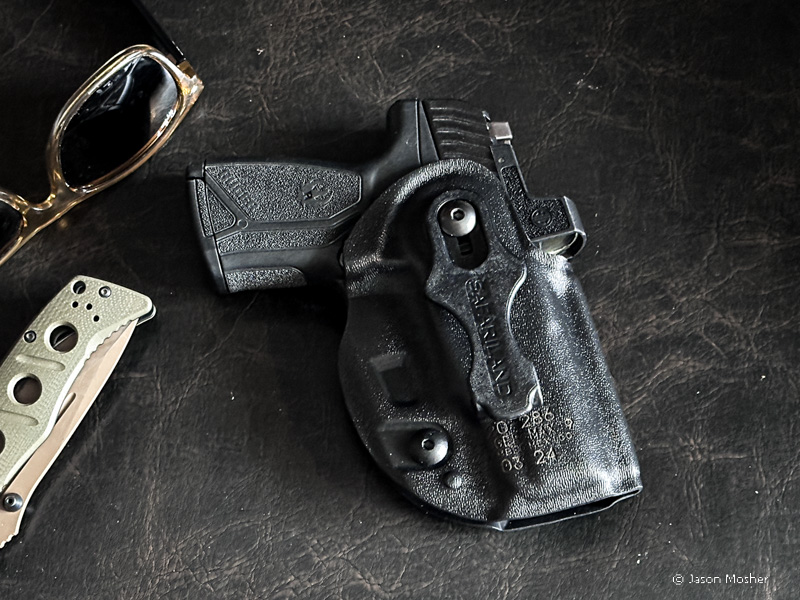
I carry it in my Safariland Species IWB holster which has a soft lining on the inside to protect the gun. The belt clip is adjustable, allowing me to change the angle of the holster as well. With the cutout for the optic, my Ruger Max 9 and Romeo Zero optic fit perfectly in it.
Safariland also makes plenty of other holsters that fit the Romeo Zero optic. Use the holster finder to find the right holster for your gun and optic.