Whenever we work drills, we aim to incorporate multiple skills to get the best possible bang for our buck. One problem we might run into is using a skill in a drill you haven’t quite developed, such as target transitions.
If you do a drill like the Accelerator or El Presidente, you work on transitioning targets, but what if you don’t know how to transition targets properly? Your performance will suffer considerably, but worse than that, you might be reinforcing bad habits.

As fun as drills can be, we need to make sure we know how to do the different parts of the drill. Knowing how doesn’t necessitate mastery. You need to know the proper way to do a target transition.
From there, we can begin to reach that level of mastery we all desire. It all starts with the basic building blocks of knowing how.
Target Transitions 101
A target transition, sometimes called a target index, is the act of moving between multiple targets and engaging those targets. This is one of those basic skills you should practice for defensive use.
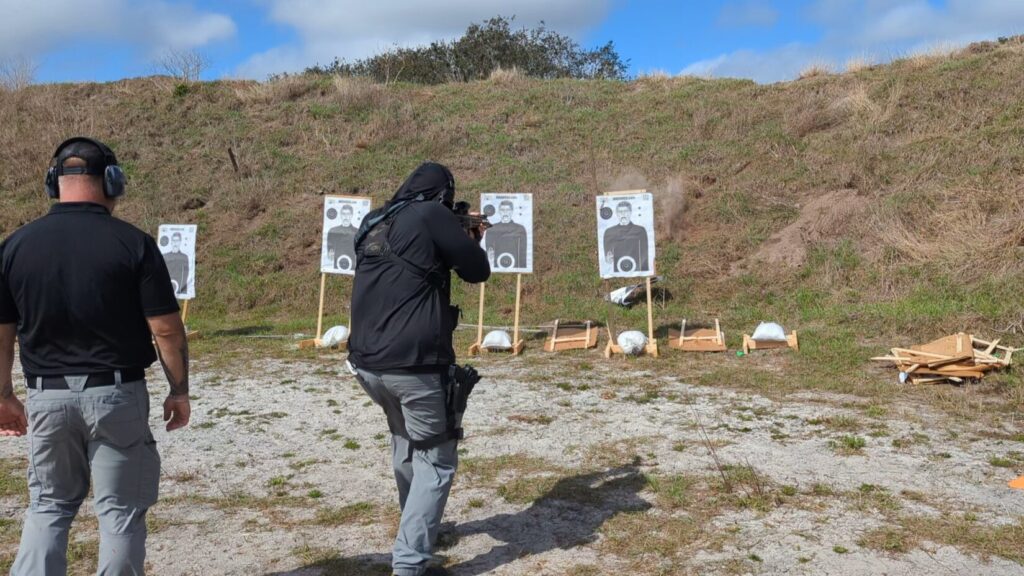
In an event where you’re facing multiple threats, the ability to quickly transition from one to another can be lifesaving. Finding yourself outnumbered immediately puts you on the back foot, so every little bit of skill you have can mean the difference between success and failure.
Much like a fast draw, you want to be able to transition, get on target, and engage quickly, efficiently, and with excellent accuracy.
Eyes Before Gun
Until I took a class or two, I had a bad habit in transitioning targets; I would just do everything at one time. I swung my eyes and gun at the same time. This often resulted in driving the gun too far or too short.
What I learned from Rick Hogg, of War Hogg Tactical, was that your eyes move before your gun.
Let’s say we have target A and target B. I’ve engaged target A, and now I need to transition to target B.
Before my body moves, my eyes are going to dart to target B. I’m going to locate a small part of that target and lock into it. Once my eyes are locked, my arms begin to move. I keep that locked-on look, and my arms, gun, and potentially my entire body move to orient toward the threat.
If your eyes are locked onto the target, your sights should naturally come to your sight line as you move your gun to target B. This gives you a complete sight picture and allows you to take your shot. The mantra is bring the gun to your eyes.
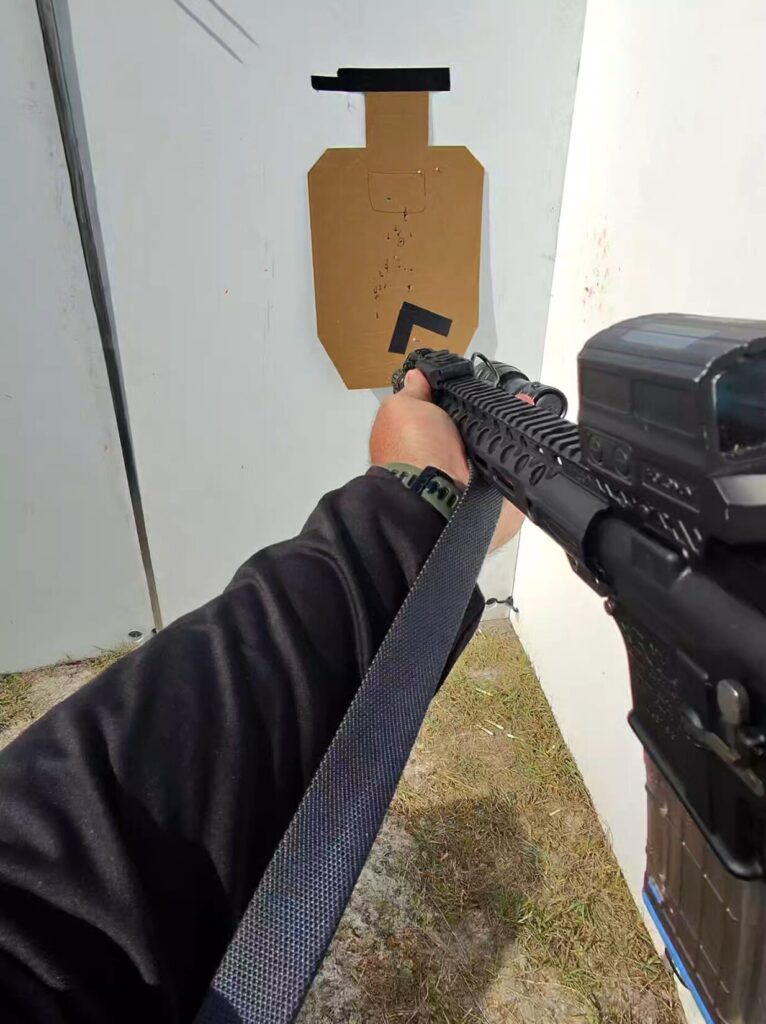
Keeping the eyes locked onto the target helps prevent overswinging the target or falling short. We accept that shot placement is king when it comes to stopping threats, so we aren’t looking at the whole target. We are focusing on a smaller aspect of that target. Specifically, we want to target the upper thoracic area. That’s where our hits will count.
Going Slow, Then Fast
This seems counterintuitive; it feels slow, especially when you first start practicing. It’s not automatic. Making a conscious effort to look, lock in, and move will feel slow. What separates you from speed is practice. Lots and lots of practice. Eventually, it goes from a conscious effort to a near-automated effort.
The only thing keeping you from success is the reps required to build the skill.
The Practice Plan
The best way to practice this kind of skill is dry fire. It’s free, can be done in short sessions when you have free time, and doesn’t take much to do.
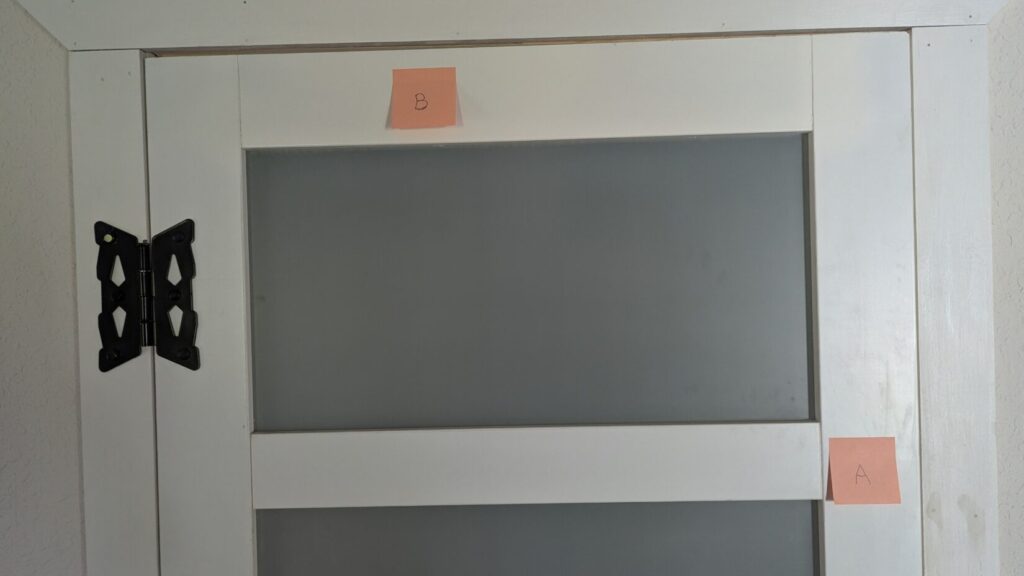
You’ll need a handgun that’s been completely cleared, meaning visually and physically inspected, before practice. Make sure ammo is stored in a separate room. Grab a pair of standard-size Post-it notes and hang both on a wall a few feet apart.
There are your targets, label one A and one B.
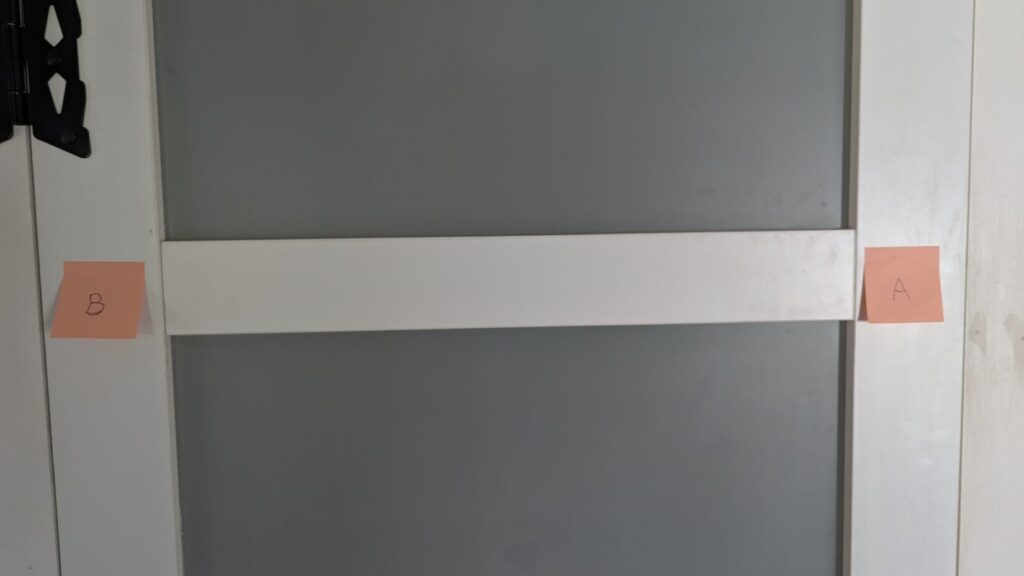
Start with the gun oriented on target A. Lock your eyes on the B drawn on target B. Now transition to target B, bringing the gun to your eyes.
Your goal is to align the sights with the B on target B. Now repeat, this time transitioning to target A. You can go back and forth for a few minutes, making every movement a conscious effort.
If it gets boring, separate the targets further, play with verticality, or even with depth, placing targets closer or farther from the shooter. You can spice this practice up a fair bit and keep it interesting and dynamic without ever firing a round.
At The Range
At the range, everything gets a little more challenging, but time at the range is a test of your dry fire practice. Here, we likely have more range to shoot than we did with dry fire, so we can use larger targets.
USPSA/IPSC targets with designated scoring zones are great for this training. We can use the scoring zone as the area we lock onto when transitioning from target to target. Start at a range that is comfortable for you and begin transitioning, still keeping the steps conscious and deliberate.
From here, your targets will be your evaluator. Where are your shots hitting?
A second evaluator can be a timer. How fast can you move from target to target, making good hits?
Employ both to track your practice. Record the practice in a notebook, if possible, to keep track of your progress. Self-evaluation without a record doesn’t go very far.
Record the total time, as well as your split times between targets. The timer and target will tell you whether you have a weakness in one direction, an accuracy issue, or if you can go faster.
A to B
Target transitions are a critical skill to learn and should be a basic tool in your toolbox. Luckily, it’s not a complicated skill to practice. The only thing keeping you from success is the reps.