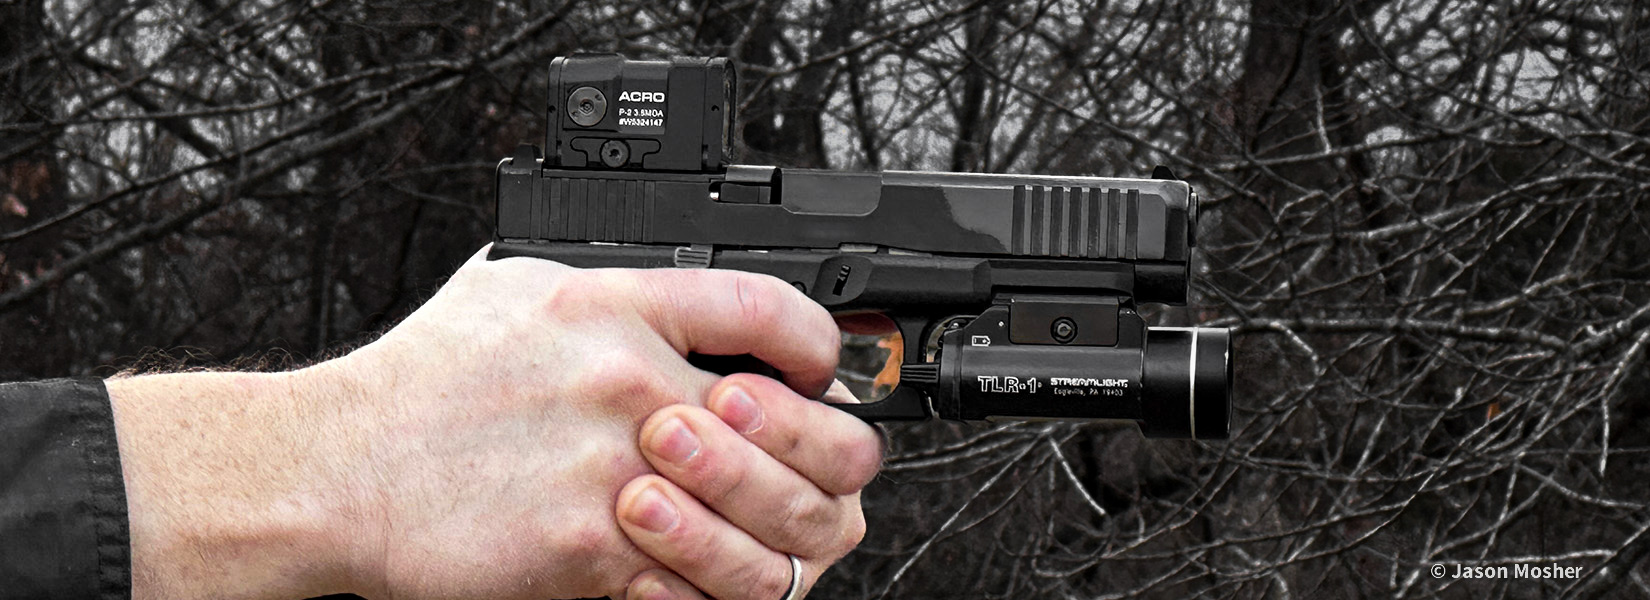
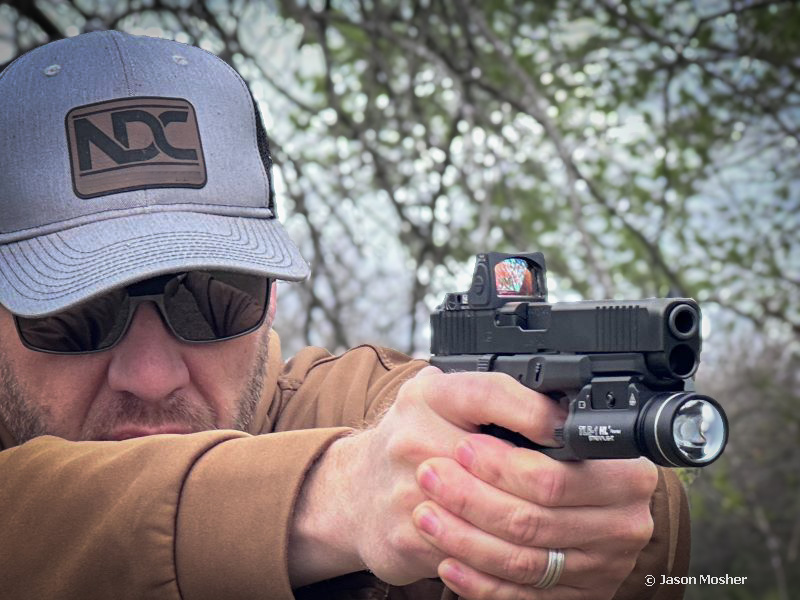
When it comes to accurate handgun shooting, most shooters obsess about sights, ammunition, and gun models. Yet, there’s one often overlooked detail that makes a world of difference: trigger finger placement.
That’s right, where you put your finger can mean the difference between tight groups and embarrassing misses. Think of your trigger finger like a dance partner; step on its toes, and you’re headed for disaster. Getting your trigger finger placement correct isn’t just gun snobbery; it’s essential for accurate and consistent shooting.
Years ago, I went through a spell where I felt like I was shooting “off” no matter what I did. At first, I assumed it was the sights. But we have all done that, right? Blame our oddly shaped group on the sights of our handgun? I got over that when one of my instructors took the gun from me and said, “It’s hardly ever the sights.”
He then proceeded to fire my handgun and create a nice-looking group in the middle of the target. After that, I started paying more attention to my grip and finger placement on the trigger.
Of course, it is possible for sights to be off, ammo to be quirky, or guns to send bullets flying in random patterns. But the biggest thing that will make or break your shooting skills is your grip and finger placement.
Fingertip, Pad, and Distal Joint
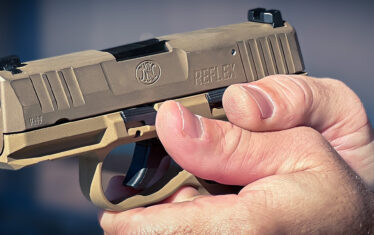
Your trigger finger has several key areas that offer both advantages and disadvantages when pulling the trigger on your firearm. The part of your finger that has the most contact with the trigger can determine what the barrel does, if anything, when you pull the trigger.
It’s not as simple as a “correct way” for all guns. Double-action revolvers, for instance, will require more force to pull the trigger than a striker-fired pistol. This may require an adjustment of your finger on the trigger. Compare that to, say, a sniper rifle, which has an extremely light trigger. It requires very little force to pull the trigger, and so finger placement on the trigger may be different.
But having said that, ideas and techniques have changed over the years. The extreme differences in finger placement have merged somewhat.
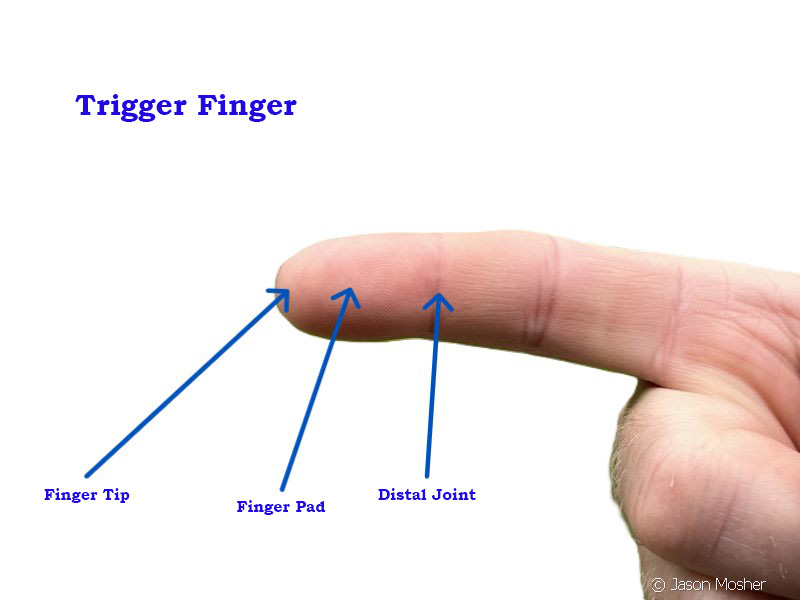
It’s important to understand the three distinctive parts of your finger that make contact with the trigger.
1. Fingertip
The very tip of your finger is highly sensitive. This is why many used to prefer to use this area for pulling the trigger on a firearm with a light trigger.
The idea is that the sensitivity allows shooters to pull the trigger smoothly without jerking. Using just the tip of your finger however, can cause the barrel of the gun to move left.
2. Finger Pad
The pad is the fleshy area just behind the fingertip. Many experts recommend placing this part on the trigger because it offers a great balance of sensitivity and strength. It allows you to maintain consistent, even pressure through the trigger pull. For a lot of shooters, this is the part of the trigger finger that falls naturally on the face of the trigger with a proper grip.
3. Distal Joint:
This is the first major knuckle back from the fingertip. It is used particularly with firearms that have heavy trigger pulls. If a trigger pull is long and heavy, this is often the only way for a shooter to maintain a steady, smooth trigger pull.
Using the distal joint to pull the trigger on a single-action handgun could cause the barrel to move right. While the exact area of the finger may vary some, I’ve found most people use the pad of their finger. Some may use the upper part of the pad and others the lower, but it’s the most common. This is for semi-auto single-action or striker-fired, of course.
As I mentioned before, a revolver or double-action pull on a handgun may require shifting your finger more towards the distal joint.
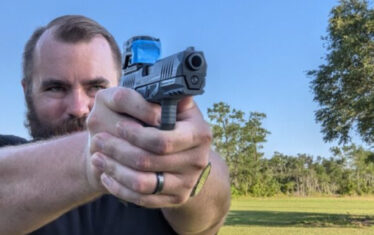
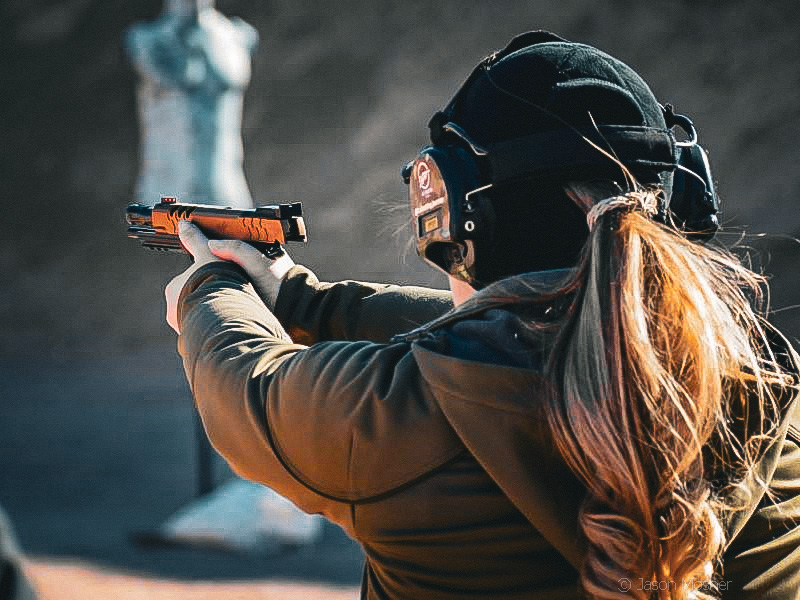
Grip and trigger finger placement: An inseparable duo
Proper finger placement can’t be discussed without mentioning grip. Your grip significantly influences your finger’s alignment with the trigger. A proper handgun grip positions your hand high and snug on the firearm, providing stability and reducing recoil. But it should also allow your finger to naturally rest in the correct area.
If your grip is too loose, your finger placement becomes inconsistent, causing shots to scatter unpredictably. If it’s too tight, your finger might struggle to find the trigger’s ideal point. This is one reason you want to have a firm grip with your trigger finger, but not too tight.
Your support hand should do most of the gripping. The term I like best is: Grip the gun like a handshake and then crush it with your support hand.
Because your grip can change your trigger-finger location, pay attention to this when finding the right grip for you.
While there are “common” grip styles used today, every grip can be slightly adjusted depending on the person’s hand size, gun size, trigger action, etc.
For those needing to learn more about handgun grips, check out our Grip That Gun article.
Identifying poor trigger-finger placement and improper grip
Trigger finger placement issues often manifest in predictable ways on the target. Here are some common signs and corrections you can make when this happens.
- Shooting high and to the left: This can be caused by pushing on the gun with the shooting hand and/or anticipating recoil. To correct this, increase the pressure with your support hand. Also, focus on not pushing the gun into the support hand with your shooting hand. If you are anticipating the recoil, work on your stance, grip, and finger placement while dry firing. Then plan regular trips to the range so you can build up confidence with your shooting skills. I like to pretend I’m still dry firing and let the gun surprise me when it goes off. Another method is to use a smaller caliber in a larger framed handgun, so the recoil is not as bad. This will help train your body and mind for the recoil as you pull the trigger.
- Shooting high and to the right: This can be caused by pushing the heel of your shooting hand into the grip as you pull the trigger. Remember, don’t push as you grip the gun. Use a moderate grip with your shooting hand and a crushing grip with your support hand.
- Shooting center, high: This could be caused by letting the wrists break upwards as you pull the trigger or lifting your head as you fire. Don’t anticipate the shot. Instead, use a steady, smooth trigger pull and let the gun surprise you. Lock your wrists and let your arms absorb the recoil, not your wrists.
- Shooting left: Too little finger on the trigger (using the tip more than the pad). If this is happening, you need to place more of the pad of your finger on the trigger. The amount of pad you use will depend on the trigger weight, length of trigger pull, etc. The harder the trigger pull, the move finger you may need on the trigger. Fining a good balance is why we practice!
- Shooting right: Too much finger around the trigger or applying too much pressure with your thumbs. If too much of your finger is around the trigger, it will cause your hand to turn as you pull. Move your finger out a little closer to the pad of your finger. You may also be pushing on the side of the gun with either thumb, which can cause the same issue. Use your support hand to apply pressure evenly with your palm and fingers, but not so much the thumb.
- Shooting low-left: This can be caused from jerking or slapping the trigger when firing. People often do this when they are nervous and anticipating the “bang” or trying to shoot fast. Even when you are shooting fast, the trigger pull should be smooth, even pressure. When dry firing, pay attention to the trigger reset so your body know how far out to let off the trigger before applying pressure again.
- Shooting low-right: You may be tightening your strong-hand grip while pulling the trigger. Again, the support hand should do most of the gripping. This can also happen when you have too much of your finger around the trigger, just like above (shooting to the right). Check the location of your finger placement and grip.
- Shooting center-low: When this happens, you may be flinching or pushing forward with the gun as you shoot. This can happen when you anticipate the recoil, especially with larger caliber guns. Make sure you have a proper stance, and your wrists are locked behind your arms. You want your entire body to absorb the recoil, not just your wrists.
As you can see, there are a lot of things that can cause consistent grouping in the wrong area. These are general guides, however, and may not be the same for everyone. During my time as a firearms instructor, I’ve learned that people can have their own quirky things that cause issues when shooting.
Dryfire to learn trigger finger placement
Have you heard that practice makes perfect? Well, that is true if there are no bad habits in your practice.
If you are experiencing some issues, start by checking your grip and finger placement. Then, make sure you continue the same grip and finger placement during your drills.
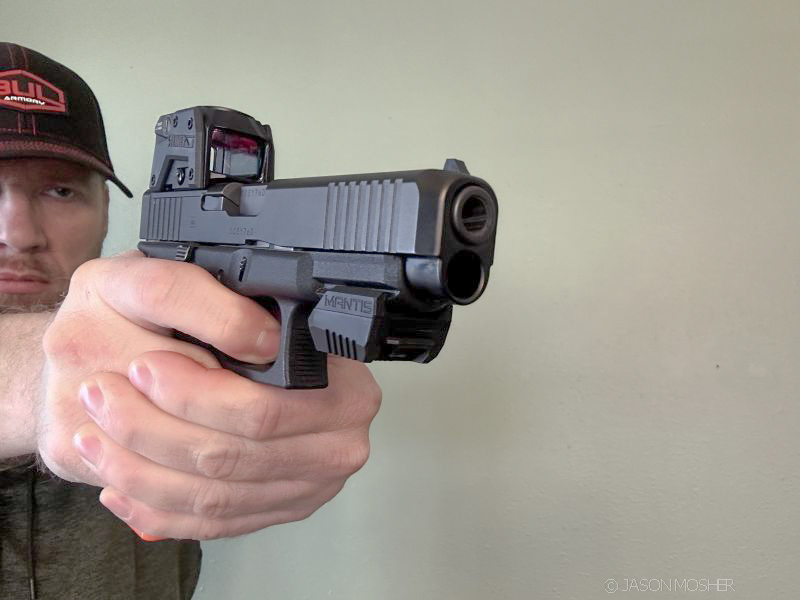
One of the best ways I’ve found to improve my grip and finger placement is by doing dry-fire drills. You can do this with just an empty gun, but a training system like Mantis or DryFireMag is even better.
After you dryfire your gun a few times, your brain will figure out there is no “bang” and no recoil. This will allow you to see what is happening with just your trigger pull.
Focus the empty gun on a small target. As you pull the trigger, watch to see if the sight moves in any direction. Ideally, you want to hear a “click” but see no movement of the sight at all.
With the MANTIS system, an app on your phone can show you where your shots are hitting and what corrections are needed. This is a really cool system that allows for some pretty good training right at home.
The DryFireMag is a magazine that fits into a specific gun (Glock is their most popular model) and resets the trigger. A laser inserts into the chamber and turns on for a split second as you pull the trigger. This system allows you to see where the dot is hitting. This system can be used with the MANTISX Ten, so you can see manually where you are hitting and still get feedback from the MANTIS app.
Practice until you have consistent trigger pulls with no movement of the front sight and/or the laser is in the same spot every time. Then head to the range and use the same grip and trigger pull with live ammo. If your groupings are still off, you may be anticipating the recoil and “bang” of the gun. One of the best ways to overcome this is to shoot more!
Clear as mud?
Understanding trigger finger placement is a bit tricky because it’s not the same for all people and all guns. In my experience, you want to find a good balance that works for you. I was using too much of the tip of my finger on the trigger for years. Now, I press the trigger with the lower end of the pad, somewhat between the pad and the distal joint.
I know others who use the center of the pad and shoot very well. Finding the right finger placement for you will depend on multiple factors, as I stated above.
Don’t be intimidated or confused by all the conflicting information you may find when researching the topic. Everyone has different opinions, and that’s a good thing. Try some ideas out and see what works for you. Keep evaluating, try new techniques out, and get better. In the end, that’s all any of us can do.