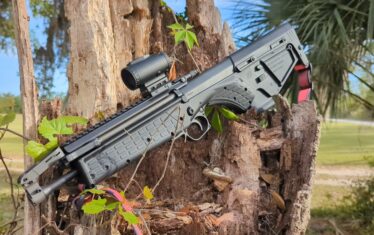
As violence rises and we spend more time around vehicles, having a solid vehicle‑tactics plan is essential. In Part I, we covered foundational skills — marksmanship, barricade work, holster placement, and carbine considerations — and why planning and training matter.
At War HOGG Tactical we we build on that foundation, applying real‑world experience to train law‑abiding citizens, military personnel, and law‑enforcement agencies using a step‑by‑step (building‑block) methodology.
Shooting Through Auto Glass
In my opinion, shooting through the windshield should be your last option. I understand the internet makes it look cool, but there are definitely some things to consider: do you have eye protection on, distance to the target, angle of your windshield, angle to the threat, type of ammo being used, and have you ever actually shot through auto glass?
The reason for the eye pro is that when you fire through laminated auto glass, there will be all kinds of glass shards flying around. I personally don’t want to possibly put myself out of the fight by getting debris in my eyes. The other issue when shooting through the windshield: now my vision is going to get distorted by all the cracks from bullet impacts on the glass.
As a rule, bullets don’t fly straight through a windshield. Most training uses full‑metal‑jacket rounds, but test your carry ammo against auto glass if possible. If the threat is moving, the initial hole you created with your initial rounds has to be duplicated, and those first couple of rounds are going to be erratic.
Side and rear windows are safety (tempered) glass: they shatter into small pieces and fall away. If you have added tint to your side or rear windows, the tint will almost act like a catch and not allow the glass to fall as freely.
shooting through the “v”
When possible, instead of shooting through the windshield, shoot through the “V.”
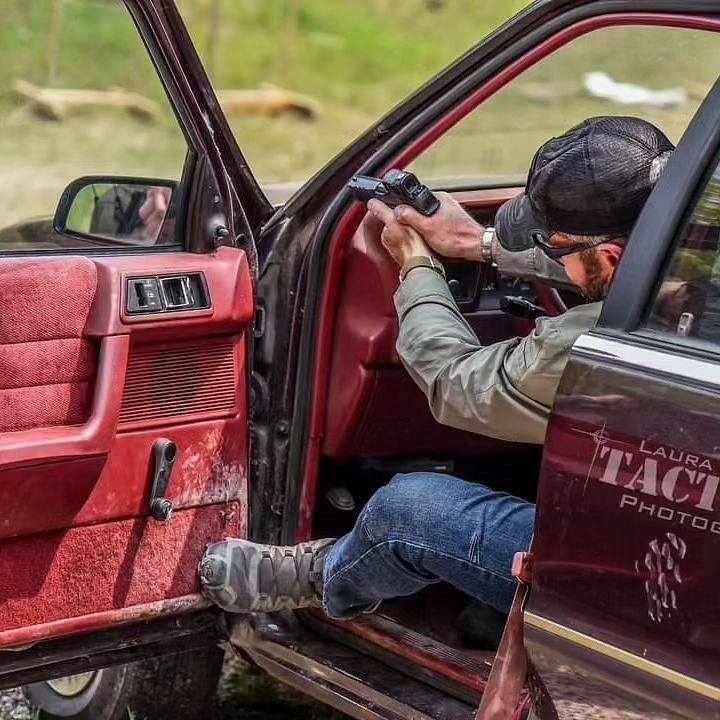
The “V” is the gap in the door and the A pillar of the vehicle. As long as your marksmanship is there, this ensures a first-round hit on your threat, greatly increasing your odds of surviving the encounter.
Exiting A Vehicle
Exiting the vehicle is the last option, in my opinion, because the vehicle’s mobility gives you options and increases survivability. The direction you take will depend on the factors and situations, so rehearse as many “what if” scenarios as possible.
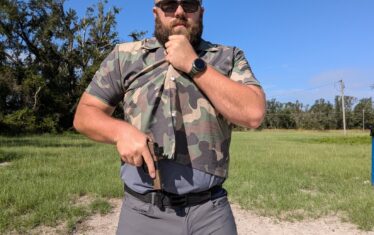
When it’s time to exit the vehicle, there is a methodical way to work the process. With your left hand, reach under the crossbody seatbelt strap and release it, sweeping the belt out of the way with your left arm. At the same time, begin moving your firing hand toward your pistol. This is why I like the strong side carry in a vehicle. The support hand can either open the door or move to the pistol.
When opening the door, use your left foot to hold it so it won’t swing back and strike your shin. Bring your pistol to a ready position or to a low ready or sul position.
Some instructors teach bringing the pistol to their head near their temple. I can not support this technique for a couple of reasons. First, if anyone were to wrap you up, there is nothing you can do with your pistol, and it makes it super easy for them to take the pistol.
Second, the idea of pointing a gun at your head does not sit well with me. What happens if you trip, fall, or bump into something? Your finger goes on the trigger, and the muzzle is pointing at your head. I have yet to hear a convincing reason to use the temple position.
Movement Around A Vehicle
When moving around a vehicle, prioritize positions that preserve your mobility while using the vehicle for cover. Your intent should be to find a path out of the danger area and return to safety.
Using The Vehicle For Cover
Some parts of your vehicle will provide better cover than others. There are no absolutes with vehicles because each one is different.
For example, we were doing some vehicle ballistic testing on a vehicle and shooting from one side to the other, through the trunk. I was for sure that both pistol and rifle rounds would go through both sides due to the trunk’s thin metal, but to our surprise, they did not. When we opened the trunk, it was packed with junk, which stopped the bullets from penetrating through the other side.
Good vehicle cover points to consider:
- Engine: Open your hood and take a look to see how much area it covers and if there is any dead space.
- Full length of the vehicle: Remember bullets will go through glass so be aware of your body position.
- Axles and rims: These have a lot of metal around them and offer another area for cover.
I personally don’t try to purposely use the pillars or try to stack them because to the left or right is air or glass.
Vehicle Armor
Deciding to armor your vehicle is a personal choice based on perceived threat level and if that is something you can even afford. For law enforcement, I recommend armoring at least the windshield and the driver’s door and window.
Unfortunately, with all the “defund the police” statements, armoring police vehicles probably is not feasible for most agencies. If you are a leader in law enforcement, ask yourself, what is the price of a human life, and what grants for vehicle armor are available?
I have seen some agencies use old body armor to make improvised armor, at least for the driver’s side door. Depending on your agency’s fleet’s makes and models, this may or may not be possible with the amount of space in the door. At least give it a try and see if you can add to your survivability if you are in an ambush situation.
One administrative note: If you armor your door, make sure the garage knows so if you get a new vehicle, they can pull that armor panel out and hopefully use it in another patrol vehicle.
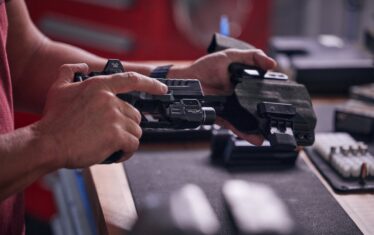
Companies like TruArmor offer the ability to customize armor for your vehicle. If the funds are there, at a minimum, prioritize the windshield and driver’s side door and window.
TruArmor offers ballistic door panels and side windows that are fully functional to raise or lower. For a law enforcement agency with the same fleet of vehicles, this makes it super easy to swap out armor if needed.
Build a Vehicle Tactics training plan
With the information in these two articles, you now have a starting point to build your vehicle tactics program.
This isn’t the end-all, be-all on vehicle tactics; we just hit the wave tops to get you started in developing your skills.
For my law enforcement officers, consider how nighttime vehicle stops and affect your ability to engage a threat. Seek out additional training and and always demand the “why” behind techniques — many tactics circulating on social media are just for entertainment.
If your agency or unit is looking for training, reach out to us at warhogg.com
Train Hard, Stay Safe and see you “On The Range” – Rick