Most of the time, a basic first-aid kit in the car or backpack is adequate. The idea is to handle minor injuries and keep someone alive in a major injury until they get medical attention. But for us survivalists who prepare for the things we hope never happens, a first-aid kit is not enough. We should at least have a full-blown medical response bag on hand.
Of course, with enough money and resources, the level of preparedness never ends. I’ve heard of some people setting up a hospital-grade emergency room in their bunkers. But for us normal folk, that’s not going to happen. But we can at least keep a few more supplies on hand than what you get in a standard medical kit.
Like all other prepping we do, you can start small and continue to grow your medical supplies as time and money allow. So, let’s talk for a moment about why such a bag is a good idea to have on hand, and then talk about the basics of setting up a bag.
Note: This article is for informational and educational purposes only. I am not a medical professional, and the information provided here is not a substitute for professional medical advice, diagnosis, or treatment.
Why do you need an emergency medical bag?
Life throws us curves and we never know what is coming. Major disasters can happen unexpectedly, making regular access to medical care impossible.
These could include major natural disasters like earthquakes, floods, or severe weather. During these times, roads may be blocked, communication systems can fail, and hospitals may be damaged or completely inaccessible.
Other scenarios, such as regional conflicts, terrorist attacks, or even a widespread deadly outbreak, can make travel extremely unsafe. When you cannot safely reach a medical professional, you may need to act in order save a life.
Your survival and the well-being of your family depend entirely on the supplies you have stockpiled. They will also depend on you having the basic training needed to use such medical supplies.
Here, we are looking specifically at advanced medical bags that are portable and can travel with you. I’ve always said your home should be your first choice for shelter during emergencies. But there may be times when you need to grab some gear and leave.
Setting up a medical response bag
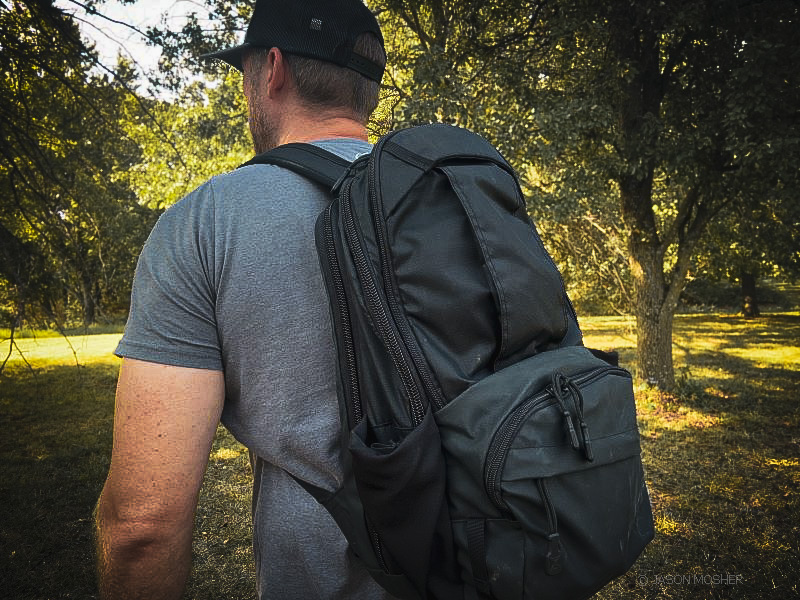
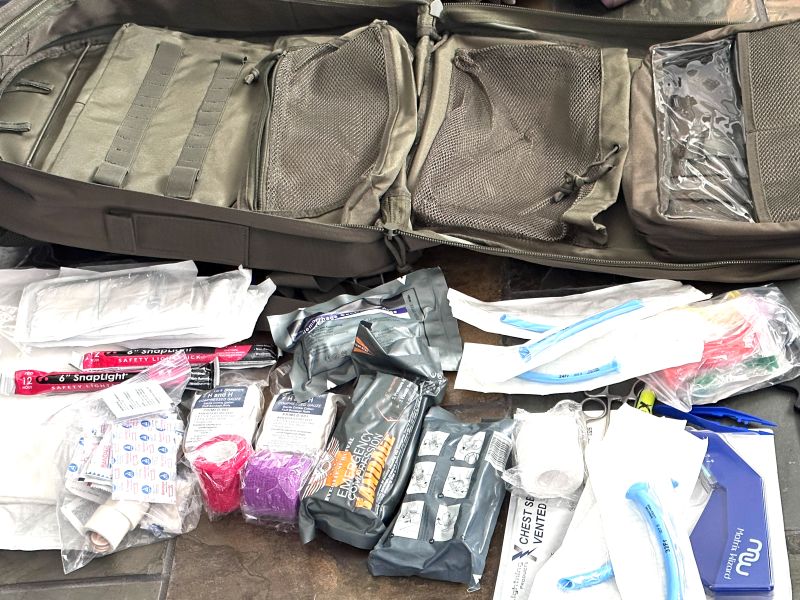
The first thing you want to do is select a bag for your medical kit. There are a ton of options for this, and you can make just about any type of duffle or backpack work. I ended up choosing a bag made for medical supplies that has multipole smaller detachable bags in it. These detachable bags are held onto the inside of the backpack with Velcro so you can grab the one you need and pull it off.
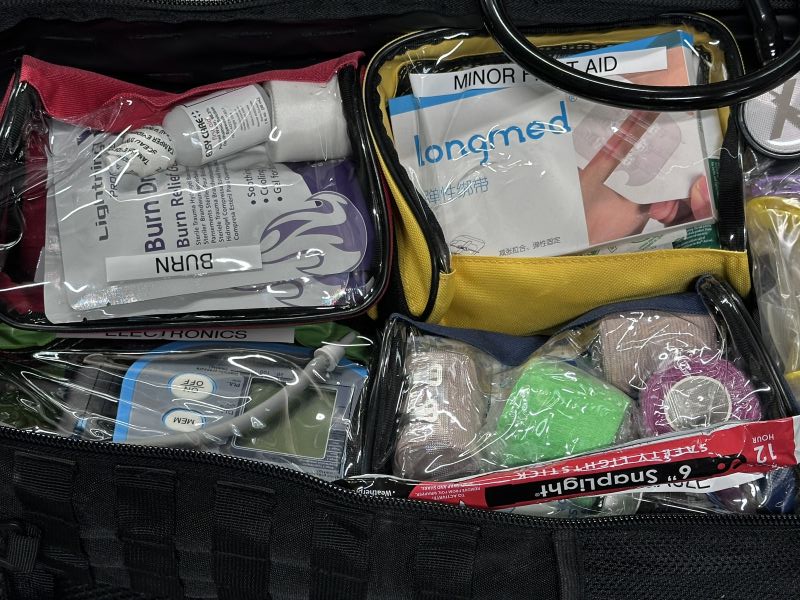
You can start with the basics that are often found in a first aid kit. For the most part, these are not lifesaving supplies as they are intended to treat minor injuries.
Let’s start with those basic first-aid components and then discuss specialized equipment you can add to it.
Common First-Aid Supplies
When I put together a “first-aid kit, I start with the basics and then add a few more things. Disenfectant spray, numbing agent, liquid stiches and other items are added to it.
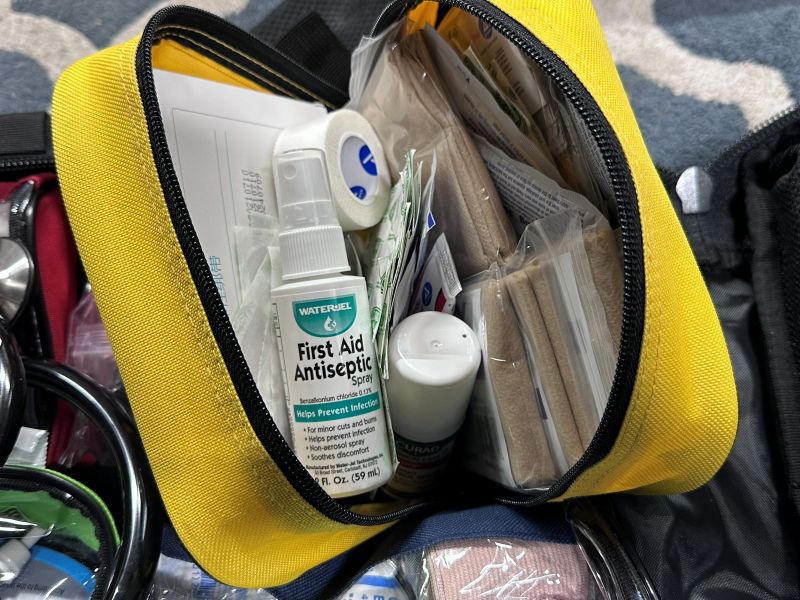
Bandaging Materials: Assorted sizes of sterile gauze pads, medical tape, and roller gauze. This can be used for minor and major injuries. You will need to add much more to your bag, however, than what comes in a first-aid kit. Larger bandages in sealed bags are not expensive and extremely valuable to have.
Wound Care: Antiseptic wipes, alcohol pads, and antibiotic ointment come in just about every first-aid kit. We will talk a little more about things you can add to this later on.
Basic Tools: Scissors, tweezers, disposable gloves, and a thermometer. Most basic first-aid kits come with these, but they are small and flimsy. I would recommend purchasing a good pair of medical scissors and tweezers separately.
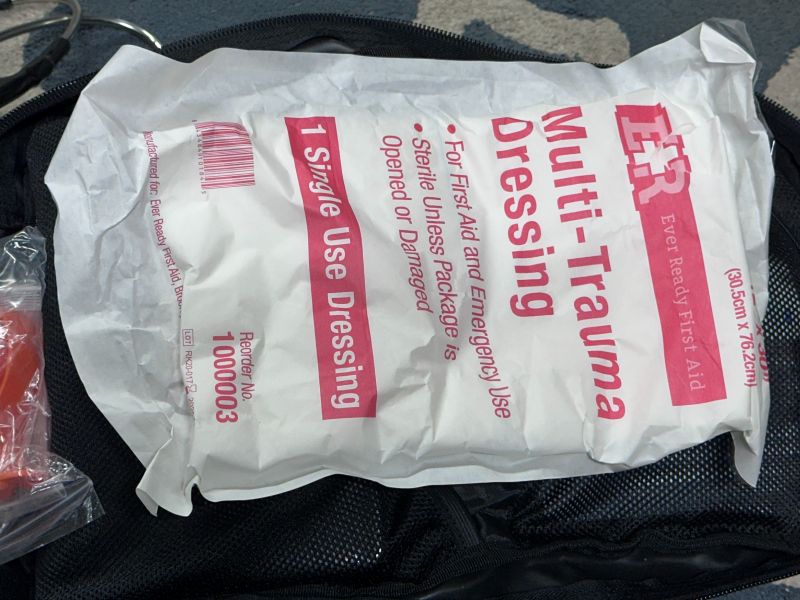
Trauma: Sterile non-stick pads for minor burns or cuts. While most first-aid kits do not provide much supplies for trauma, a tourniquet, pressure bandage, and chest seal bandage should be added to even a basic first-aid kit.
Advanced Supplies
When you add advanced medical supplies to your medical bag, it’s important to understand that they should only be used when professional medical help is truly unavailable. Using them improperly can be dangerous and should never be done unless there is no other option.
As you add these types of items to your medical bag, make a list of training you need. Having these supplies will do little good if you don’t know how or when to use them.
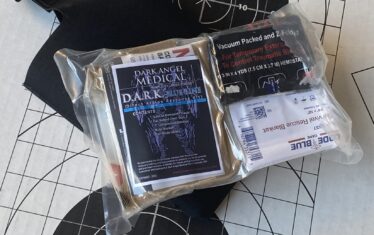
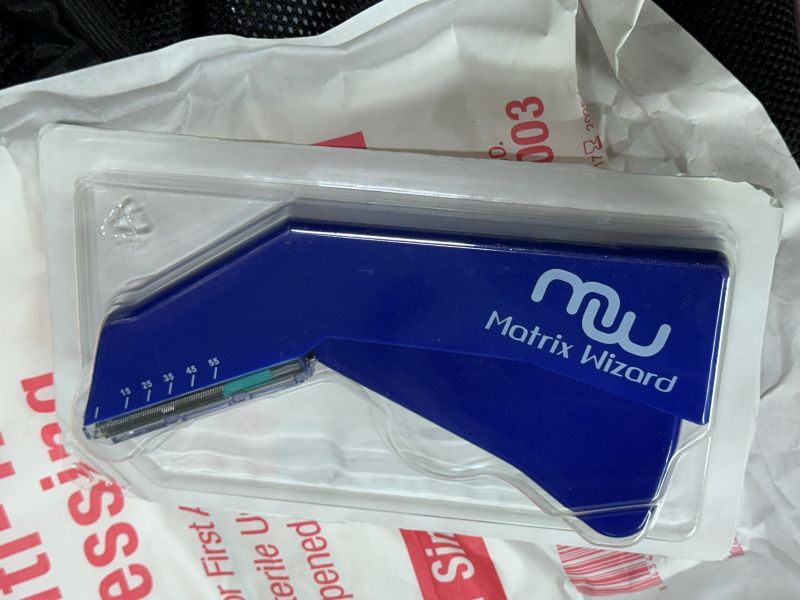
Suture/Staple Kit: This is what you will need for closing deep wounds that would normally require a hospital visit. In a last resort scenario, you may need to apply sutures or stables to a wound. You should be aware and understand the importance of property cleaning a wound before attempting this.
Depending on the severity of the wound, I have used super glue in the past, so keep a bottle of that on hand as well. You can purchase medical grade glue designed just for this purpose. Again, learn when and how to use it before you need it.
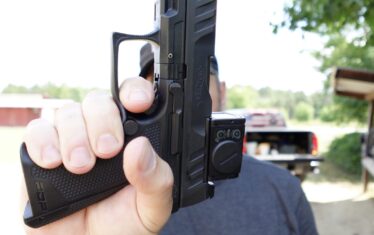
Tourniquets: In my opinion, this should be part of a basic kit, but either way, you should have some. Don’t skimp on tourniquets because poorly made ones will not work properly. High-quality tourniquets are not hard to find.
Remember, find training. If you are in a situation where no doctors or medical personnel are available, you need to already have a plan as to what you will do.
Hemostatic Agents: These are dressings treated with substances that rapidly accelerate blood clotting. They can help with a variety of wounds and come in multiple sizes. I like to have a variety in my bag. Along with these you can also keep larger piece of gauze and bandage pads for larger wounds.
Airway Management: Nasopharyngeal airway (NPA) or oral pharyngeal airway (OPA) kits maintain a clear breathing passage. This isn’t something you should learn on YouTube however. I recommend finding a medical class that teaches this with hand-on application.
I’ve already said it, but again, this is something you should never attempt unless you have had training and there is no other option.
Burn Care: I like to have large, sterile burn sheets and burn dressings on hand. You can also find small cans of spray burn treatment for fast application. Having an ORS (oral rehydration solution) in your bag is a good idea as well. A person can suffer from shock and/or hypothermia after a major burn so keep that in mind.
Expanding Your Response Bag for Orthopedic Care
To be truly prepared for a major disaster, your medical bag needs supplies for broken bones. When a hospital is out of reach, you must stabilize these serious injuries yourself. Proper splinting is needed to prevent further damage until better care is found.
Broken Bone Stabilization
A simple broken bone can quickly become a complicated injury without proper immobilization. You need materials to splint and support the limb.
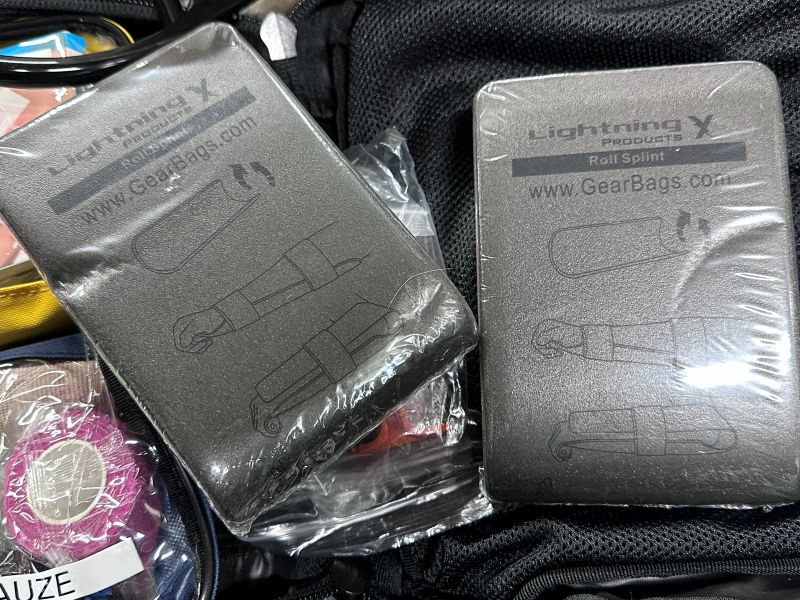
SAM Splints (or C-Splints): These lightweight, padded aluminum sheets can be cut or folded to conform to any limb. They are great for stabilizing fractures. I like to keep a couple of these in my medical bag.
ACE Bandages and Cravats: Use these items to secure the splint to the limb firmly. The bandages must be wide enough to distribute pressure evenly.
Sling Materials: A triangular bandage (cravat) or a large piece of sturdy fabric is needed to create an effective arm sling.
In a worst-case scenario where professional casting is unavailable, you might need to create a rigid temporary cast. You will need casting materials for this.
Plaster or Fiberglass Rolls: Medical-grade plaster of Paris or synthetic fiberglass casting tape hardens quickly when activated with water. This provides superior immobilization compared to simple splints. Fiberglass tape is fairly cheap and can be purchased online.
Stockinette and Padding: This is needed if you use casting tape. The cotton stockinette goes against the skin before the cast padding and casting tape. This protects the skin from the hard cast material.
*Safety Warning: Applying a cast requires skill and is highly dangerous if done incorrectly. It can cut off blood circulation, potentially leading to limb loss. This skill requires specialized training and is only for extreme, life-or-death situations.
Over-the-Counter Medications and Pharmaceuticals
Medications are an important component of your emergency bag. These are used for managing pain, treating infections, and addressing specific threats. Of course, a lot of these are not available over the counter and must be prescribed by a doctor. But there are still some items you can keep on hand that will help.
Pain Relief and Inflammation: Ibuprofen (NSAID) and Acetaminophen (pain/fever reducer) are good to keep on hand.
Antihistamines: Diphenhydramine for allergic reactions and managing mild anaphylaxis.
Anti-Diarrheals: Loperamide for gastrointestinal issues that can lead to severe dehydration.
Topical Anesthetics: Products containing lidocaine can help clean and treat painful wounds.
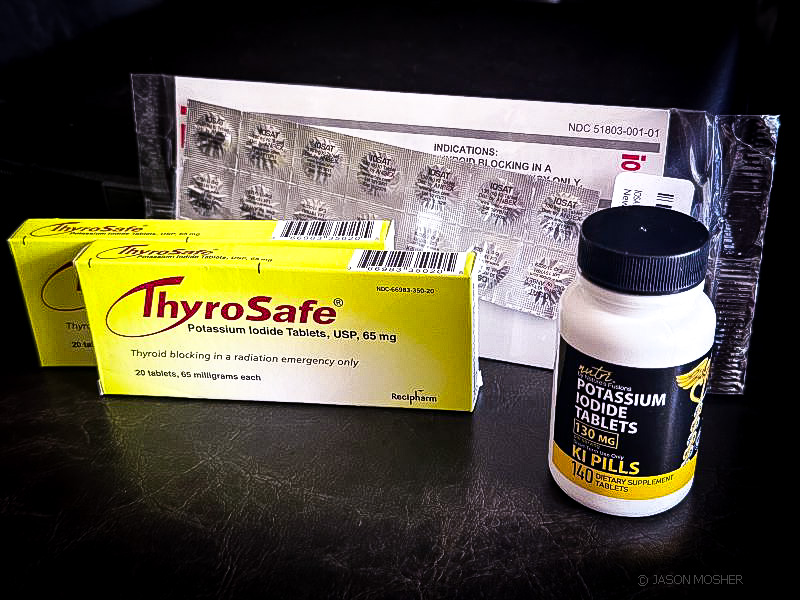
Potassium Iodide (KI) Pills: These are used to protect the thyroid gland from absorbing radioactive iodine in a radiation emergency. Only take these when directed by public health officials or if you are certain of exposure.
Keep all medications in their original containers with clear expiration dates.
Training and Medical Resources
The most valuable asset in your medical response bag is your own training. A bag full of advanced supplies is useless if you do not know how to safely use them. Knowledge is the key component of your emergency preparation.
Types of Training for Civilians
Seek out practical, hands-on instruction from reputable sources. Look for courses that focus on trauma and austere environments.
Start by taking a basic first aid and CPR/AED class if you haven’t already. These are offered by organizations like the American Red Cross. After that, you can look for courses such as “Stop the Bleed” which focuses on massive hemorrhage control using tourniquets and wound packing.
You can also find advanced courses like Wilderness First Responder (WFR) or Tactical Emergency Casualty Care (TECC) from various providers around the country. These programs teach you how to manage serious trauma and illness when evacuation is delayed or impossible.
Training is available from national organizations, private medical consulting firms, and local Emergency Medical Services (EMS) agencies. Just do some checking and reach out your local Red Cross for some suggestions.
Don’t Forget Medical References
In a crisis, the internet and electricity may not be working, making online reference materials useless. You must have hard-copy medical survival book in your bag. There are a lot of options when it comes to medical books. You may even want a few books that cover everything from natural remedies to medical procedures.
These types of books are not always cheap, but they may be worth it if you find yourself in an emergency with no power or internet access.
A work in progress
For me, an emergency medical response bag is like any other gear we use to prepare for. We start with basic necessities and continue to re-evaluate and add to it. Most of us could not afford to set up the perfect medical gear for a long-term emergency at one time. But if we create a plan and add to it little at a time, our level of readiness will continue to grow.
Regardless of your medical skill level, it’s never too late to learn. Start with a basic kit and make a list of items you want to add over time. Take some training, and feel more confident that you are more prepared than you were the day before.