Just about the time I think optics couldn’t get any cooler or more efficient, well… they do. We have optics that are powered by the sun, optics that can withstand extreme temperatures, shock, and water submersion. And of course, we have thermal imaging optics that show heat signatures.
Thermal optics have been around for a long time, but a thermal handgun optic is not a common thing to see. At SHOT Show 2026, I was able to see the new FML19 by Infitac, which is the world’s first multi-functional thermal handgun optic. The clarity in the 1.4-inch high-resolution digital display (360×300 resolution) was pretty cool.
We just had to put this optic on our “Best Optics at SHOT 2026” but it could have easily been on the “Most Innovative” list as well.
See what the eyes cannot
As you know, a thermal optic detects heat signatures rather than using traditional light. This means it can “see” through total darkness, fog, and light brush. For home defense or tactical use, it provides a massive advantage. You can quickly identify a target by its heat signature.
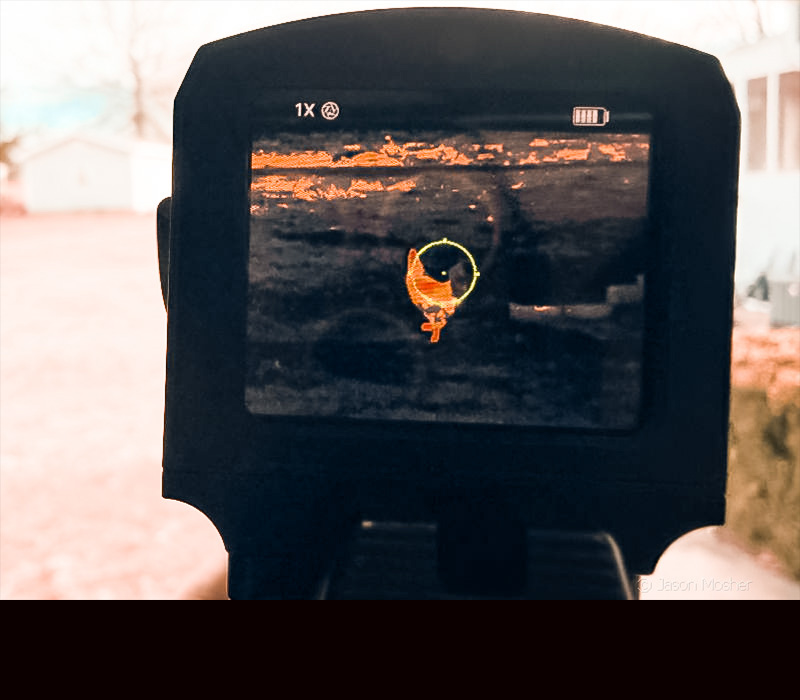
When I’m not writing, shooting, or eating steak (three of my favorite things), I’m usually messing with some new gadget. And lately, this has been the FML19 thermal optic. Before mounting it on my gun, I used it to see the heat signature of my chickens, cat, and anything else I could find with a heat signature. For screen examples in this article, I’m using my chickens since they were running around in the field today.
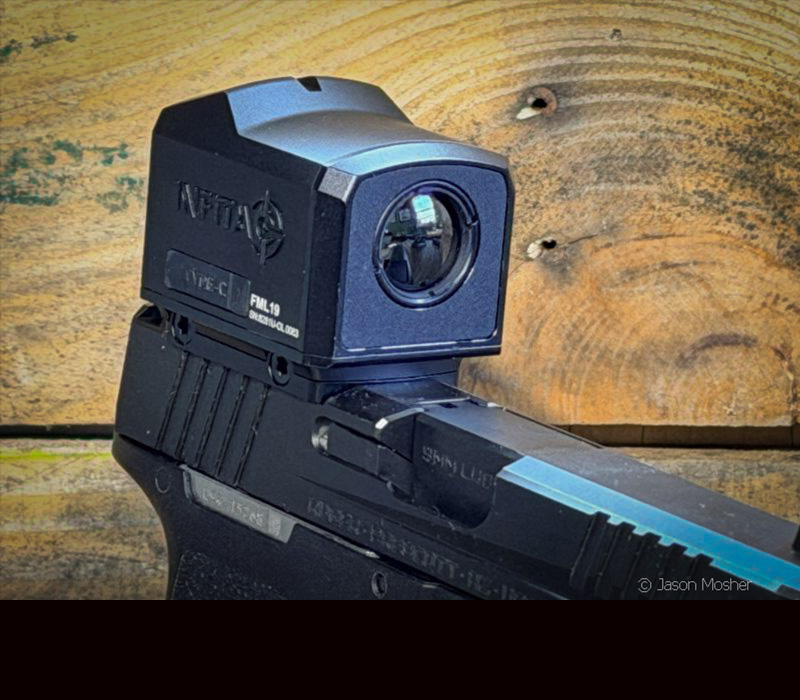
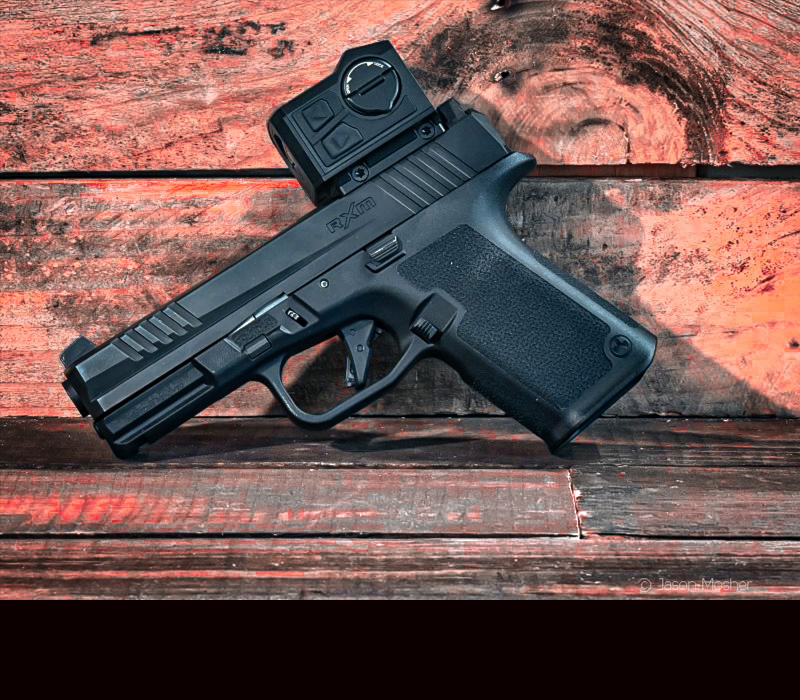
After getting used to how the imaging works, it was time to mount it to a handgun. For this, I chose the Ruger RXM, which uses the RMR footprint and is a great shooting handgun. As I was mounting the Infitac FML19 to the RXM, a few questions came to mind. First, how well does it actually work? Second, how practical is it? And third, is it affordable when comparing it to other high-end optics on the market?
So, here are the basics of the FML19 thermal handgun optic, and some of my thoughts to go along with it.
About the Infitac FML19
Ok, this isn’t the first thermal handgun optic to hit the market, right? A few have come before the FML19. But the ones I have seen were much larger and didn’t have as many functions. While the FML19 is a bit larger than your standard enclosed emitter handgun optic, it’s still the most compact thermal handgun optic I’ve seen yet.
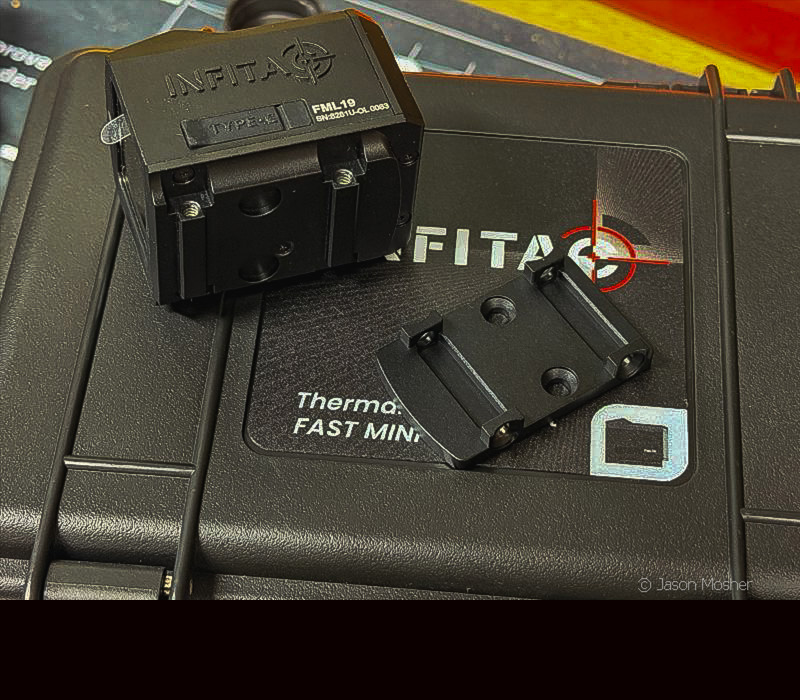
The FML19 comes with its own mounting plate (RMR compatible) that uses two cross-bolts to connect the thermal optic to the plate. They also make mounting plates for other footprints and various picatinny adaptors. Other footprints available include: RMSc, DPP, or Glock MOS systems.
I mentioned above that the overall size is a bit larger than your average enclosed emitter optic. It’s larger, but not by a lot. Overall, the FML19 is about 38mm wide, 50 mm long and 44mm tall (including mounting plate).
An aluminum body contributes to the heavy-recoil rating, which can withstand the force of large caliber handguns without losing its zero.
Power and run-time
Another obvious question with an optic like this is how long does it run on a battery? The FML19 will run on a single CR2 rechargeable battery for about 5 hours. My FML19 came with two batteries and a double battery charger. This makes it easy to charge one battery while using the other.
A side-loading battery cap makes battery access simple and tool free. Because the battery cap can be removed by hand, it’s easy to swap them out in the field.
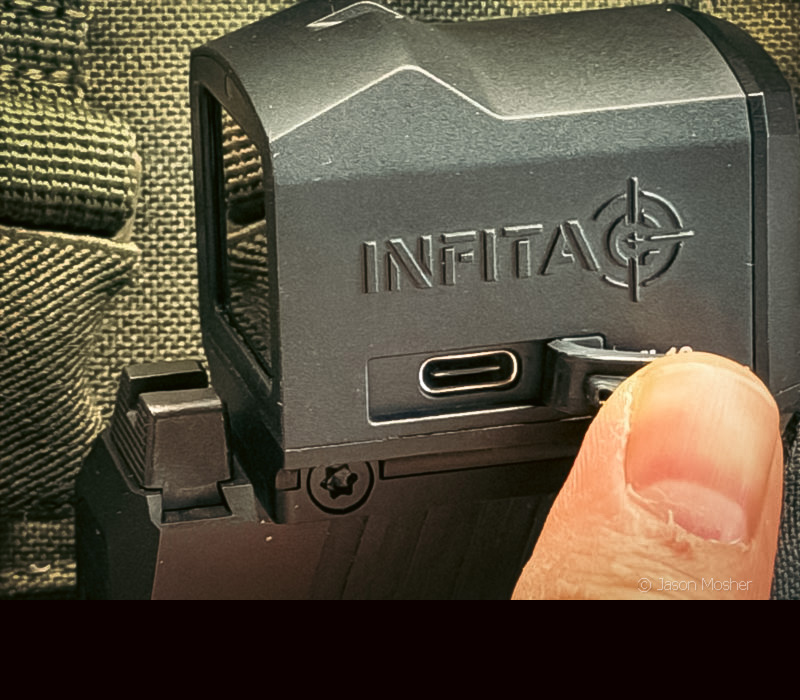
You can also run the FML19 via cable by plugging a USB-C cable into the side of the optic. When the optic senses a cable is plugged in, it stops drawing power from the battery and uses the cable.
I like this because it allowed me to spend all the time I wanted “playing” with it and didn’t have to worry about running the battery down.
Note, however, that plugging it in will not charge the battery inside the unit. You must use the wall charger to recharge the batteries.
Infitac FML19 Specifications
- Sensor Resolution: 384×288 @ 12μm
- Refresh Rate: 60Hz
- Detection Range: 1,100 Yards
- Objective Lens: 19mm F1.2
- Battery Type: 1x Rechargeable CR2
- Runtime: 5+ Hours
- Housing Material: AL7075-T6 Aluminum
- Waterproof Rating: IP67
Thermal Functions and Settings
The FML19 uses a high-resolution 384×288 sensor. It produces a 60Hz image for smooth tracking of moving targets. I was surprised to find that the image didn’t become jerky when moving the optic around quickly. It’s almost like you’re seeing through it, like a traditional optic.
There are two buttons located on the left side of the optic. To turn the unit on, press and hold the power button (top). It only takes a few seconds for it to power up. Once it does, you hear a “click” as the lens adjusts the shutter calibration.
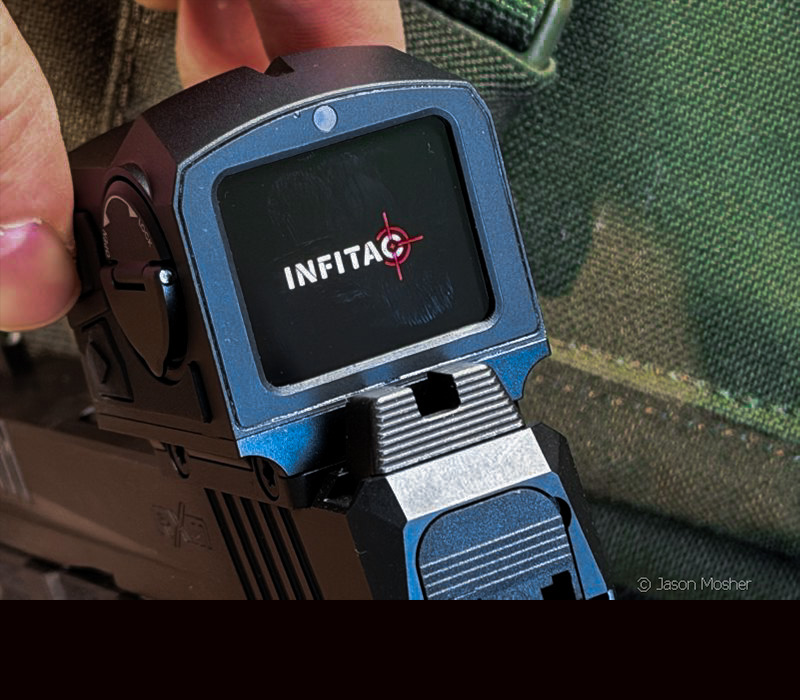
Once it’ powered up, you will see the reticle and the unit is ready to use. It will load the last settings you had it on before powering down. Holding the same button down will also turn it off.
Like many standard optics, the FML19 will go to “standby” mode to help conserve battery. When it senses movement, it will kick back on. You can adjust the standby time on the settings page, which we will get to next.
Using the Menu
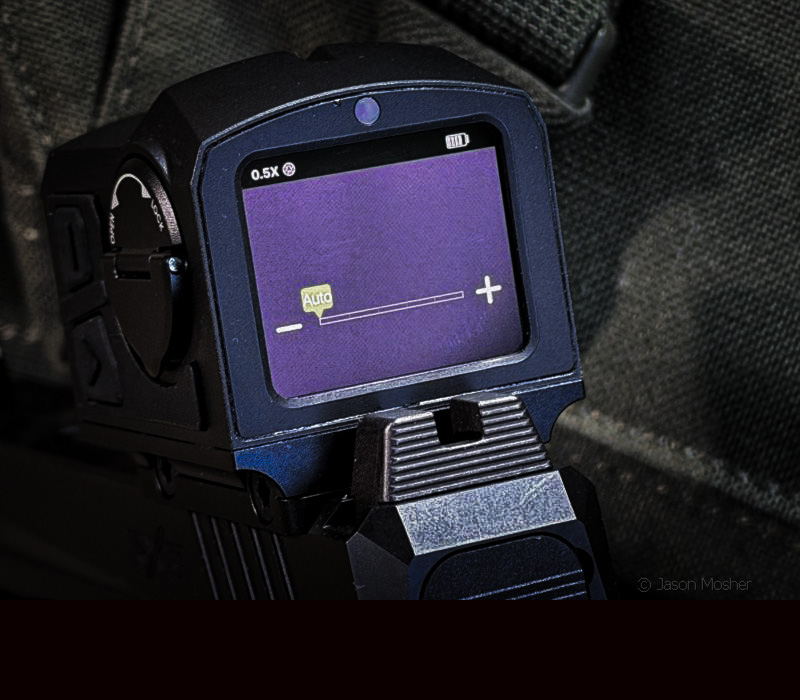
To change any settings, just press and hold the menu button (bottom) for a few seconds. Brightness is the first setting that comes up. From here, you can use the buttons to change it or just touch the screen. I decided to leave mine set on auto.
After that, you can move to other menu pages by swiping left or right on the screen. Here is a list of the available screens under the menu:
- Brightness
- Contrast
- Calibration
- Shake Awake
- Power Off Settings
- Factory Reset
- Information
- Zeroing
Once you enter a menu page, you can exit by swiping up. When you are ready to leave the menu altogether, swipe up again.
Under the “Information” screen, you can find basic info about the FML19, including your serial number.
Screen options
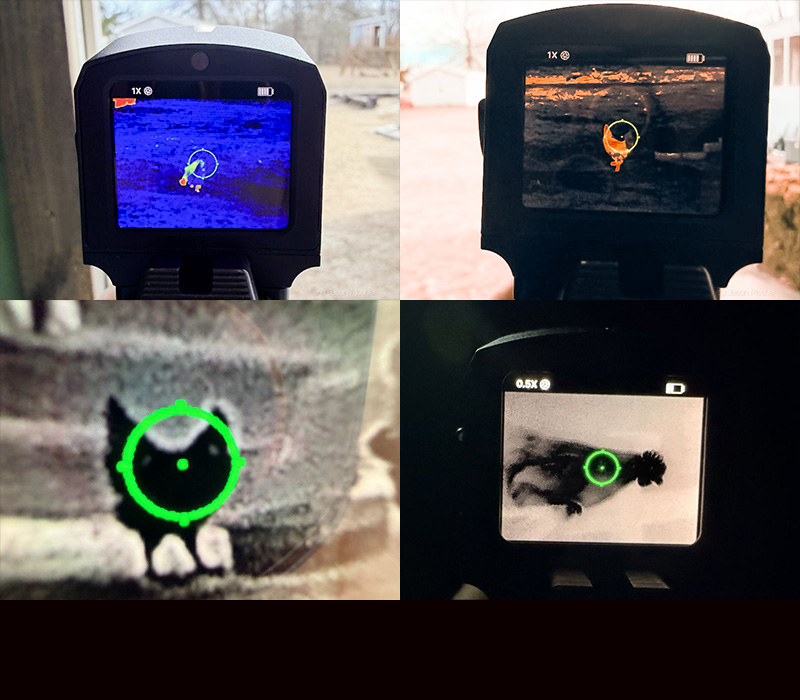
There are four color pallets to choose from on the main screen. You can switch between these by sampling swiping up or down at any time during use. This makes it a super quick way to change the color pallet during use if needed.
You can also swipe left to change the color of the reticle, or swipe right to change the reticle shape and/or size. I found the larger 13 MOA circle with a 6 MOA dot worked best for me.
Another feature I found really cool is the digital zoom. The FML19 uses a base magnification of 0.5x which can be changed to 1x by double tapping on the screen. You can also “pinch” the screen by moving two fingers closer together or further apart like you would on your phone.
In bottom left of the photo above, I zoomed in on a chicken from my porch. On the bottom right, is a view of a chicken roosting in the hen house while it’s pitch black. The top two photos are during the daylight hours.
Sighting In Your Thermal Optic
Sighting in a thermal optic is different than a standard red dot, and this was one of the things I was most curious about. You cannot see traditional paper targets through a thermal sensor, which could make zeroing it kind of hard right? You must use a heat-producing target or reflective foil for a clear aiming point. Infitac however, sends two heat packets with the optic.
You simply stick the heat packet to the bullseye of the target, and it will heat up within a couple of minutes. The heat packet stays hot for about 30-40 minutes which is plenty of time for zeroing an optic.
But how exactly do you zero a digital, thermal optic? Just go to the “zeroing” screen and use the “- “and “+” logos. On the top of this screen, you will see “X=00.0px” on the left and “Y=px” on the right. One of these two will be green, which means that it is the one you are changing the settings on.
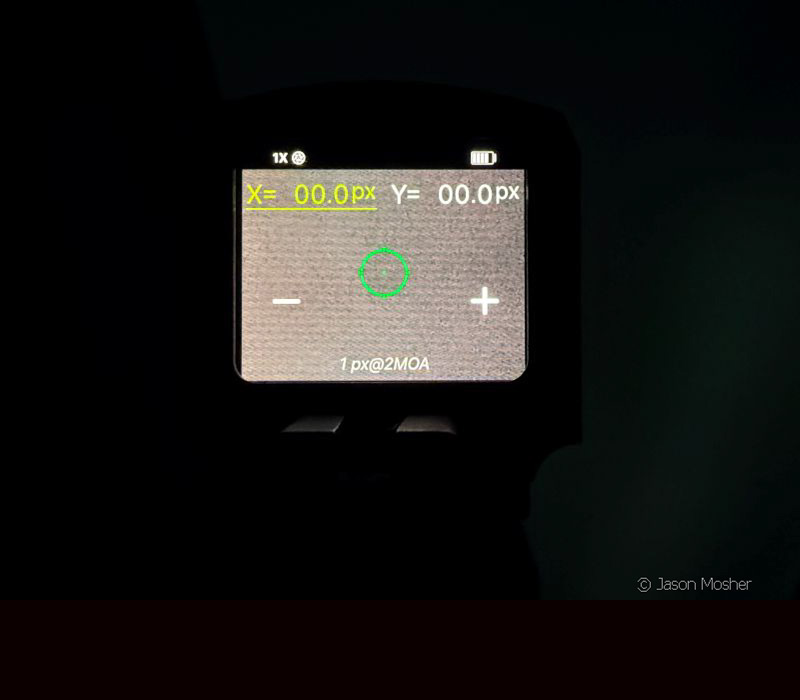
X is the horizontal movement, and Y is the vertical movement. The “-“and “+” logos will move the reticle left/right, or up/down, depending on which one is selected green. To select one, just touch it on the screen.
After you fire your first shot at a target, simply keep the original circle on point of aim, and use the settings to move the dot to where your bullet hit the target.
Once the FML19 is zeroed on your gun, it’s about like shooting a red dot. I shot a lot of ammo through the FML19 once it was zeroed in and it held a nice group at various distances. I’ll cover more about this process in another article, but today, I wanted to provide a basic review of the thermal optic and how it operates.
How well does it work?
A thermal optic serves a purpose and is a useful tool, just like all of our other gear. Is it a replacement for standard optics? No. But it adds an advantage in a lot of scenarios. Home defense, night patrol, and other scenarios are perfect for a thermal optic. This could also be used for handgun hunting, which I may try someday… But I’d say it makes target acquisition much better, especially at night.
There is no doubt, using a thermal optic on a handgun will take some getting used to, but I can see the benefits. In some cases, even a person hiding could be seen with the optic that the naked eye could not see.
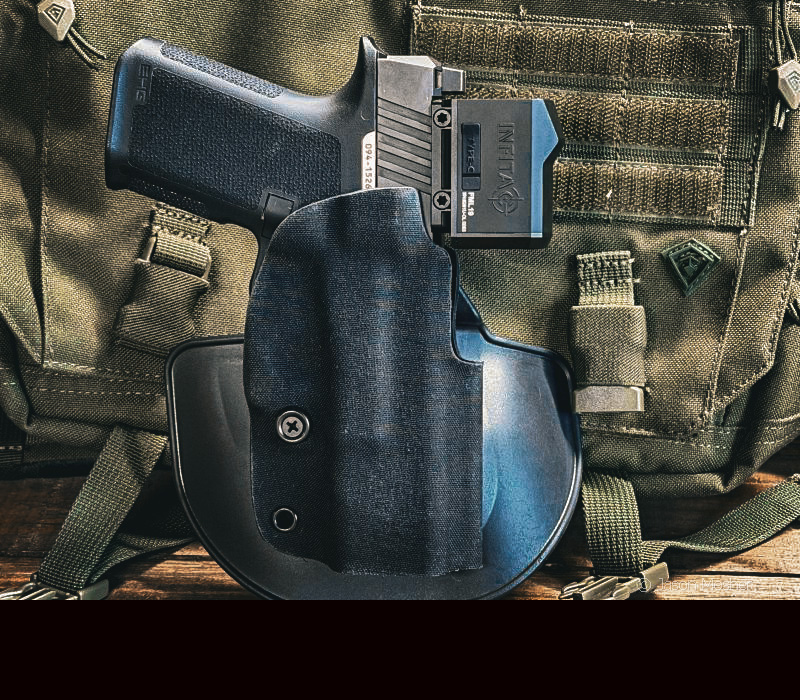
For those wondering about holster options with the Infitac FML19, I found the Safariland Gravity holster worked great. Mine is made for the Glock 17/19, but my Ruger RXM works perfectly in it. Because of the optics cutout in the holster, using the FML19 does not affect how the gun fits in it at all.
Does it answer my questions?
While I’m planning to do a lot more shooting with the FML19, I can say it works extremely well. It processes images in real time, and the menu screens are easy to navigate. Even though I was a little skeptical of a thermal optic mounted to a handgun, I can see a lot of uses for an optic like this. I’ll talk more about this in another article as well.
As for the price, well it’s right where I would expect a high-end thermal optic to be. At about $1,200 it’s not cheap, but it’s a great price for an optic with these features.
In my next article, I will be focusing more sighting in and shooting with the Infitac FML19. We will discuss using thermal heat pads on targets, running drills with it, etc. Stay tuned!