At War HOGG Tactical, we use the 4 Position Shoot in all our carbine courses because it forces the shooter to apply the fundamentals to rifle marksmanship. The 4 position shoot is a great tool to evaluate your standing, kneeling, sitting, and prone shooting positions.
The 4 position is not sexy; it is not Instagram entertainment, it is marksmanship in action. It’s all about mastering the basics and building a solid marksmanship foundation.
This 4 position shoot is easy to set up, easy to score, repeatable, and gives the shooter solid shooting performance data. This means it is not just something you shoot once and forget about. The 4 position shoot becomes a benchmark in your rifle marksmanship program.
Equipment Needed
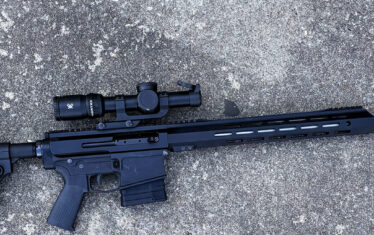
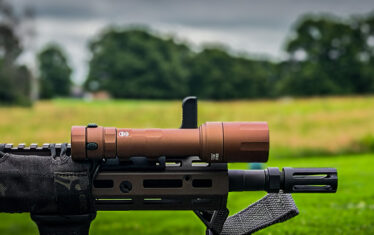
- Your normal patrol rifle or carbine setup
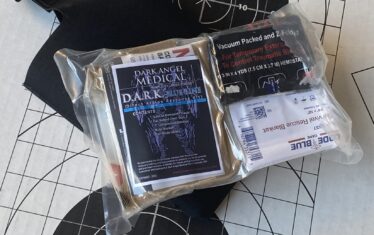
- Your normal range and support gear
- Shot Timer, we recommend the PACT Club Timer III. Click the link to learn how to use a timer effectively in your marksmanship training
- Dry Fire Training Area
- A live-fire range with a known 50-meter distance.
- A stable way to record your results
- A copy of The Firearms Training Notebook – available on Amazon
- Recording device and tripod or holder
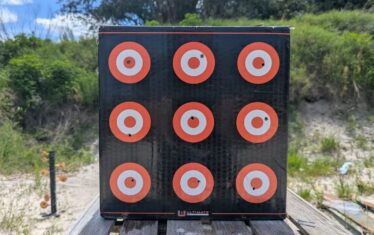
- Two or four B8 bullseye targets
How the Monthly Skill Builder Works
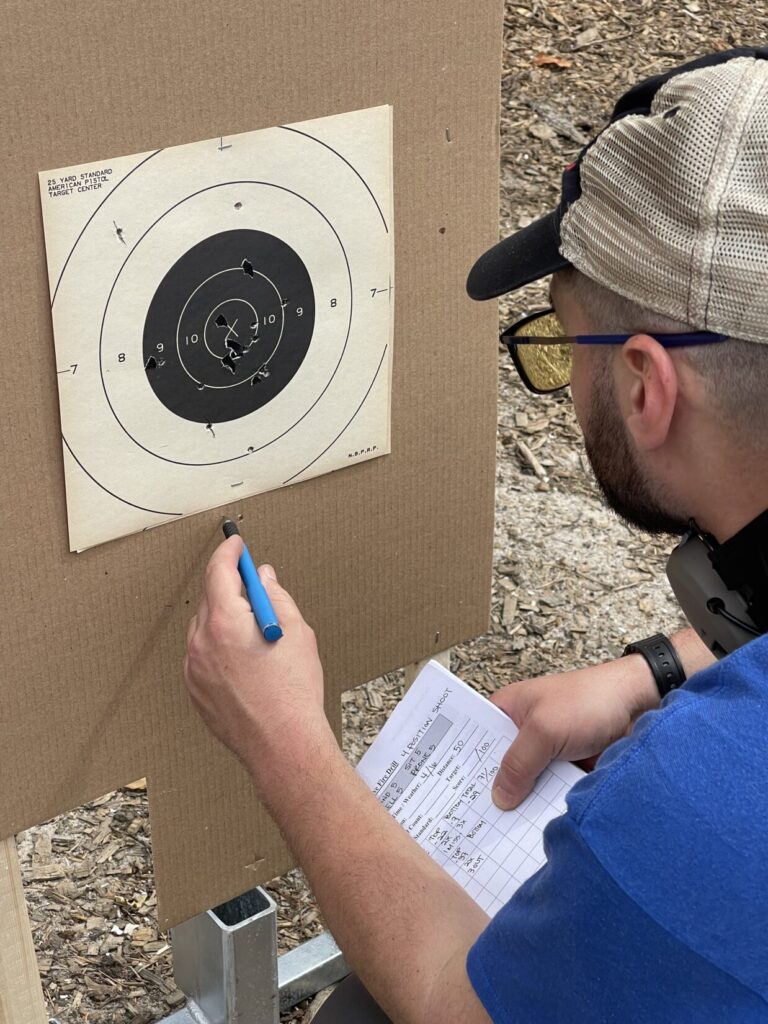
The War HOGG skill builder model is simple. At the beginning of the month, shoot the drill cold. No warm-up. Just shoot the skill builder and let the target tell you where you are at with your shooting performance on demand. Then record the data in your copy of The Firearms Training Notebook.
From there, you build your dry-fire and live-fire plan around what the target exposed. Later in the month, you come back to the live fire range and reshoot the skill builder to see whether you actually improved.
Set Up for the 4 Position Shoot
The 4 Position Shoot is conducted with a patrol rifle or carbine at 50 meters using B8 bullseye targets. The full course of fire is 40 rounds total with a max score of 400 – 40x:
10 rounds standing
10 rounds kneeling
10 rounds sitting
10 rounds prone
At War HOGG Tactical, we typically use two B8 bullseye targets. The top target is for standing and kneeling. The bottom target is for sitting and prone.
Now, if you want even more data, use four B8 bullseyes instead of two. One B8 per position gives you a cleaner look at exactly what each position is doing. Instead of combining standing and kneeling on one bull, and sitting and prone on another, you isolate each position.
How to Run the War Hogg Skill Builder
You can give yourself a time limit, like 60 seconds per position, or just shoot all 4 positions at your own speed. Get into the standing position and shoot your 10 rounds, then move to kneeling, sitting, then prone. What matters is building the best position you can, accepting the sight movement or wobble that comes with that position, and pressing the shot without putting added input into the carbine.
Build Your Dry Fire Plan
Once you get feedback from your target, your dry fire plan should be easy to build. If standing is your weak point, spend time building the position, accepting movement, and breaking clean trigger presses without added input. If kneeling or sitting is inconsistent, get into and out of those positions repeatedly until they stop feeling foreign. If prone is not giving you the payoff it should, work on body alignment and natural point of aim.
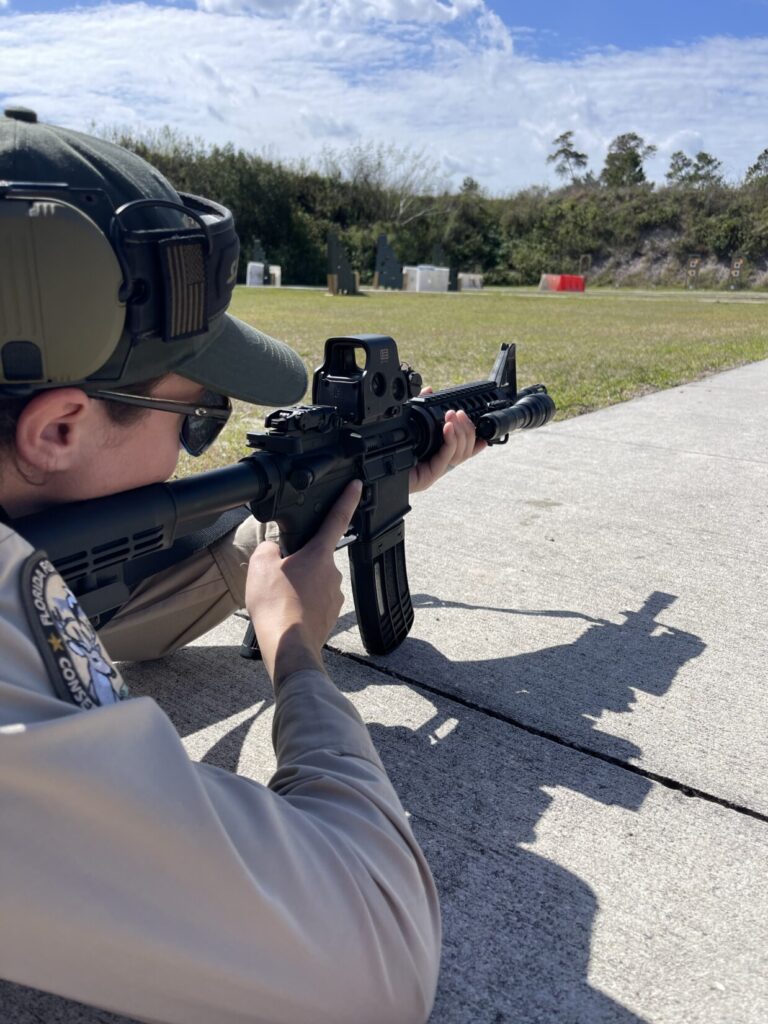
Standing
In standing, you will see the most natural movement, and that’s OK. Most shooters are going to have a figure 8 motion or an up-and-down movement. You’re not going to stop the movement in the rifle, but you can minimize it. Let the sights move naturally and press the trigger without adding more movement than what is already there.
For a shooter that makes a figure 8 movement, prep your trigger and try to break the shot as the red dot is dropping from the top of the black across the center of the target. If you wait until the sight is in the center, you will constantly have low shots due to the figure 8 movement.
The standing position is a great position to use your 2 point sling can help minimize your movement. This is something you are going to have to experiment to see how much sling tension you need to reduce the movement in your rifle.
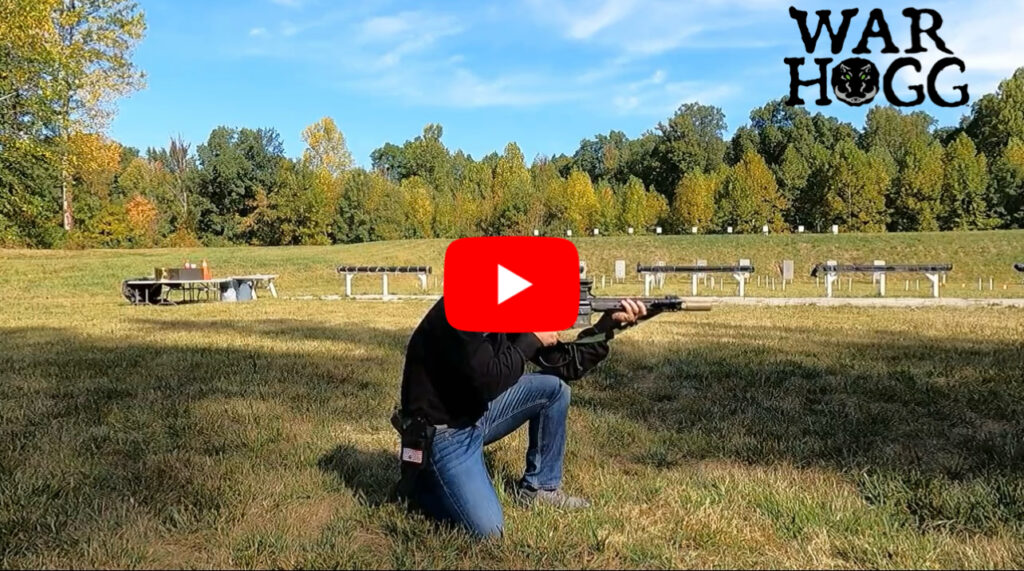
Kneeling
In kneeling, you should pick up more stability, but do not confuse kneeling with automatically being locked in. You still need bone support, balance, and a repeatable body position. I find kicking my firing side knee out gives me a more stable base.
Depending on your body composition, you may or may not be able to put your foot flat, but it will offer more stability.
Sitting
In sitting, most shooters gain noticeable support if they build the position correctly. This is where flexibility, body mechanics, and rifle setup start to show. If your sitting position feels awkward, unstable, or inconsistent, the target is going to expose it.
Sit criss-cross with your support foot over your firing foot and try to build the most stable platform. Don’t forget about your sling tension and possibly adjusting your buttstock length.
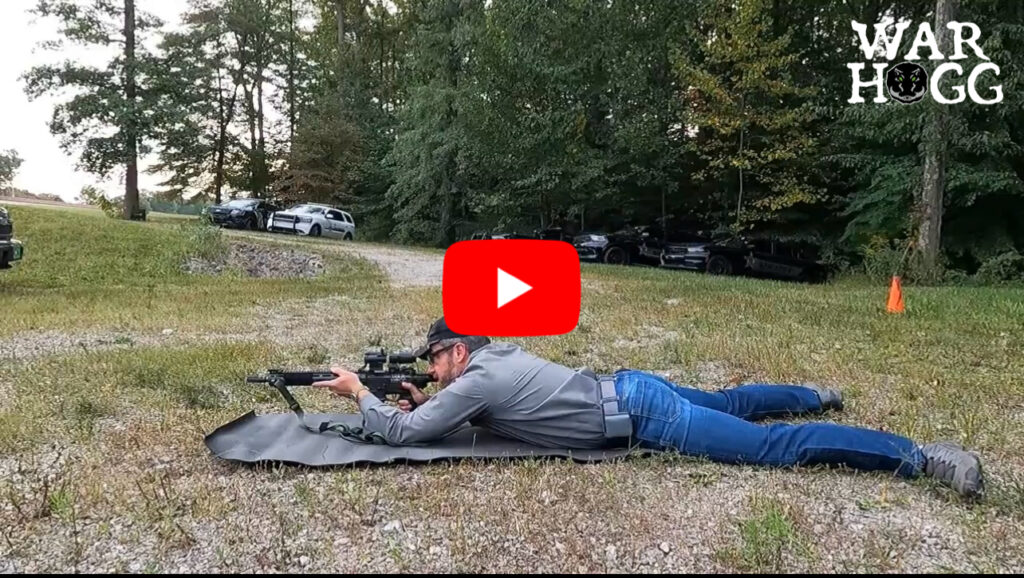
Prone
A lot of shooters expect perfection in the prone position, but they lack the fundamentals of marksmanship. Prone is more stable, but you need to understand the natural point of aim, body alignment behind the gun, breathing, and trigger press. Prone will not save bad fundamentals.
The Skills: What the 4 Position Shoot Develops
The primary skills developed are position building, natural point of aim, stability management, trigger control, sight accountability, calling your shot, and understanding your wobble management.
Check Your Work
Sometime near the end of the month, go back out and reshoot the 4 Position Shoot. Compare the end-of-the-month shoot to the first run. If you put in the work, you should see improvement.
Build Your Shooting “CREW”
Having other like-minded shooters around will help you push to make yourself better. If you have friends, family, or co-workers who share your shooting passion, start building that shooting tribe. This way, not only do you have your own accountability, but you also have others to help you improve on your marksmanship journey. They can record you shooting, possibly give you feedback on things they see, and it’s always good to have some fun competition to help you grow.
At War HOGG Tactical, our motto is “Be 1% Better Everyday!” You can always join us in sharing your marksmanship growth.
Go to our On The Range (OTR) Patreon “CREW” members’ page and join like-minded shooters looking to get more proficient in their marksmanship skills. My co-author, Mark Kelley (Kelley Defense), and I conduct bi-monthly interactive Zoom calls where we break down each shooter’s skill builder. We have even reviewed video of “CREW’ members shooting during our Zoom call and given immediate feedback on where we see they can improve their shooting skills.
Conclusion: Put In The Work
The War HOGG 4 position shoot gives you 40 rounds of marksmanship accountability at 50 meters with a patrol rifle or carbine. Shoot it cold, record the data, study the feedback, and build your dry fire plan. Then come back and check your work.
To see improvement in your marksmanship skills, you must put in the work. This means having a solid dry fire training plan throughout the month and a way to record your progress, like with The Firearms Training Notebook. Using additional tools, like a shot timer and a phone to video your training sessions, you can take your dry fire training to the next level and see increased performance during your live training.
Don’t forget to check out the War HOGG skill builder library for more shooting tips.
Train Hard, Stay Safe, and see you “On The Range” – Rick