
“All you need is three rounds, in under three seconds, from less than three yards away!” The same guys who pitch this idea like to claim that statistics don’t lie and the vast majority of self-defense shootings should dictate what and how you carry.
Here’s a hard pill for the “I just need a 5-shot snubbie” crowd: how well do you shoot that revolver at distance?
I like pushing my kit beyond what is considered average. We should strive for extraordinary things, and if we happen to become better than average, that’s better than being like everyone else. Where most people struggle with handgun shooting is when the support hand is dropped, and you are left with your strong hand only.
Here are some drills and best practices to improve your capability.
Dry Fire
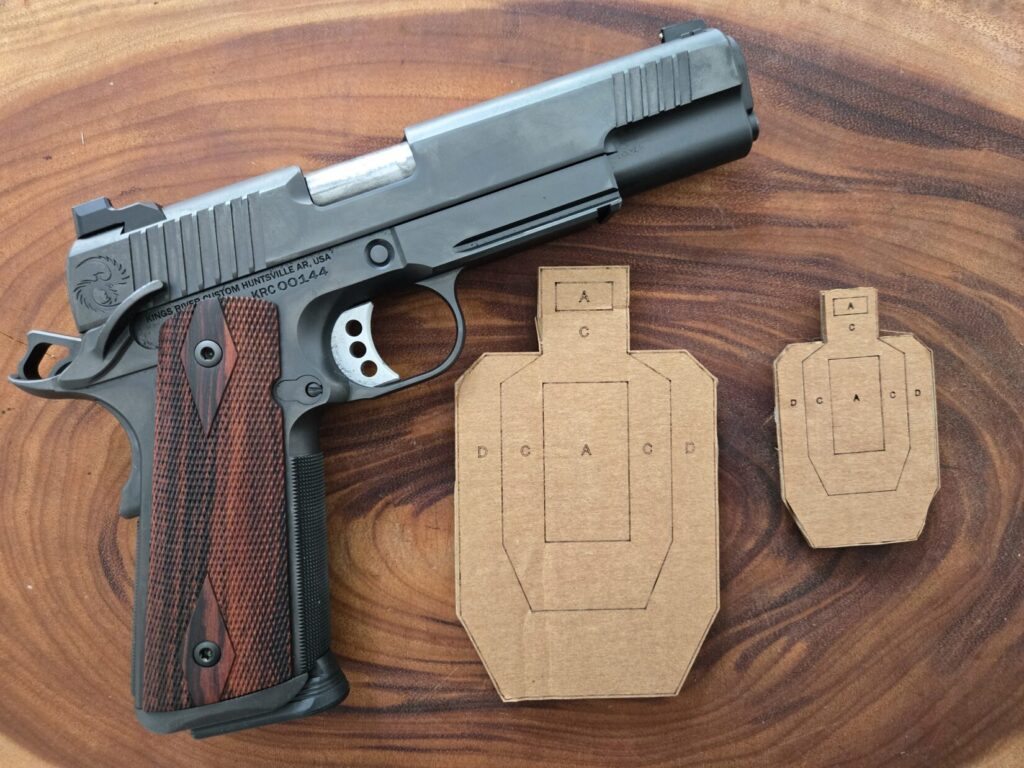
I don’t dry fire enough, and I dry fire almost daily. I have set up small, reduced-size targets around my house, and when I’m on the road, no light switch in my hotel room is safe from my practice session.
Dry fire with purpose can definitely improve your skills.
When done with one hand, really feel for the way your trigger operates. Feel how much the trigger moves with pretravel before it hits the wall. Try to figure out exactly how much pressure is needed for the trigger to break and then trap the trigger when it does.
During this whole process, you should work on keeping a good sight picture with equal height and a light, or acceptable, amount of movement with your dot. Before letting go of the trigger, rack the slide and learn what the reset feels like. You can also see how a slight cant in your wrist inward is more comfortable than trying to keep the pistol perfectly vertical, which requires muscular input.
All of this will help when you go live with your training.
Recoil Inoculation
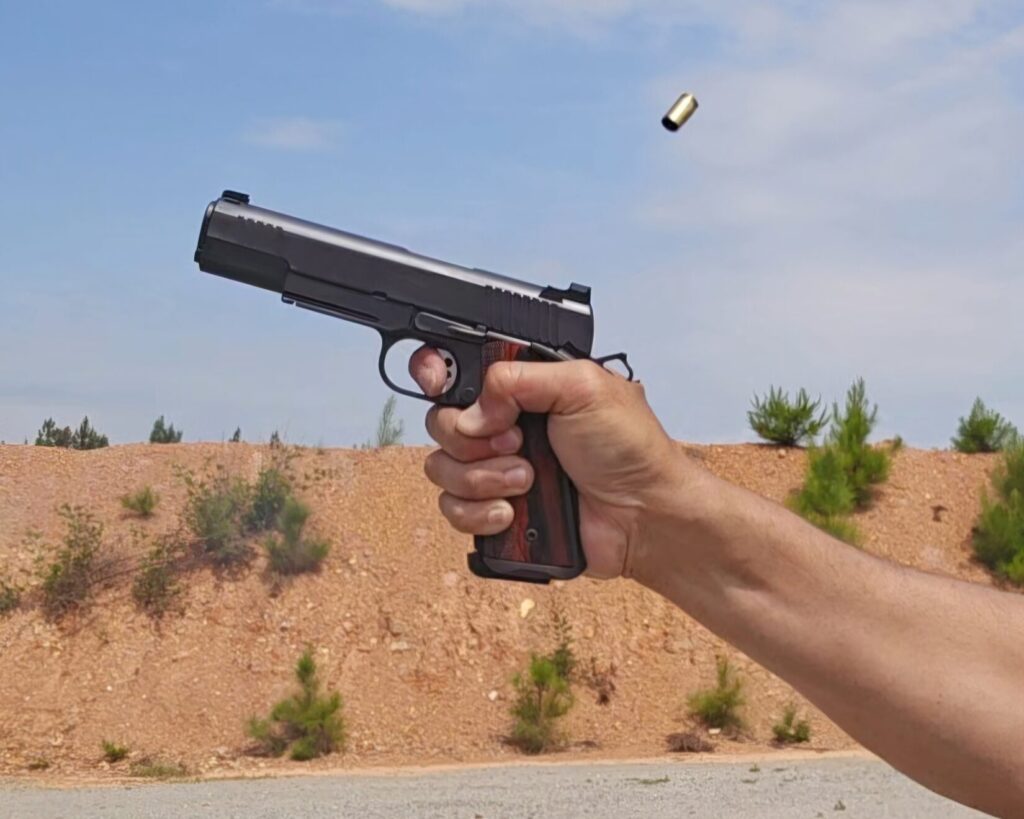
One-hand shooting can feel uncomfortable because your pistol wants to find its way out of your grip. For a right-handed shooter, that is up and to the left, and for a left-handed shooter, that is up and to the right.
The recoil is more pronounced with less grip on the firearm, and it can be unnerving. To become more accustomed to the feel, I highly recommend backstop or berm training. Load up a magazine and approach your appropriate backstop. Don’t worry about aiming for a specific spot, but keep your firearm pointed in a safe direction at the backstop.
With one hand, press the trigger and ride that recoil. Feel how it feels and get used to it. It won’t hurt you, and you can learn to work with it by letting your arm bend at the elbow and return to your point of aim when the pistol settles.
When you remove the disappointment factor of not hitting where you wanted it to on a bullseye, you can focus on the physical sensation rather than the visual.
One-Hole Drills
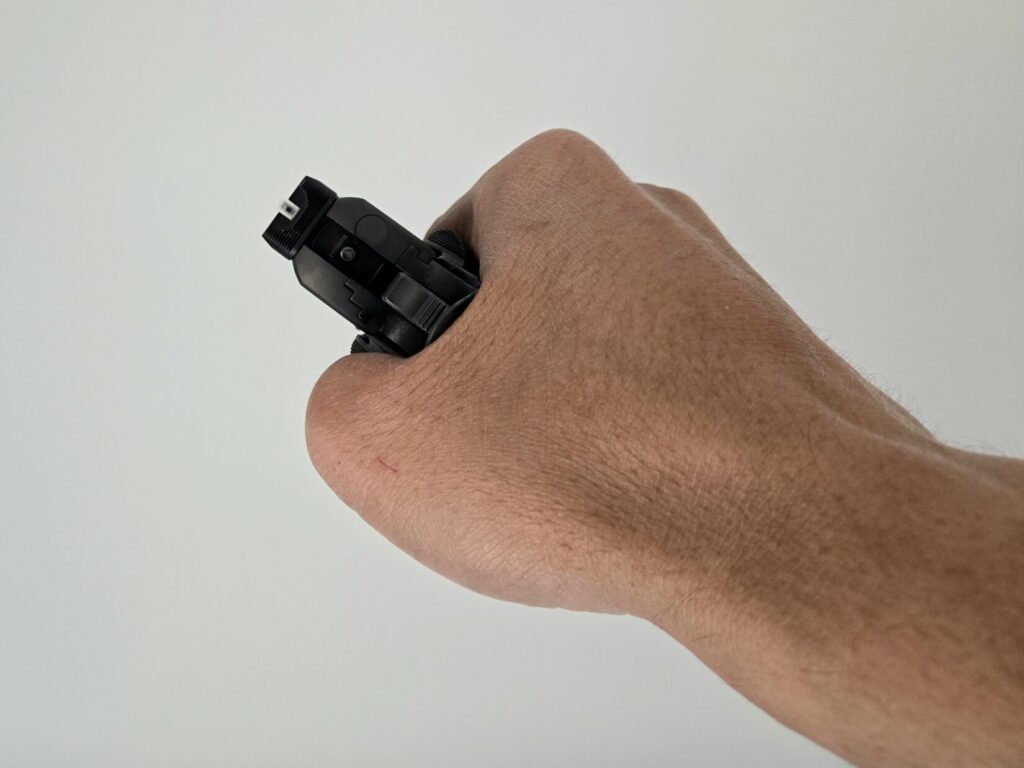
One-hole drills at close range (bad breath distance to 3 yards) can diagnose your problems.
Find a spot on a target and aim in on it. With one hand, press your trigger and watch where the bullet impacts. Repeat this process with the same point of aim for five rounds. You should have a single ragged hole.
Another variation of this drill is using each new bullet hole as the point of aim. If you have a red dot, you should be left with a single vertical line of holes that is spaced apart the same distance as the offset you have on your pistol and optic.
If you start seeing a diagonal line downward, you are anticipating recoil. Horizontal left (for a right-hand shooter) means you are not pressing your trigger straight back. Instead, think of compressing your fingerprint.
This drill works great because it doesn’t play games with your head. At 0-3 yards, you don’t think about the distance between you and the target the same way you do at 25 yards. One-hole drills ABSOLUTELY are beneficial, and you can learn from them and then apply the same fundamentals at greater distances.
Five-to-Two Drill
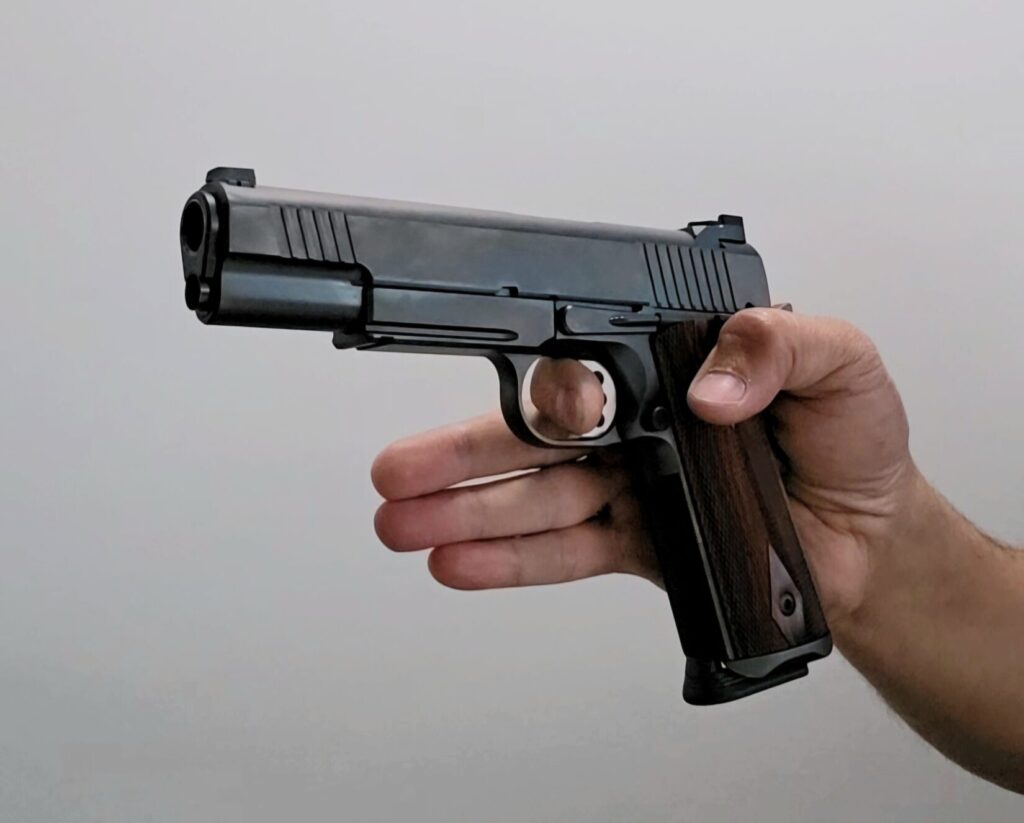
I picked up the five-to-two drill from my friend James Kramer at the Powder Room in Panama City Beach, FL.
James told me to hold my pistol without the input of the “three amigos,” AKA the middle, ring, and little fingers. The pistol is held in the hand with just the thumb and the trigger finger inside the magwell. The pistol is aimed at the target, and only the pressure needed to break the shot is input.
The first time I did this drill, my one-hand shooting scores on a 10-ring target were significantly better than when I had a much stronger grip with all five fingers. This drill isn’t meant to replace how to shoot with one hand, but it demonstrates how the three fingers you remove from the grip influence your accuracy.
Support Hand Placement and Body Blading
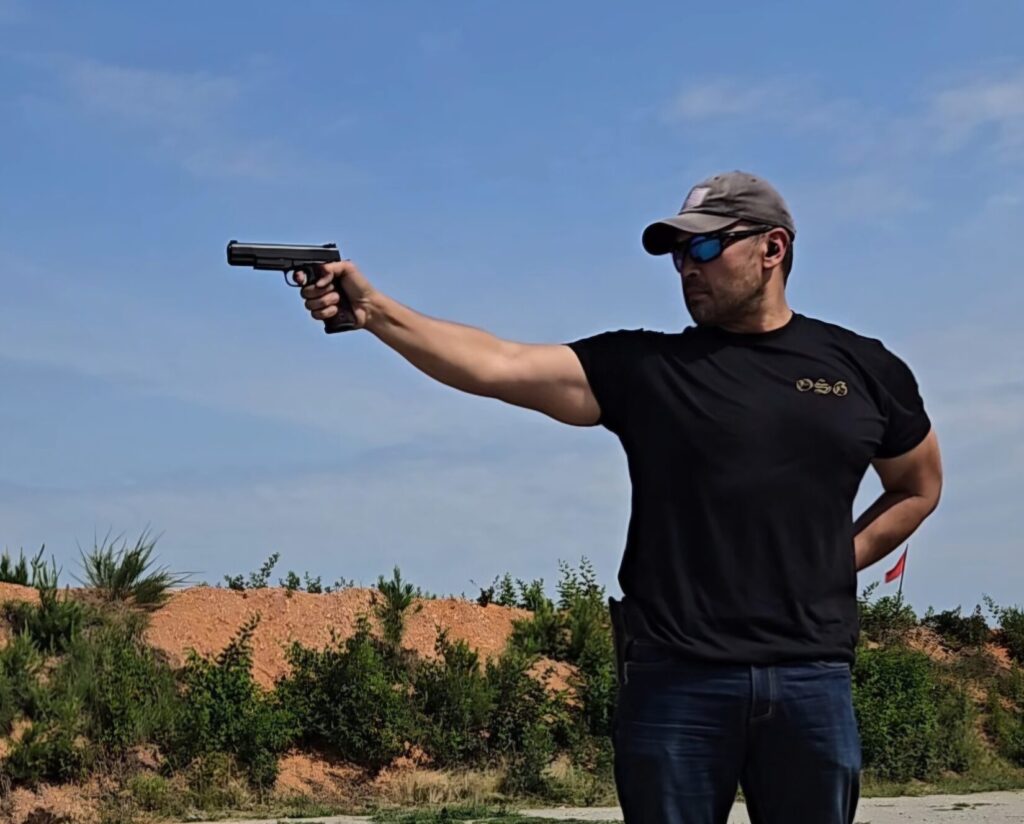
When I shoot with one hand, I typically will pin my left hand to my body.
Years ago, some law enforcement agencies taught to cover their heart with their forearm or hand while shooting with one hand. This is still a technique today, as is putting your left hand in your pocket. You generally just want to give your hand a place to hang out.
Another place for your left hand to loiter is on your magazine pouch. Depending on your training objectives, you can practice accessing critical items with your support hand as you train your firearm on your target with your strong hand.
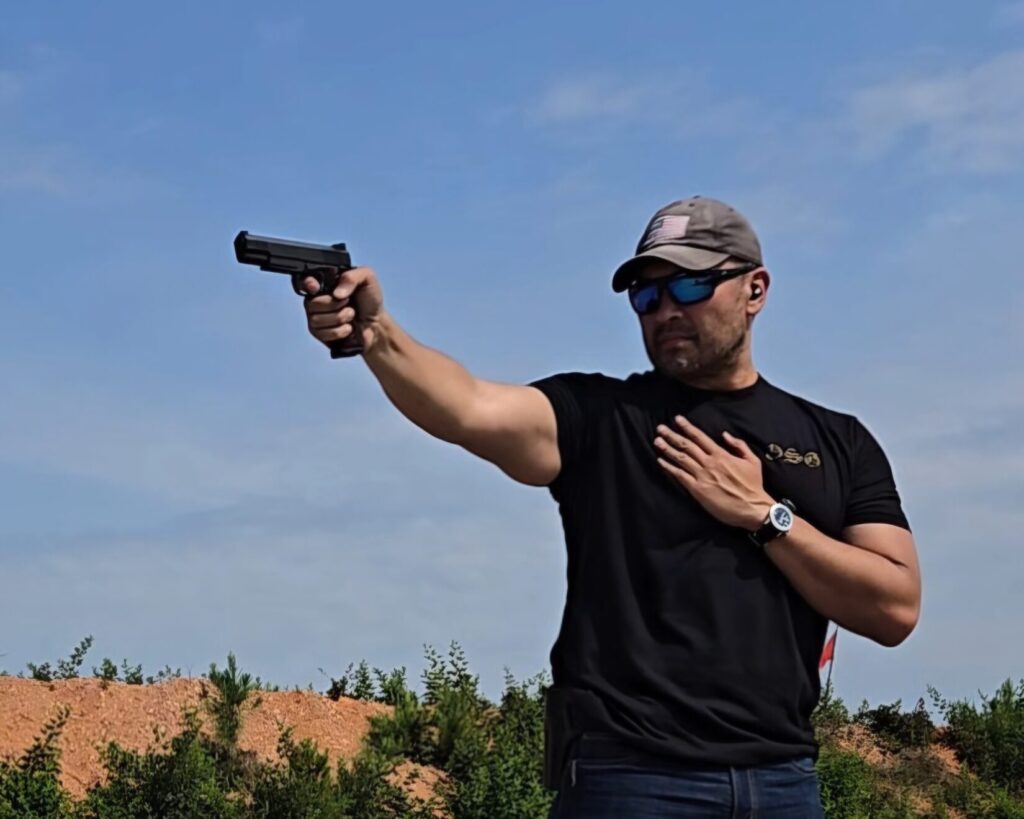
Another concept for one-hand shooting is how to blade your body. I prefer to drop my left hand and remain in my usual stance. Others like turning the body to have more of a bladed stance, and that works well too. It all comes down to personal preference.
If you are an armed professional and wearing armor, you should avoid excessive blading and keep your armor facing forward. If you are target shooting with friends where the paper or clay targets don’t shoot back, taking a more Olympic-style shot is perfectly fine.
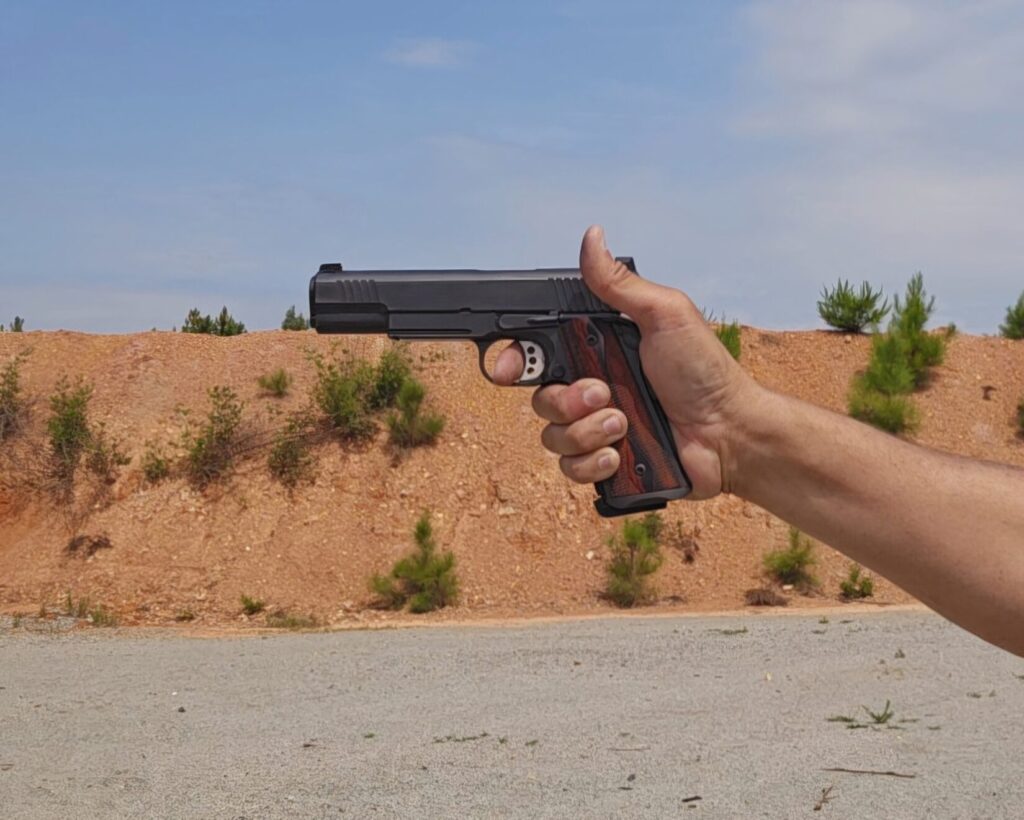
Once you work beyond 3, 5, and 7 yards, you should take your one-hand skills out to distance. Work back from 10, 15, and 25 yards, and every once in a while, try your one hand at 50 and 100 yards on steel.
If you feel like there is nowhere left to go in terms of your development, switch hands and shoot with your support hand only. Repeat the process and become capable with your kit, whether you shoot with one hand, the other hand, or both.
If you are truly freaked out by recoil, train with a smaller caliber round and work your way back up to your normal carry. The fundamentals are the same. What you’ll discover is that one-hand shooting actually makes you much better at two-handed. Once you learn to isolate the fundamentals with one hand, having a helping/supporting hand will make you wildly accurate.