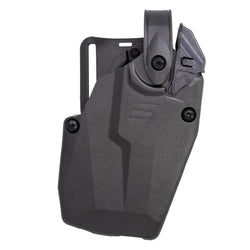
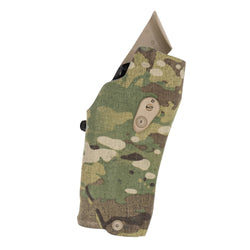

For the first time ever, Safariland is giving us a firsthand look at exactly how a duty holster gets made. They invited members of the CADRE Dispatch team inside their Jacksonville, Florida facility to watch the process in person — and I was one of them. It’s a process that requires a skilled team with a lot of talent and patience. They understand exactly what is needed to make a holster functional and secure.
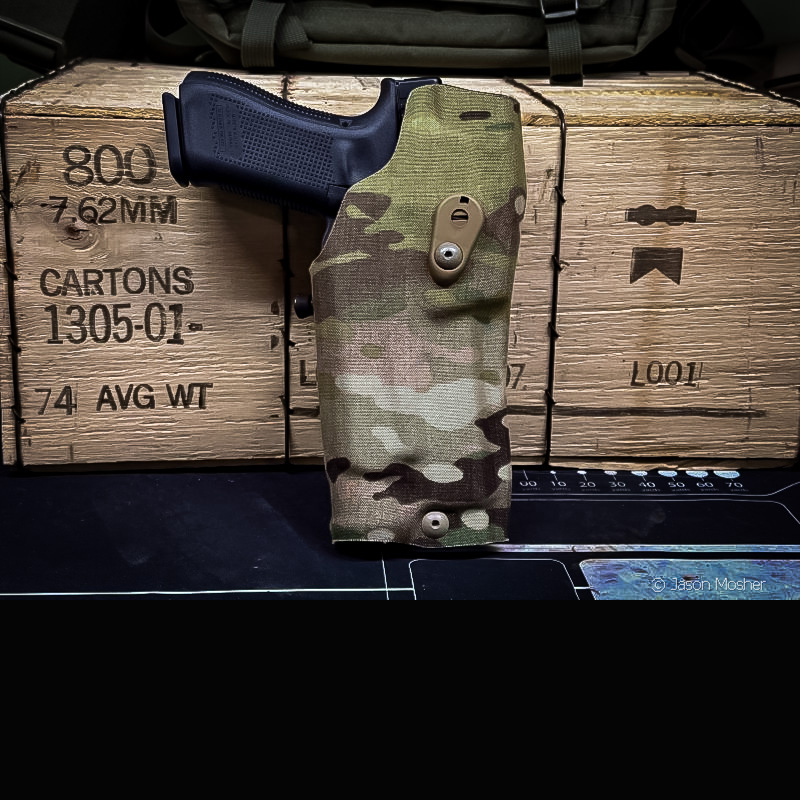
While I was able to see the design and manufacturing process for multiple holster types, I’m going to focus this article specifically on the 6000 series holsters — models like the 6354RDSO, 6360RDS, and 6390RDS — which are thermoformed and assembled by hand. This was actually a series I got assigned to shadow, but it turned out to be a great one to dig into. Every step — heating, folding, pressing — is still done by hand, one holster at a time.
Precision over Automation
It would be easy to assume that with today’s technology, making a holster is mostly automated — feed in some measurements, and a machine does the rest. The truth is, it’s not that easy to make a holster, at least not to Safariland standards.
There are certain parts of a holster that must have contact with the gun, and certain parts that should not. Each locking mechanism on the holster also needs to contact the gun perfectly, in a specific area.
Once a prototype is made, Safariland’s team performs a series of retention tests on the holster. If it fails a single test, the team must identify what changes are needed, make adjustments, and try again. Here is a quick rundown of how a 6000 series holster is made, from start to finish.
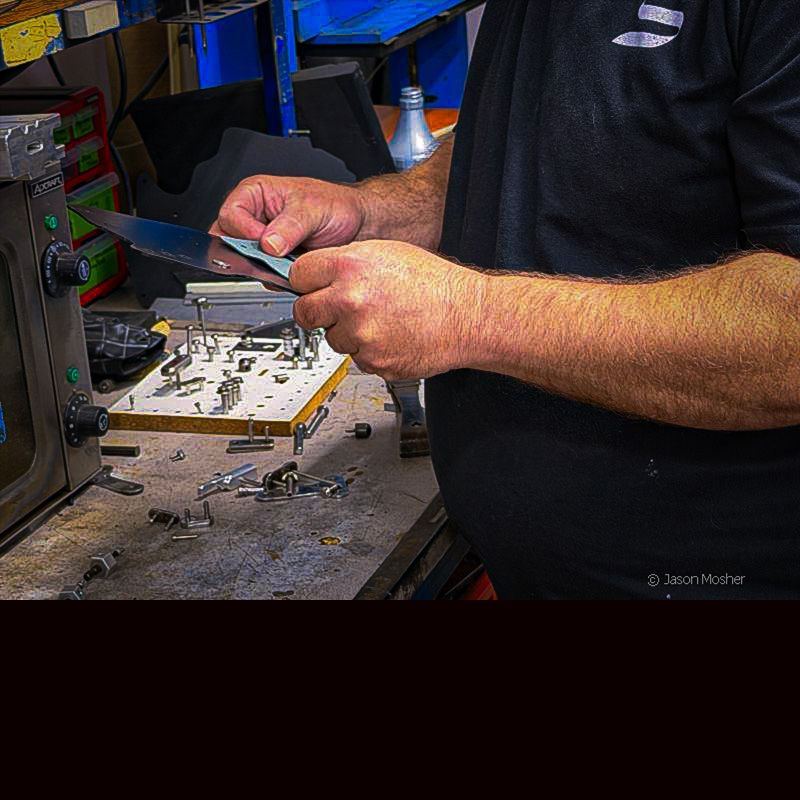
Building the Mandrel
One of the first steps to making a holster is creating the mandrel. A mandrel is essentially a mold in reverse — instead of a cavity that liquid material is poured into, it’s a solid form that a heated, pliable material is shaped around.
For a holster, that means every mandrel is machined to the exact contours of one specific gun and its configuration. It is first designed using Computer-Aided Design (CAD) files supplied by the gun maker. These digital schematics are used to build a 3D rendering. From this rendering, machinists create the solid aluminum mandrel that will be used to shape and form the holster material.
But software alone cannot perfect a proper holster fit. This requires the hands-on development process mentioned above.
Just about all of these prototype mandrels are made by Carlos Powell — known throughout the shop as “Super Dave.” While visiting with Super Dave, he showed me a new holster mold he was working on. They had just cut off a small section of the aluminum mandrel and rewelded it. This is a slow process that requires constant checking, correcting, and re-checking.
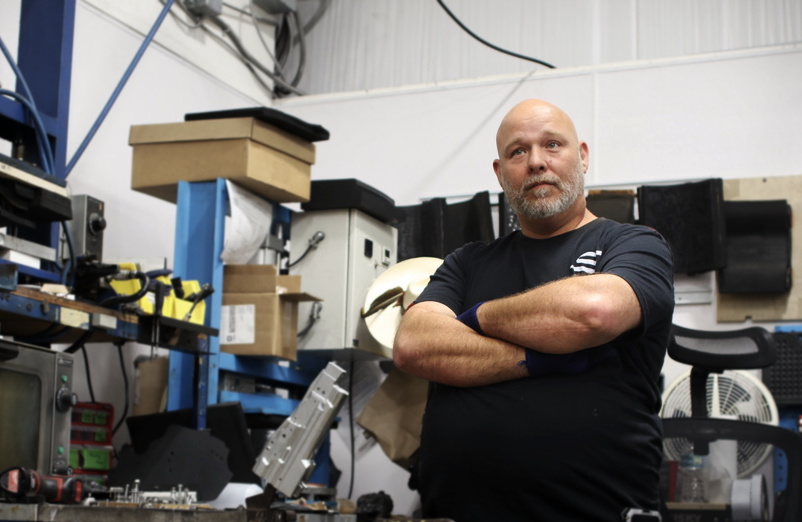
Once the mandrel is complete, it can be duplicated so production on the holster can begin. The process of turning polymer into a holster with the mandrel is called thermoforming, a tedious process that is also done by hand.
Thermoforming: From Flat Sheet to Formed Shell
To make a holster using the mandrel, polymer must be cut into a specific shape that will form around it. Before I watched this process, I assumed some big machine just stamped the holster and turned it into the finished product. But like I said before, it’s not that simple.
First, they must create a template to use when cutting out the holster from a flat piece of polymer. Like the mandrel, this is a process that requires a lot of hands-on work to get it perfected.
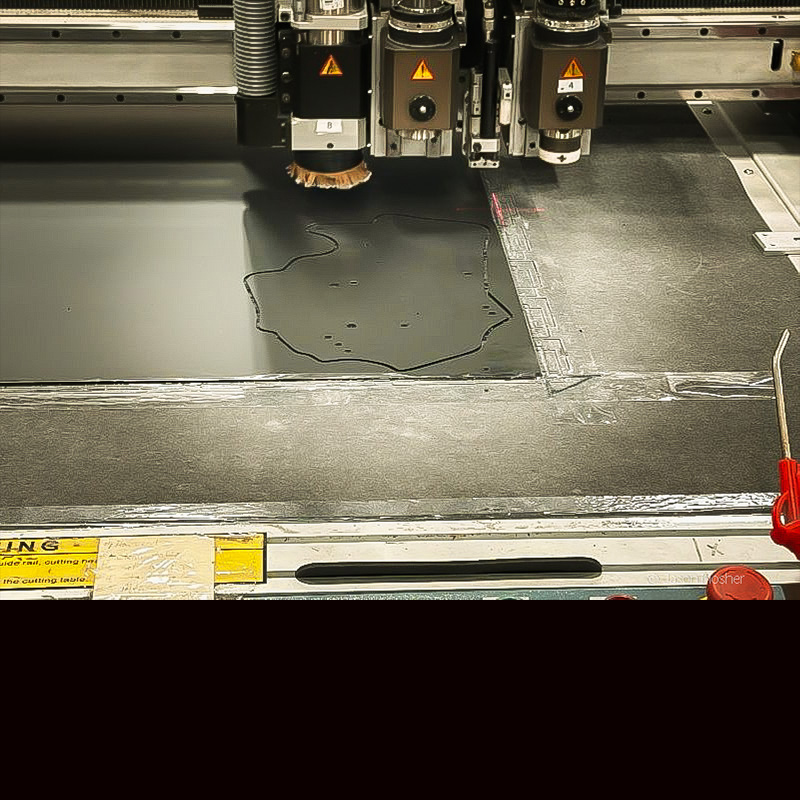
Safariland starts with flat sheets of specialized thermoformable polymer, Boltaron. Workers laser-cut these sheets into the shape needed for the specific holster design being worked on. If the holster is getting a lining, it is glued to the inside of the flat piece before it ever sees the oven.
Watching Super Dave Turn Polymer Into a Holster
While I was watching this process at the factory, Super Dave made a prototype holster with the mandrel he had just created. This was the part I thought was fun to watch.
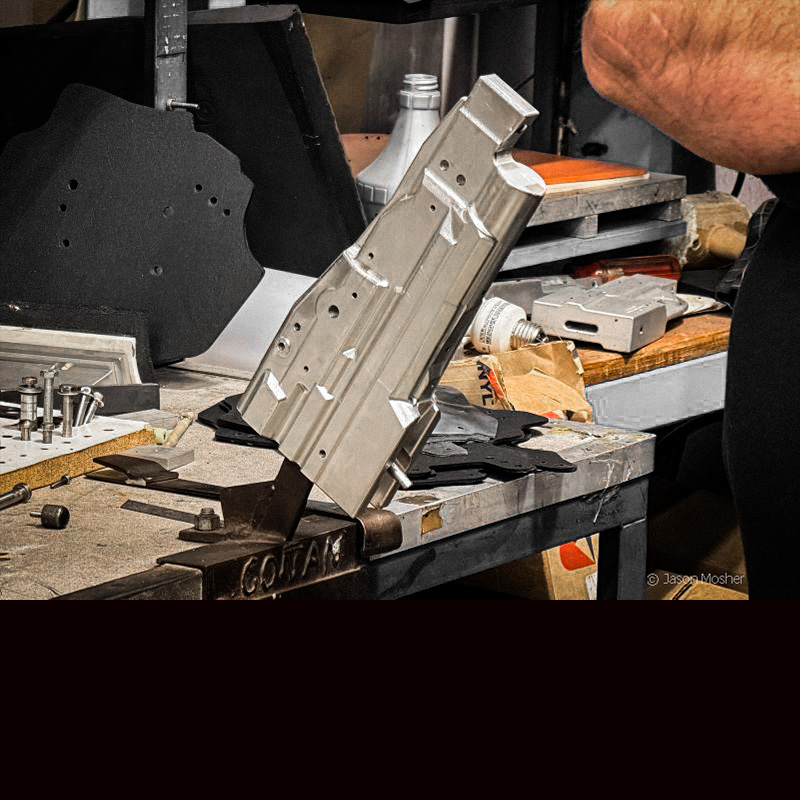
The Boltaron cut-out was placed in an oven to make it pliable. Then he attached hardware to one side of the Boltaron and folded it over — into thirds, kind of like folding a loose burrito. This hardware kept it in that shape as it was placed back into the oven for a second round. This process made it pliable and ready for the final step.
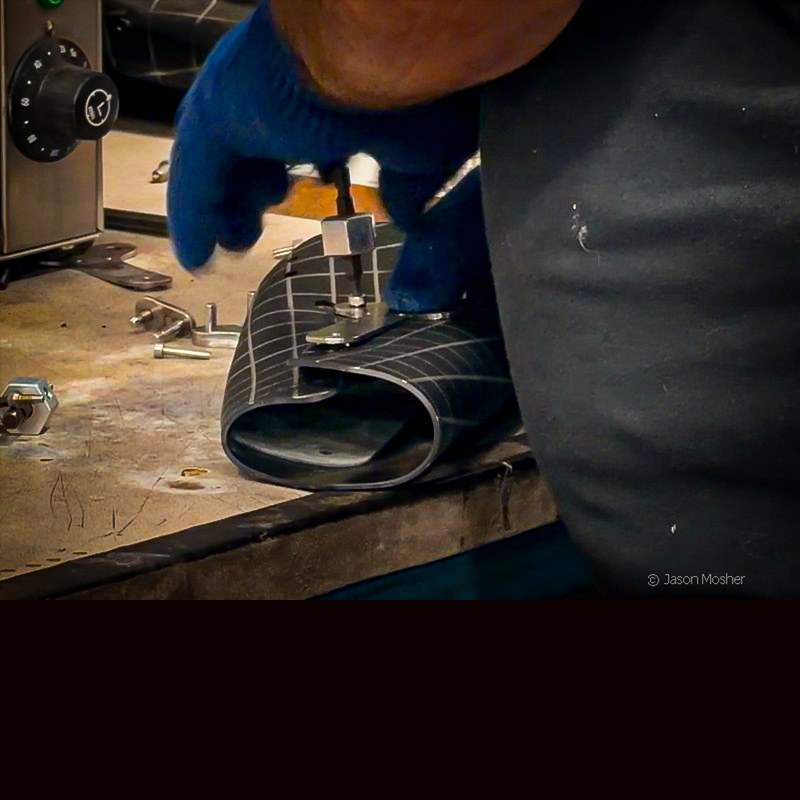
At the same time, the press was heating the mandrel.
Heat, Pressure, and the Final Form
Once both the Boltaron and the mandrel were heated to the correct temperature, Super Dave pulled the Boltaron out of the oven and put it over the mandrel — fast. While it was still on there, he quickly bolted on the securing hardware so it could not move. Then the whole thing went under the press for a couple of minutes.
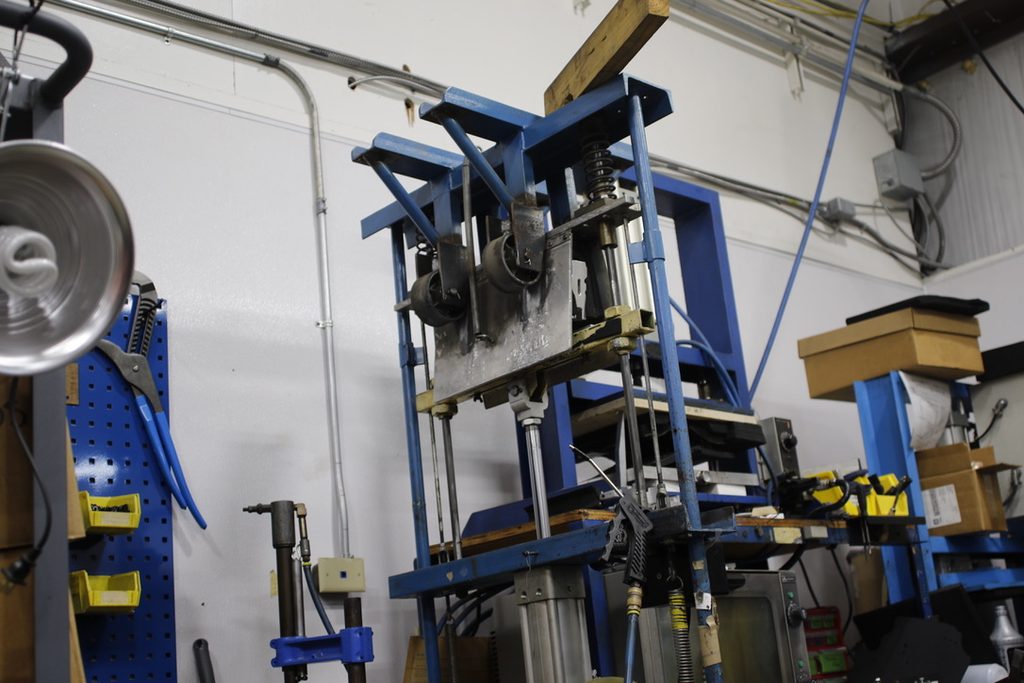
When it was ready, Super Dave pulled it out from under the machine, quickly removed the securing hardware, and hit it with a blast of compressed air before finally pulling the formed shell off the mandrel.
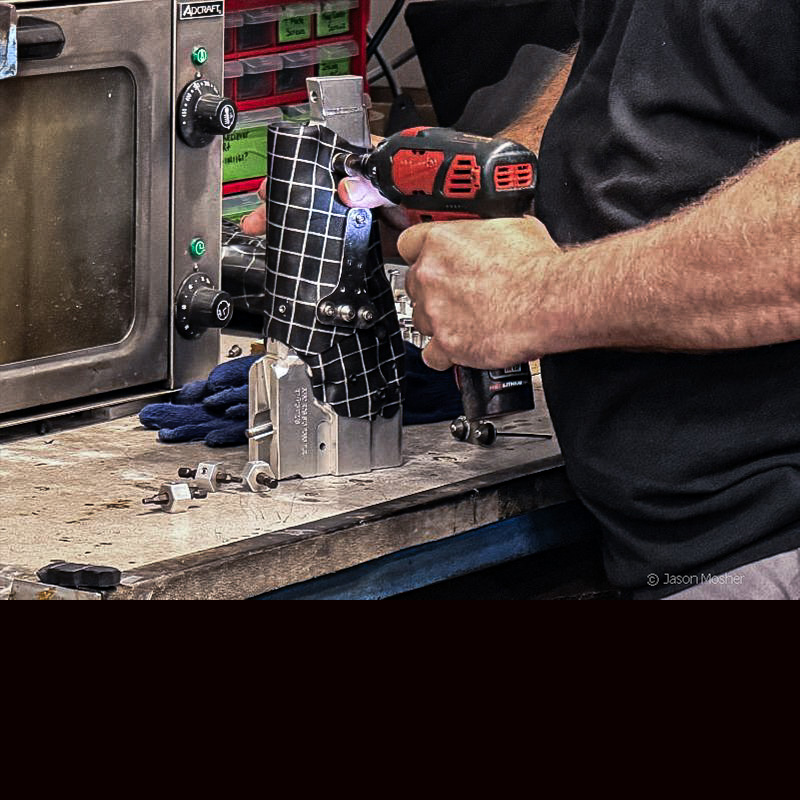
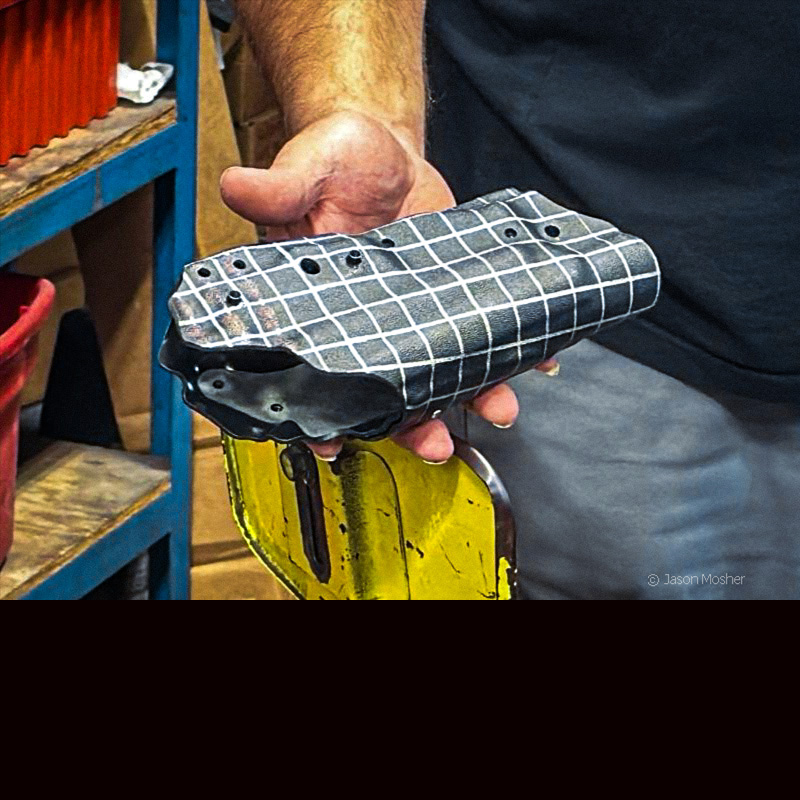
All of this — the small oven, the one-at-a-time hand work — happens in a room at the Jacksonville facility that the team calls “the cage.” It’s not just the 6000 series that comes through here — other holsters like the Incog X, Gravity, and Species are all designed, prototyped, and evaluated in this same corner of the building.
Testing the Prototype
Once the holster is removed from the mandrel, all the screws, locking devices, and holster attachments can be installed. Of course, this specific holster was a prototype, so it also went through a series of testing. Testing is done for fitness and functionality with the handgun it was made for, and for durability.
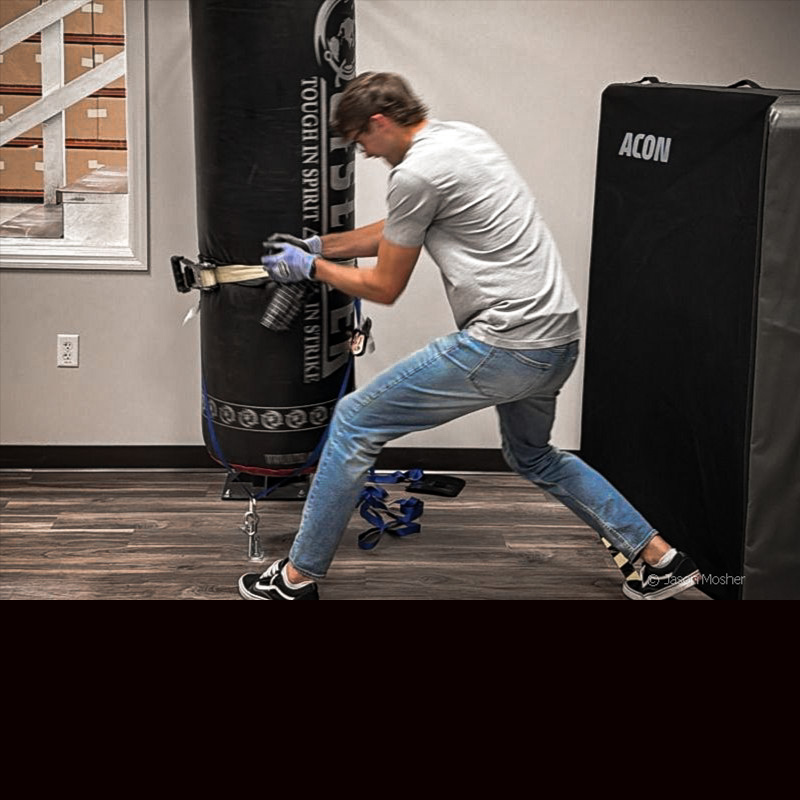
Safariland’s retention testing traces back to a protocol the company adopted from the Rogers Holster Company and has expanded ever since. The holster is attacked from six directions — front, rear, top, bottom, an outboard pull, and a rotating twist meant to break the attachment — with force applied to the grip for five seconds. To pass, the gun has to stay secured in the holster, and the holster has to stay attached to the belt. Some of these tests are run by machine; others, like the one I watched, are done by hand.
The holster is also tested under extreme heat and cold to make sure it holds up in the field, not just on a bench.
When the entire process is complete, you end up with a holster that fits your firearm perfectly and is extremely durable and reliable.
What This Process Means for the Holster You Carry
Watching Super Dave work on the holster made it clear how much time and attention go into the development of a holster like this. But what is even more surprising is that each 6000 series holster is made just like this — by hand.
One of the team leads on this tour made a point I didn’t expect: the people who do this hands-on forming work rarely get the recognition they deserve. They’re in the quiet corner of the building, not the ones in front of a crowd. But the institutional knowledge that Super Dave and his colleagues have built over decades is something that can’t easily be replicated or replaced. It’s the kind of expertise that doesn’t show up on a spec sheet, but is exactly what makes a 6000 series holster the product it is.
I carried a Safariland holster on duty for nearly two decades, and knowing this makes me appreciate my holster even more.
My two biggest takeaways from this tour: a Safariland holster is far more complicated to make than I thought, and the people who make them are more dedicated to perfecting each one than I ever imagined. Next time you clip yours on, take a second to think about the hands that shaped it.