Not too long ago, Greg Ellifritz of Active Response Training began sending a weekly training email to his subscribers. Each email provides shooting drill ideas for folks going to the range over the weekend (or whenever). The suggested pistol drills for accuracy you’ll find below are from a recent course he instructed. They have been republished here with Greg’s permission.
Greg prefaces each of these missives with this intro: I know that a lot of my readers go to the range on the weekends. I want those range trips to be productive. To facilitate that productivity, in years past, I posted a couple of shooting drills each Saturday morning on my Facebook page. I’m now sharing those drills with you all here instead of casting pearls before swine in the Metaverse.
You can receive these emails via his Patreon account (which is free to join).
Shoot better in 15 minutes
Pistol Drills for Accuracy
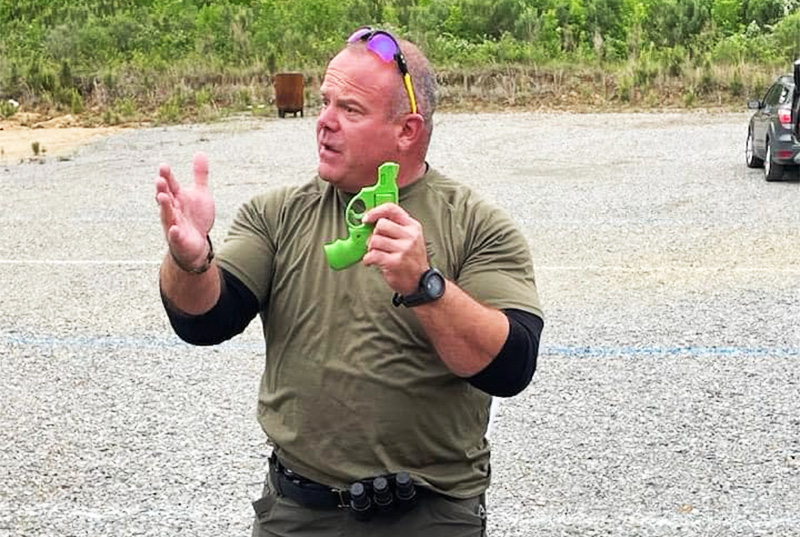
Greg Ellifritz of Active Response Training
I know the title of this article sounds a bit like “click bait,” but it really isn’t.
Would you believe me if I told you that I could significantly improve your shooting performance in less than 15 minutes while firing 30 total rounds? Read more about my methodology and give these training drills a try before you make up your mind.
A few weeks ago, I was working at a regular training gig where I provide in-service training for a group of armed school staff members. I’ve worked with this group quarterly for a couple of years now. In addition to quarterly training with my company, they are also required to shoot at least 100 rounds a month on their own time. They are skilled shooters who perform better than most law enforcement groups I teach.
With this group, I’ve long noticed some problems with their trigger control. They are fast and accurate, but I see lots of low left hits on long-range slow fire shooting. Considering that their mandatory qualification course has stages of fire at 25 yards, I wanted to clean up those issues.
For their most recent training session, I designed a series of drills to focus their attention on proper trigger break. I didn’t make up any of these drills. I learned them all in various classes I’ve taken over the years. What may be unique to my methodology is the way I combined all three drills into a planned training session to address some specific issues that needed resolution.
I started out with Lynn Givens’ Visual Trigger Break and Reset Drill.
I first did this drill in the Rangemaster instructor class. I like it a lot and use it with many of my beginning shooters. Most adults learn more quickly through visual or tactile demonstrations. This drill combines both of those modalities and is rather unique in the shooting world. Have you ever actually watched yourself press the trigger? Adding the visual component to the kinesthetic feel of the trigger is a combination that makes the drill very successful.
From the linked article:
“Here are the steps to perform Lynn Givens’ Visual Trigger Break and Reset Drill:
Grip the unloaded firearm with the strong (dominant) hand only while maintaining the trigger finger indexed in register.
– Rotate the firearm so the palm is facing upwards and the trigger is visible.
– Place the trigger finger on the trigger.
– Slowly press the trigger until the wall is reached (look closely and make a mental note of where the trigger is when the wall is reached).
– Slowly continue to press the trigger until the wall breaks (look closely again and make another mental note where the trigger is when after the wall breaks).
– Without releasing the trigger, cycle the slide. If needed rotate the firearm to perform this action, but return to a palm up orientation before proceeding.
– Slowly release the trigger until it resets (look closely once more and make one last note of the trigger is after it resets).
– Repeat steps 4 through 7 as many times as desired.
– Repeat the entire drill with the support (non-dominant) hand.
The most important part of this drill is to observe the trigger as the slack is taken out, the trigger wall is reached, the trigger breaks, and the trigger resets. The idea behind it is to create a clear mental picture of the mechanical process while getting a feel for the trigger. This will help increase the familiarity with the trigger and develop the muscle memory associated with manipulating it. In turn, this will help level up one’s trigger control proficiency with the firearm.”

Immediately after the Lynne Givens drill, I put them through a drill I stole from master firearms instructor Lou Ann Hamblin from LouKa Tactical. I call it the “countdown drill.”
I instructed the students to break the entire trigger press sequence into tenths. Number one was when the trigger is in the fully forward position. Number 10 is when the trigger is fully pressed and a shot is breaking. Numbers two through nine are intermediate stages between the trigger being fully forward and the trigger being fully pressed. Number five, for example, denotes a position where the trigger is approximately halfway through its rearward movement.
In the same manner I conducted the Givens trigger break drill, I had the students watch their triggers and fingers as I randomly shouted out numbers one through 10.
“Two, five, seven, ten.”
“Nine, one, four, two.”
“Five, ten, six, one.”
You get the idea. Students were able to watch the trigger as they pressed it, modulating the pressure they needed to move the trigger to the instructed “number” position.
After performing the drill dryfire with students watching their trigger fingers, I had the students load their guns and perform the drill live fire from a two-handed shooting position. The students fired one magazine (15 rounds), working on precise trigger control as I shouted out the numbers.
After that drill, I had them reload and shoot another magazine using a drill I’ve seen in multiple training classes. Spencer Keepers describes the drill best in his recent video (opens to Facebook).
The drill involves a shot timer and pressing the trigger as quickly as possible (without moving the pistol) after the auditory stimulus. It is designed to subconsciously teach a very smooth trigger press.
I had the students aim their weapons at the target and fire single shots as fast as they could after hearing the timer beep. I did this for another magazine (15 rounds).
The students were amazed at the accuracy they saw while pulling the trigger as fast as possible. When you take the thinking brain out of the equation, sometimes good things happen.
I finished off the training session with some additional drills. My students were impressed by how much those 30 rounds improved their shooting for the remainder of the day. They shot much better after the drills than they did before. We’ll see if the changes stick. I plan on running this sequence of drills as a ‘warm up” during our next few training sessions and will report back with the results.
Until then, give these drills a try. It takes 15 minutes and 30 rounds. What do you have to lose?
GE, ACTIVE RESPONSE TRAINING
You can connect with Greg Ellifritz on Facebook.
You may also be interested in reading Top 5 Range Drills: Be Accurate, Be Fast.