I’ve been doing a lot of low-light practice and training with Weapon-Mounted Lights (WMLs), and to be more well-rounded, I took up handheld lights as well. Combining the use of handheld lights and handguns poses unique challenges that numerous techniques have attempted to overcome.
Why Train for the Dark?
Statistically, most crimes happen at night, meaning a low-light situation is likely.
A light allows you to identify your threat. Additionally, a light can help you find cover, navigate an escape, and more. WMLs are handy to have, but handheld lights offer enough benefits that it’s worth carrying both if you’re going out in the dark.
Handheld lights are still a must-have. They work with revolvers and small guns that can’t mount a light. If I can only pick one illumination source, I’d pick a handheld light over a WML. Knowing how to employ both your handgun and your handheld light at the same time is a major key to success.
There are four common Techniques of employing a handheld light alongside a handgun. Which is best? It’s tough to say, but I did a little experimenting to figure it out.
The Four Handheld Light Techniques
It’s important to recognize that being fluent in one method is nice, but being able to employ multiple methods can make you a more well-rounded night fighter. Let’s discuss the pros and cons of each method.
While each method is different, the standard rules of light discipline apply: Use the light only when necessary, in quick flashes, and move after each use. Light discipline is life-saving.
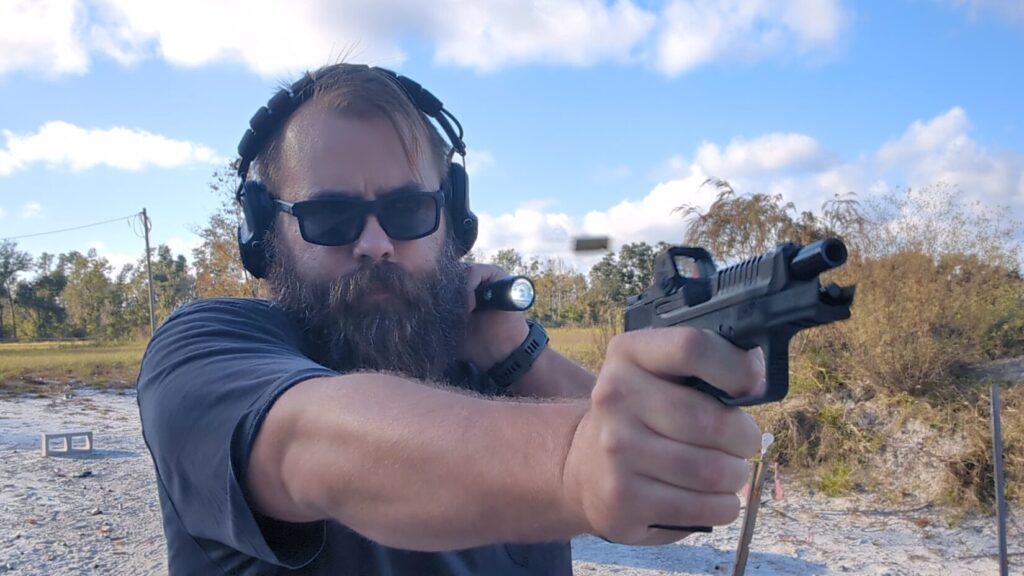
1. The Harries Technique
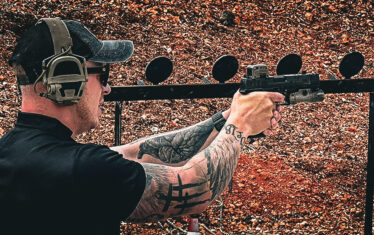
Grip/Position: As a shotgun aficionado, I know all about the joys of isometric tension. The Harries Technique positions the light in an icepick grip in your nondominant hand. As you extend, establish a firing position and press the backs of your hands together to create tension.
Pros: Tension helps increase control and lends you some one-handed shooting support. This method of shooting allows for increased stability from the tension, enabling you to point the gun’s muzzle in the same direction intuitively. You can also dip the wrist of the firing hand to avoid muzzling anything that doesn’t need to be muzzled.
Cons: Using the method in close quarters can be somewhat clumsy. While extra tension leads to extra stability, you are still controlling recoil with one hand.
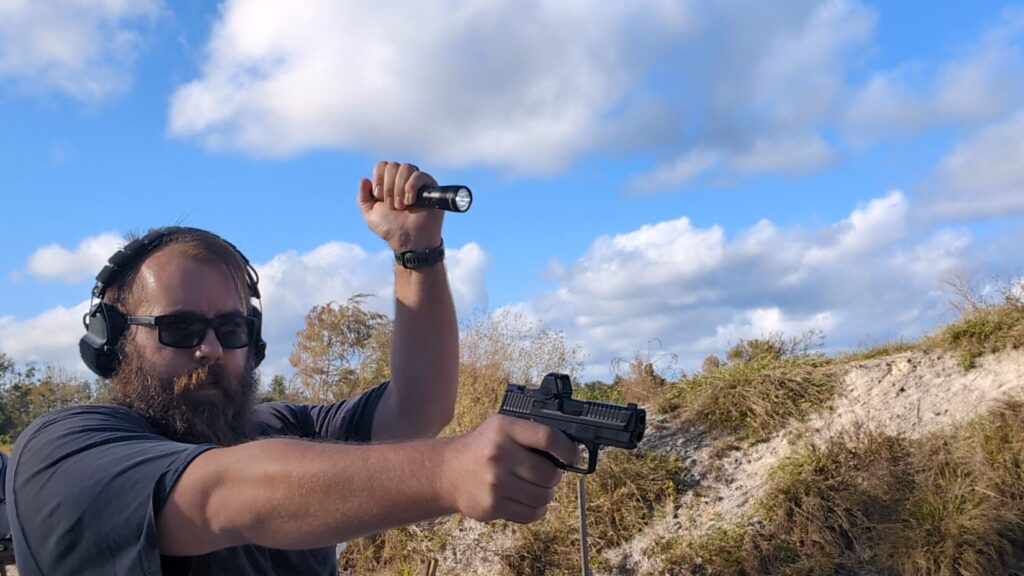
2. The FBI Technique
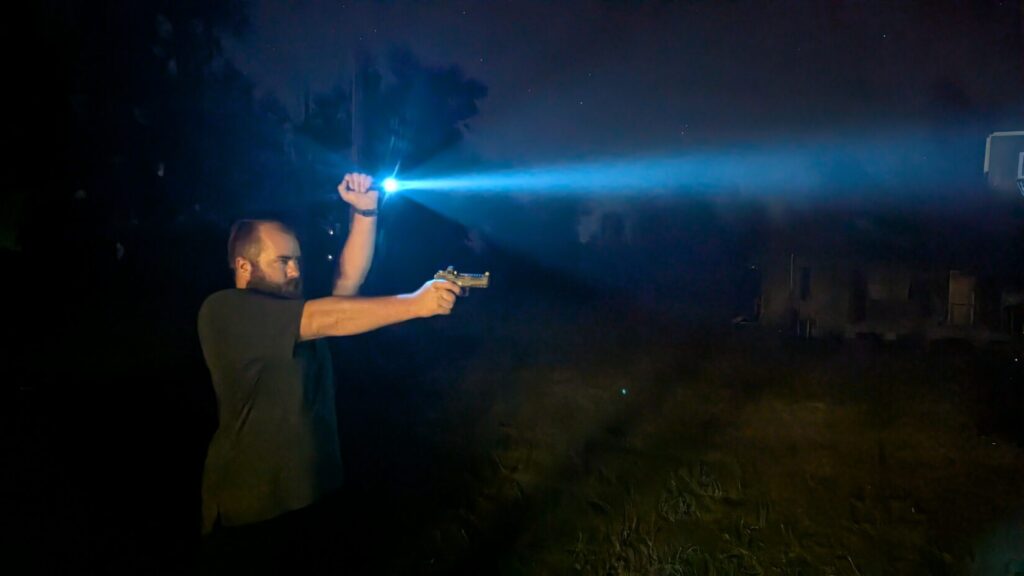
Grip/Position: The FBI Technique is an old-school method of searching with a light while wielding a firearm. It comes from a time when using light discipline wasn’t a common concept. The shooter simply extends their nondominant hand up and above their head, as far from the head as possible.
Pros: The stated benefit is to draw fire away from the person searching. Positioning the light high makes it tough to figure out where the shooter is located.
Where this technique shines is behind cover. You can shine the light over the cover and lean right or left to engage the target while distracting them. Additionally, it’s easy to separate the gun from the light and avoid muzzling anything while searching.
Cons: You are only firing with one hand, which leads to less control, making it difficult to shoot fast and accurately. It also gets tiring quickly, especially for my arthritic shoulders.
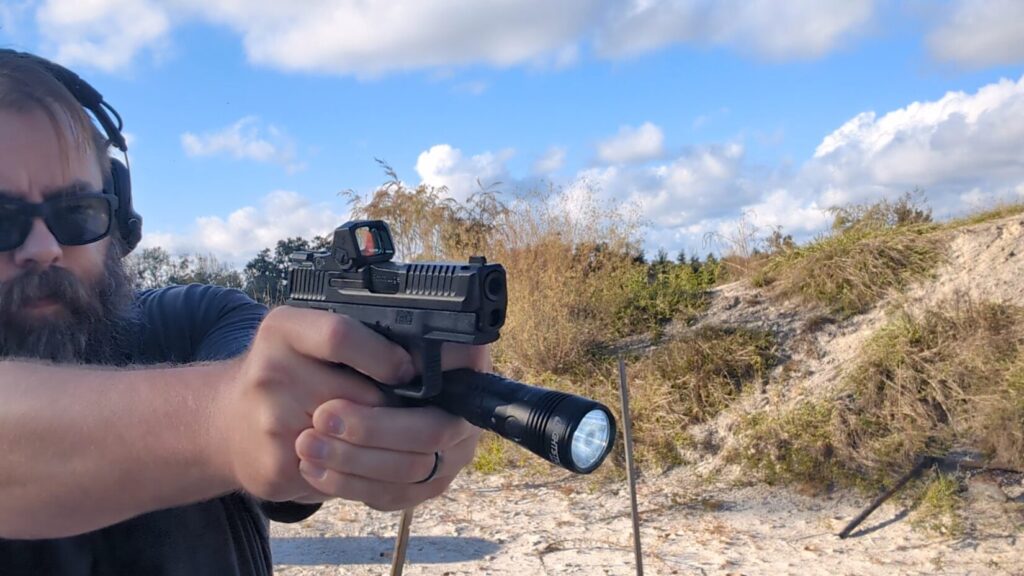
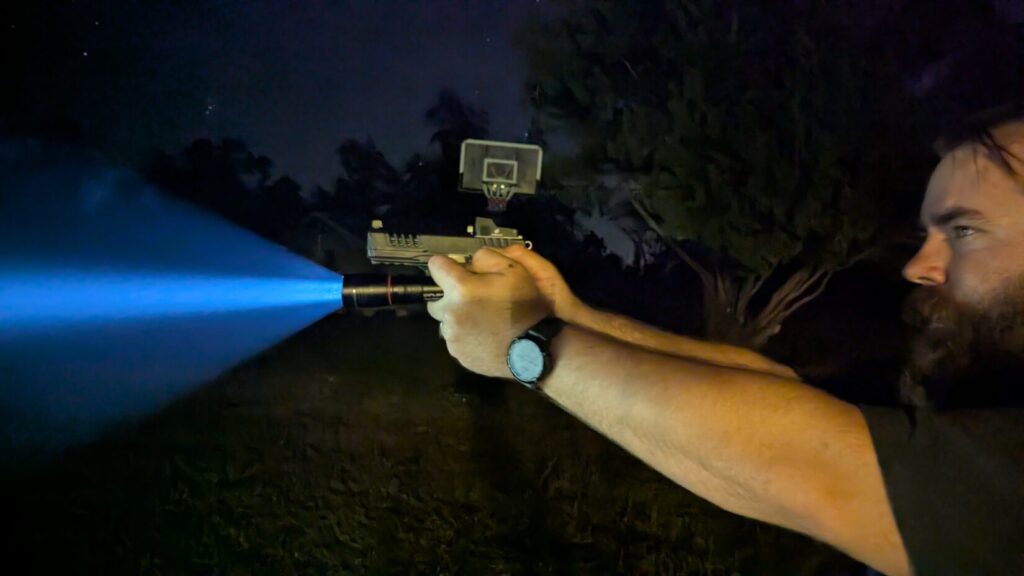
3. Surefire Technique
Grip/Position: FBI Agent Bill Rogers created the Surefire Technique to work with Surefire handheld lights. These lights often have a ring that allows them to work optimally.
The light is placed between the index and middle fingers of the nondominant hand. You press the light against the gun’s grip and assemble a two-handed grip as best as possible. Your palm controls the light, and pressing the rear tail cap activates it.
Pros: The Surefire Technique gives you the most control possible with a handgun and a handheld light. It allows for easy control of the gun.
Cons: It doesn’t work with all handheld lights (the light can be too big, or the tail cap recessed). This often requires a specific light system. Another downside is the inability to point the light without pointing the gun.
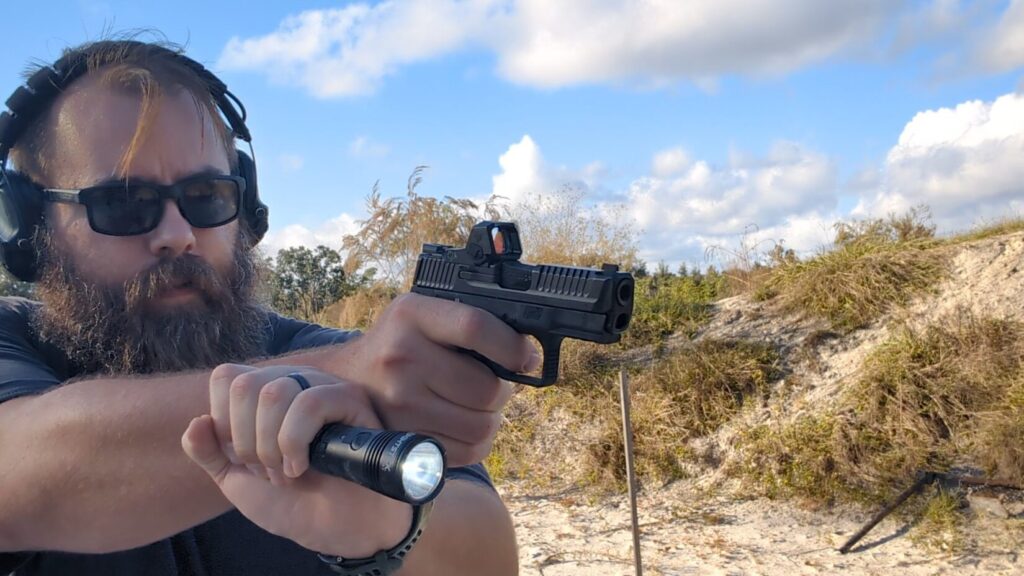
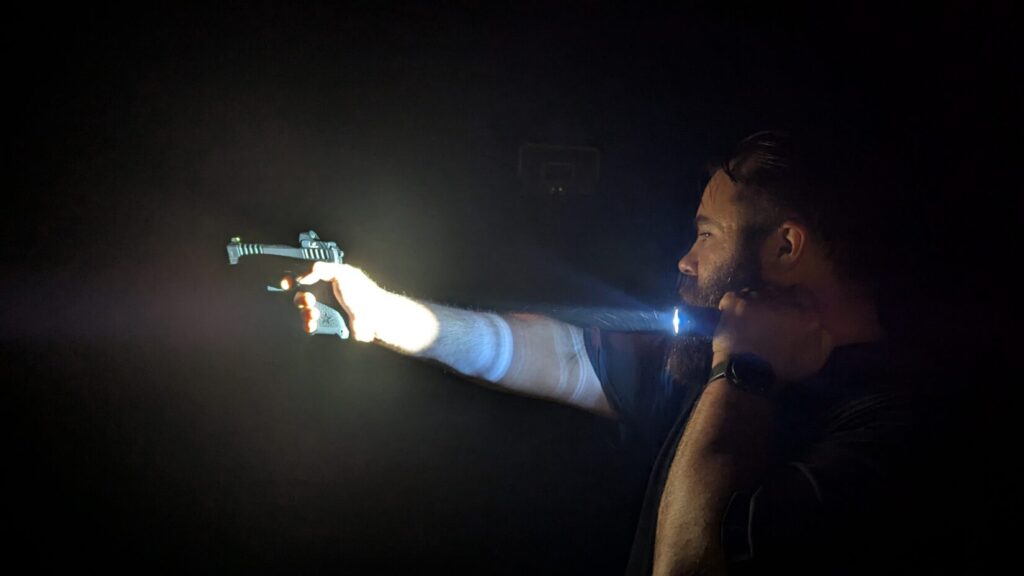
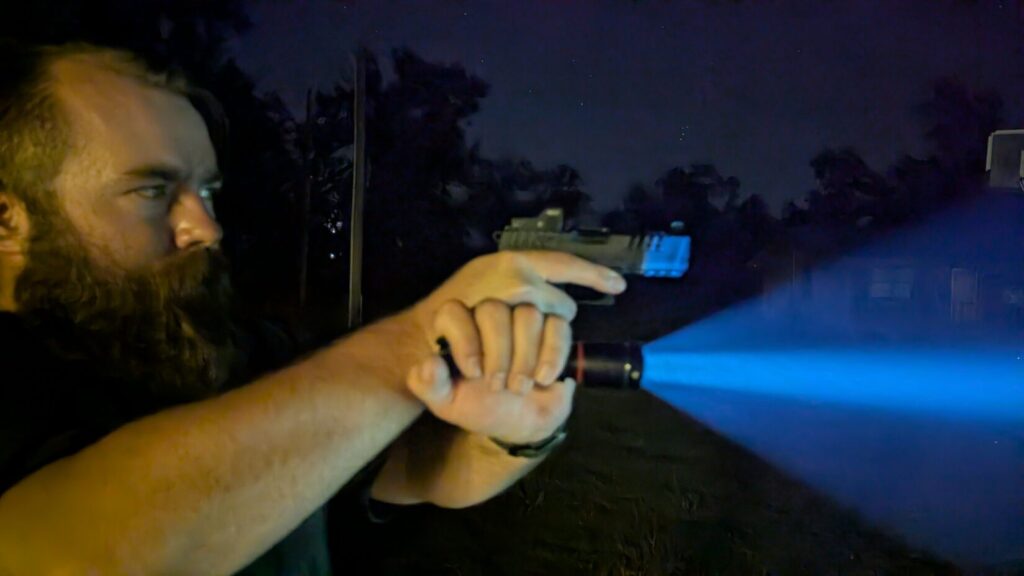
4. Neck Index
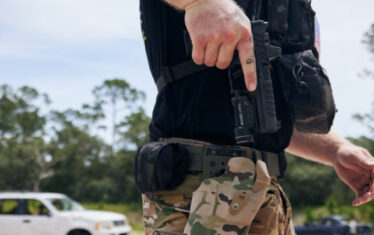
Grip/Position: Neck Index positions the light in the nondominant hand that’s positioned below the jaw and near the neck. The firing arm is extended in a one-handed shooting position.
Pros: This position allows you to illuminate the iron sights, and it also points where you are looking. The Neck Index position makes it easy to work inside tight quarters without drastically altering your light’s position.
Cons: You are using one hand to control the gun, which decreases control. The other downside is putting a light right by your face in potentially violent situations. Light discipline needs to be sharp with the Neck Index.
Which Handheld Technique is Best? (Range Data)
There is no best handheld light technique. There are different situations where one technique or another tends to make sense. With that said, I wanted to judge these techniques side-by-side with a few tests. The first was a simple range day test.
I shot a simple drill. I started in the ready position and fired five rounds using each technique at 10 yards into an 8-inch target. I ran this drill three times for each technique. My goal was to observe how fast and how accurately I could make shots using each technique.
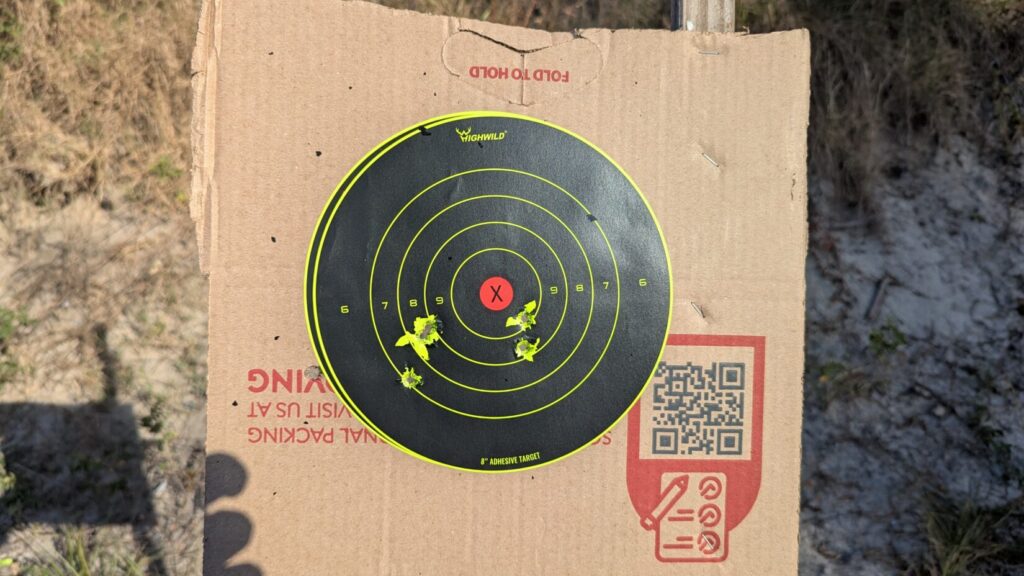
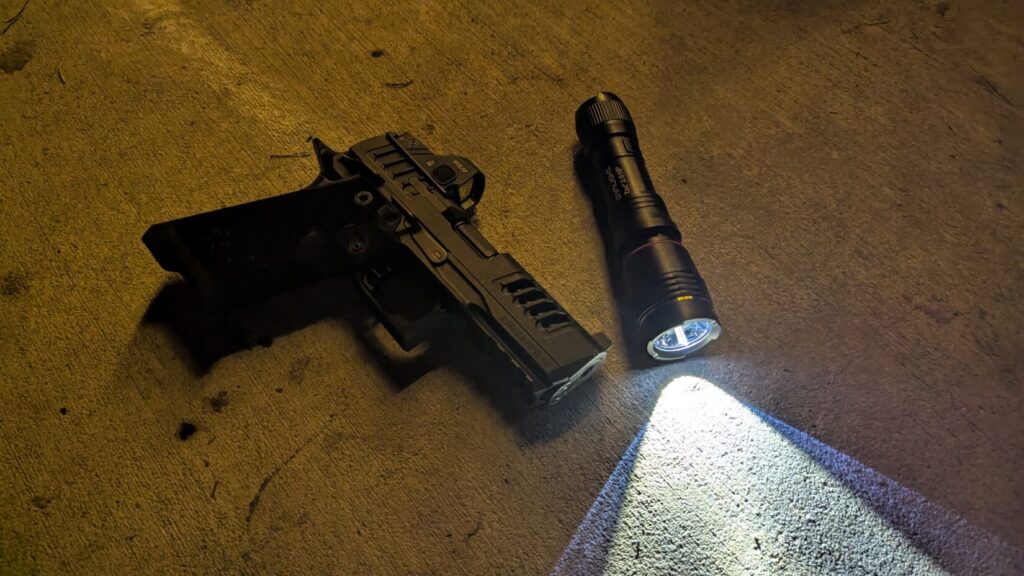
My gun of choice was the S&W Shield Plus with a red dot sight.
| Technique | Average Time (Seconds) | Total Hits (of 15) |
| Harries | 2.55 | 15 |
| FBI | 4.5 | 13 |
| Surefire | 2.4 | 15 |
| Neck Index | 3.3 | 15 |
The Surefire and Harries offered fast times and excellent accuracy overall. The Neck Index was surprisingly easy for one-handed shooting. The FBI Technique proved to be difficult to use with the arm hanging so far above the head, which resulted in misses on two of the three runs.
Beyond the Range: Force on Force Testing
I paired up with a local deputy on his night off to work some low-light force-on-force. We used Umarex paintball markers and had a bad guy and a good guy. The good guy got the light and searched for the bad guy outdoors.
Scenario: The bad guy could shoot until the good guy used their light for the first time. The good guy couldn’t shoot until he identified the target as a threat. We used paintball masks for safety.
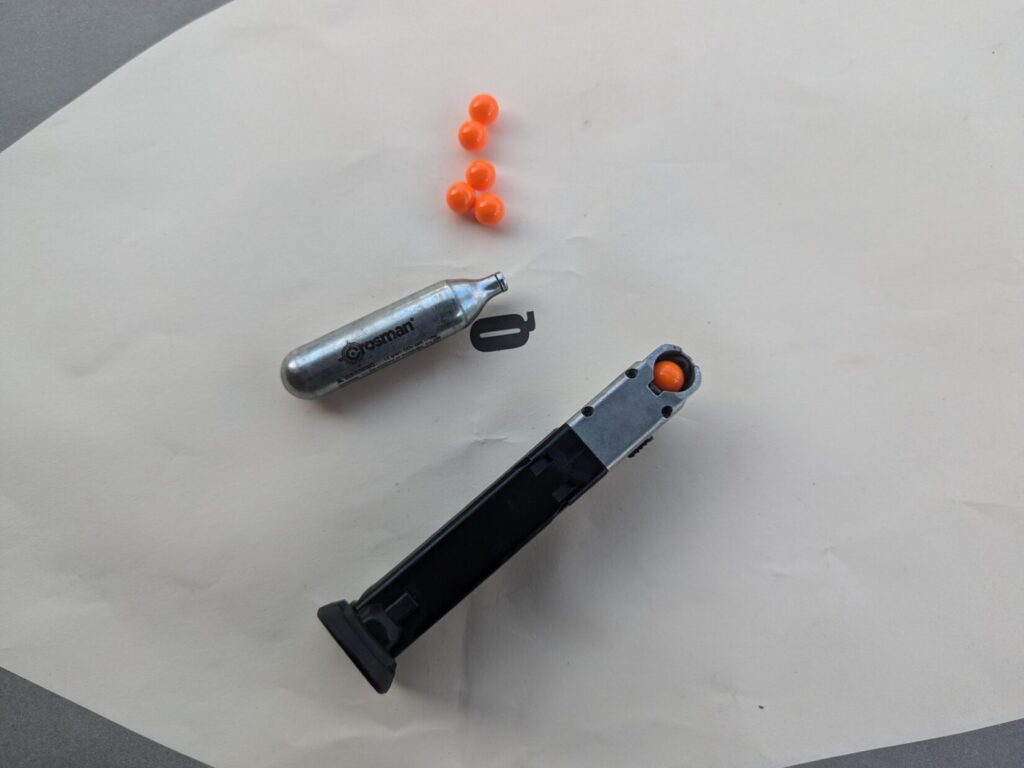
Testing Issues: There were admittedly some issues with our testing, namely, the low range of the Umarex markers and their inaccuracy at extended ranges. The lights offered more range than the guns. Additionally, the masks fogged up quickly in the cool night. However, we adjusted and worked around the faults.
Force-on-Force Key Takeaways
- Neither of us found the FBI technique very useful outside of using it over or around cover. I scored a hit by shining the light over the hood of a truck and leaning around the truck to engage as a paintball flew over my head at the light.
- Using proper lighting discipline seemed to diminish the usefulness of the FBI Technique as a general search tool.
- The Neck Index didn’t seem to attract shots to our heads since neither of us took a mask shot.
- The Harries Technique offered the best transition speed to other techniques.
- The Surefire Technique offered the most control and stability.
- At close range, the method didn’t seem to matter much for scoring hits, as evidenced by matching bruises on our chests. We went hit for hit as the good guy and bad guy.
We aimed in the direction of the light, but never specifically targeted it. Even with the FBI method, we took shots to the chest. There is something to be said when two guys know the techniques and how that alters their behavior when shooting.
Mastering Handheld Light
As with anything, you need to train with a handheld light to master any technique. I like being fluent in multiple techniques, and the Harries and Neck Index seems to work for me and my firearms.

That might not be the case for you. Regardless of which technique you adopt, practice live, practice dry, and seek professional instruction. Personally, I want more time using force-on-force in the dark, so that’s what I’ll be pursuing.