Last month, I decided to embark on a new fitness journey with a specific goal in mind: returning to the 10K racing circuit. It has been many years since my last competitive run, and as the saying goes, I’m not getting any younger. As I began my training cycles, I was immediately reminded of a universal truth in athletics—the absolute necessity of a proper warmup routine.
When I precede my runs with deliberate stretching and activation exercises, the miles feel significantly easier. Conversely, if I make the mistake of lacing up my shoes and hitting the trail “cold,” every stride is a struggle, and my mechanics suffer.
Training to become a proficient shooter is no different than training for a race. While it is imperative to test yourself “cold” occasionally—as real-world defensive encounters rarely offer a chance to prepare first—a well-structured warmup is vital for long-term skill development. Incorporating a thoughtful routine ensures that you are reinforcing the neural pathways required for success.
The Myth of “Advanced” Shooting
When I train newly minted officers or prepared citizens, I am frequently asked about “advanced” techniques. Many students look slightly disappointed when I explain that advanced shooting is simply the mastery of fundamentals combined with economy of motion and sound tactics. There are no secrets—only the relentless refinement of the basics.
To achieve that mastery, we must focus on the Eight Fundamentals of Shooting:
- Grip: The foundation of recoil management.
- Stance: Your platform for stability and mobility.
- Draw: The efficient presentation of the weapon.
- Breathing: Managing oxygen and internal movement.
- Sight Picture/Alignment: The visual verification of accuracy.
- Trigger Control: The ability to break the shot without disturbing the sights.
- Muzzle Discipline: Safety and directional control.
- Follow-Through/Recovery: Preparing for the subsequent shot.
These areas must be addressed with deliberate intent. Whether worked in isolation or combined into complex drills, they form the bedrock of your capability.
The Warmup Routine
The following drills are platform-agnostic; they apply equally well to handguns or rifles. While the mechanics of the platforms differ, the underlying principles remain constant.
Target Selection
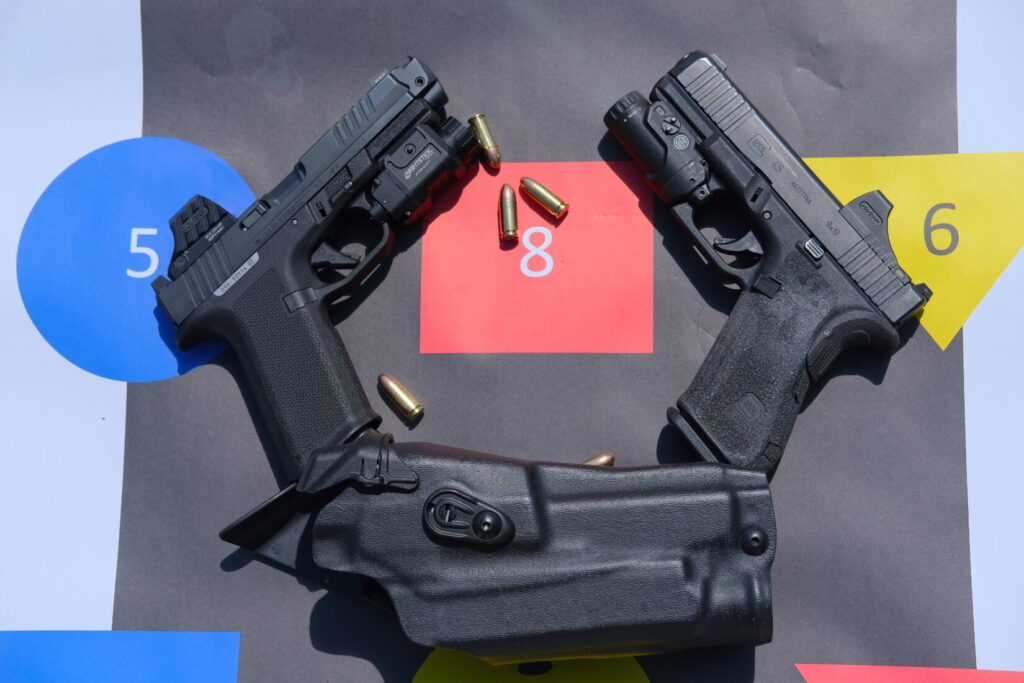
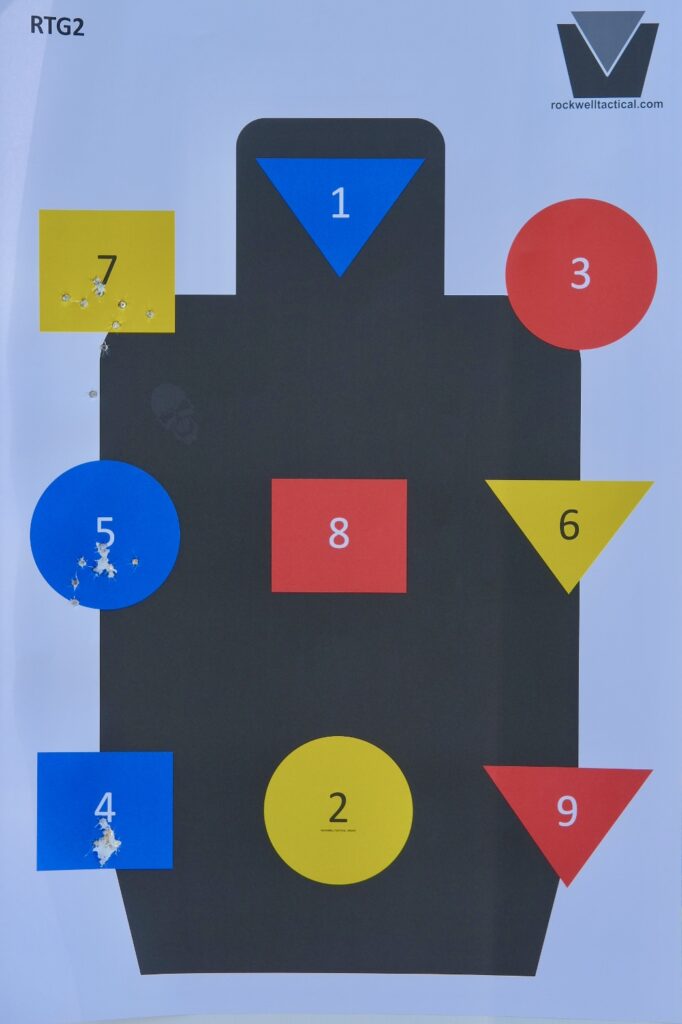
You can run these drills on any target, from paper plates to Post-it notes. Personally, I prefer the Rockwell Tactical RTG series. The targets were developed by Green Beret Jared Ross while running the Special Forces Urban Combat school and have been refined over the years.
We use these targets to great effect when teaching at Lodestone Training and Consulting. While specialized targets exist for specific tasks, the RTG is incredibly versatile. It features a standard B27 silhouette overlaid with three columns of multicolored shapes and unique numbers, allowing for infinite training variations.
Preparation
We will begin at the 5-yard line and progress to 10 and 20 yards. You may adjust these distances based on your skill level and platform (e.g., extending the distance for a carbine). Our loadout for this session consists of three magazines loaded with 10 rounds each.
When using an RTG target, I suggest starting on the bottom shape of the left column and working upward. This preserves the other columns for later drills. Notably, none of these stages require a timer; the focus is on perfect execution, though you should still push your personal performance limits.
Stage 1: Slow Fire, Single Shots
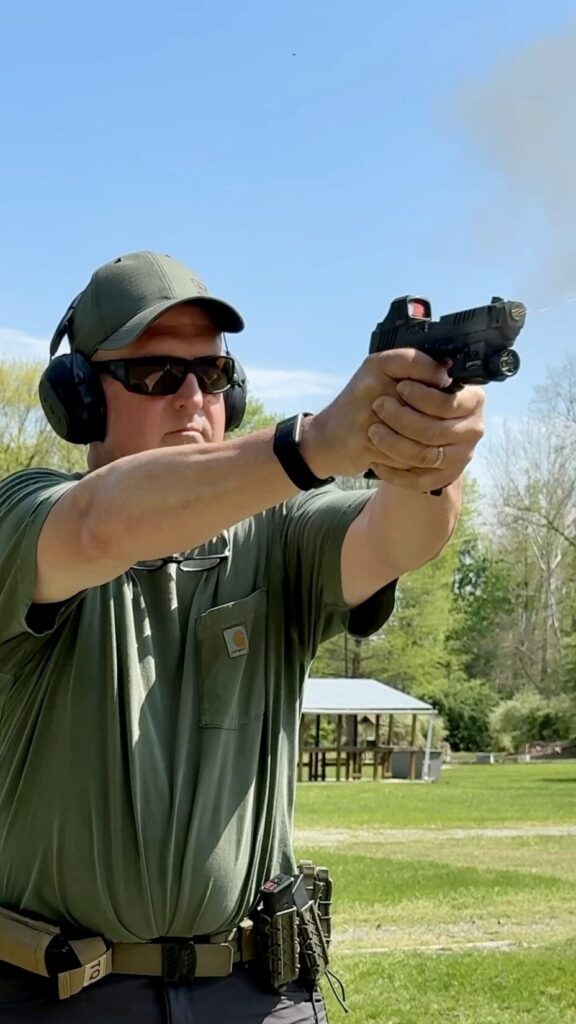
This stage is exactly as it sounds: slow and deliberate. The objective is “hole-in-hole” accuracy. While basic marksmanship can be achieved through trigger control alone, our goal is combat marksmanship—the ability to apply precision shots rapidly under pressure. This requires us to integrate grip, stance, and follow-through from the very first shot.
The Drill:
- Present to the target and fire one shot.
- Do not relax immediately. Track the front sight or reticle through the recoil, achieve a second sight picture, and prepare for a follow-up shot. You aren’t actually taking the second shot, but you are training your brain not to “quit” after a single trigger press.
- Once the second sight picture is established, relax, reset, and repeat.
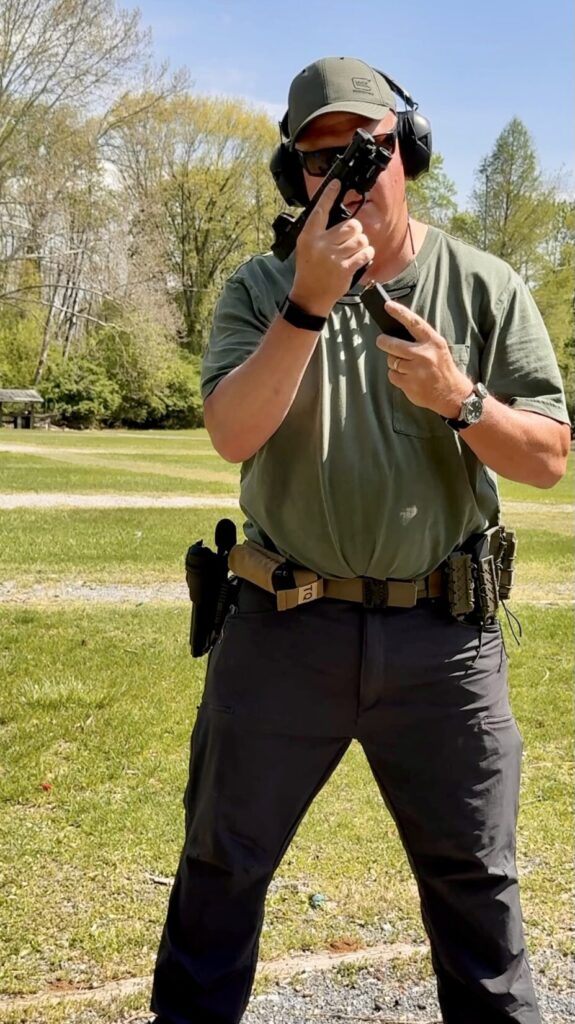
- Upon reaching the slide or bolt lock, perform a visual and physical clear. Close the action, present to the target, and take one perfect dry-fire shot before reholstering.
Repeat this at each designated distance. If any shots fall outside the shape, mark them and analyze why. Remember: Refine your grip so the sights return to center naturally. Do not “peek” to see where the bullet landed until after you have achieved your follow-up sight picture. Trust your sights.
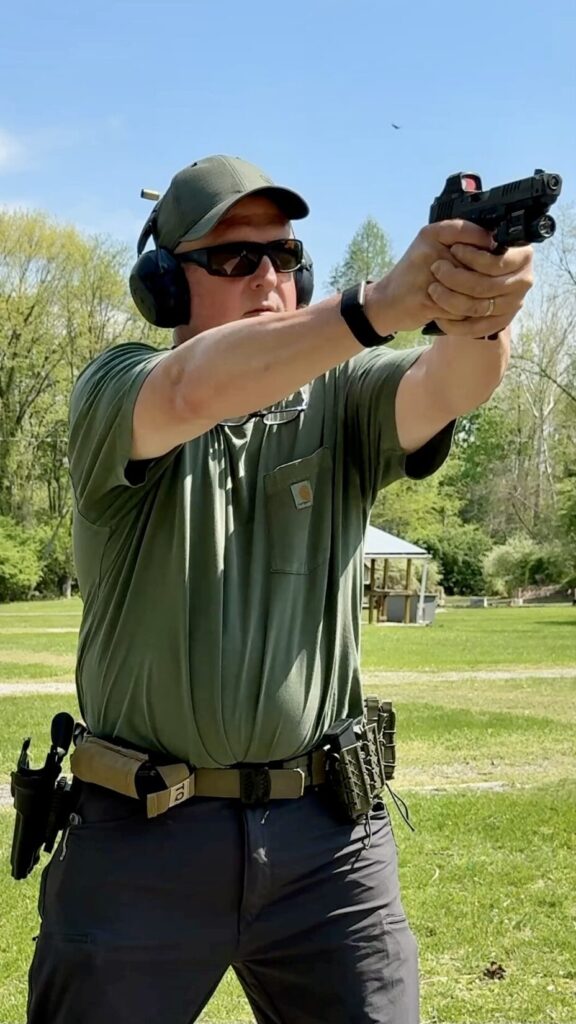
Stage 2: Controlled Pairs
Reload your three magazines with 10 rounds each. Moving back to your closest distance, identify the shape directly above the one used in Stage 1. You may start from the holster to incorporate the draw stroke or from a ready position.
The Drill:
- Fire two rounds per cycle.
- Always finish with a third sight picture to reinforce follow-through.
- If your hits are tightly grouped within the shape, increase your speed on the next pair.
- Continue accelerating until you begin to lose control and miss the shape. This is your current performance ceiling.
- Once identified, back off slightly to regain total control.
Repeat at all three distances. Take note of the relationship between distance and the speed at which you can guarantee hits. These are controlled pairs, not “double taps”—you must see the sights and consciously control each individual shot.
Stage 3: The Rhythm Drill
The final stage of the warmup is the Rhythm Drill. Again, we will fire 10 rounds at each of the three distances. The goal is to shoot as quickly as possible while maintaining a perfect cadence.
The Drill:
- Imagine a metronome keeping time.
- Start at a moderate pace and fire five rounds in a perfect, steady rhythm with total control.
- If your groups are tight, increase the tempo until your accuracy begins to degrade.
- The rhythm is the most critical element here; do not fall into the trap of “mag-dumping.”
Maintaining a consistent cadence keeps you mentally engaged and prevents you from “outrunning” your ability to process the sight picture. Distance will naturally dictate your maximum rhythmic speed.

Conclusion
While these drills serve as a comprehensive warmup for a longer range session, they are also an excellent standalone “maintenance” routine when time or ammunition is limited. By following this structure, you are practicing the fundamentals required for combat accuracy rather than just recreational “plinking.”
Use these stages to diagnose your weaknesses. If your groups are shifting, check your grip or trigger press. If your recovery is slow, look at your stance. Every round spent on the range should have a goal and an intention. Train efficiently, master the basics, and the “advanced” skills will follow.