Most drills in the firearms world get a snazzy name: the Bill Drill, the No-Fail, the 10-10-10, etc. Sometimes drills get multiple names; the Mozambique Drill is also known as the Failure to Stop drill. Rarely do drills have the same name, but it’s happened once with the Box Drill.
In the shooting world, there are two box drills. We have a movement drill and an evolution of the failure to stop drill. Since both drills share the same name, I thought it would be fun to break both down and give you both barrels of the Box Drill.
The Box Drill: Failure To Stop Evolved
Have you ever seen the film Collateral? Tom Cruise plays an assassin named Vincent. In one scene, he runs into two armed, run-of-the-mill criminals. They have the drop on him, but he’s fast.
He draws, shoots the first guy twice in the chest, transitions to the second target, shoots two rounds to the chest, followed by a headshot. Both targets are down, and our antagonist delivers the coup de grâce to the first target with a headshot. What Tom Cruise executed was a Box Drill.
I learned the Box Drill during my time in the Marine Corps, where we shot it primarily with rifles. The Box Drill, much like the Failure to Stop, is modular and easy to modify. The basic Box Drill is simple.
You need one gun, one magazine, and six rounds of ammo. Place two silhouette-sized targets two to three yards apart. Stand seven yards from the targets.
At the start signal, engage one target with two rounds to the chest. Transition to the next target and fire two rounds into the target’s chest. Remain on the second target and fire one well-aimed headshot.
Finally, transition to the first target with a well-aimed headshot.

That’s it, that’s the basic Box Drill. It’s compatible with rifles or handguns, and users can integrate holsters, reloads, and multiple positions to customize the drill. The Box Drill can be fired at any range, you can make hits, and it can be a valuable CQB drill.
It works on recoil management, target transitions, and basic accuracy. Adding draws, reloads, close retention, and more can further enhance its usefulness.
The Other Box Drill
The other Box Drill is more dynamic, more difficult, but almost just as adaptable. This drill requires you to move, and you’ll need four cones or other markers to create your box. We can make a square or rectangle, but it should be five to seven yards from each cone.
I like the Box Drill and had fun shooting it, so I’m going to present you with the basic Box Drill and then one I designed to be a little more dynamic.
Let’s make sure we are all on the same page. The first cone will be the far left corner; the second will be immediately to the right. Cone three is directly behind cone two, and cone four is left of cone three. Cone four will sit behind cone one.
Set up a minimum of two targets and a maximum of four targets. Our goal is to transition targets between cones. Two targets allow you to swap between targets; four targets allow you to better evaluate your skill through the various movements.
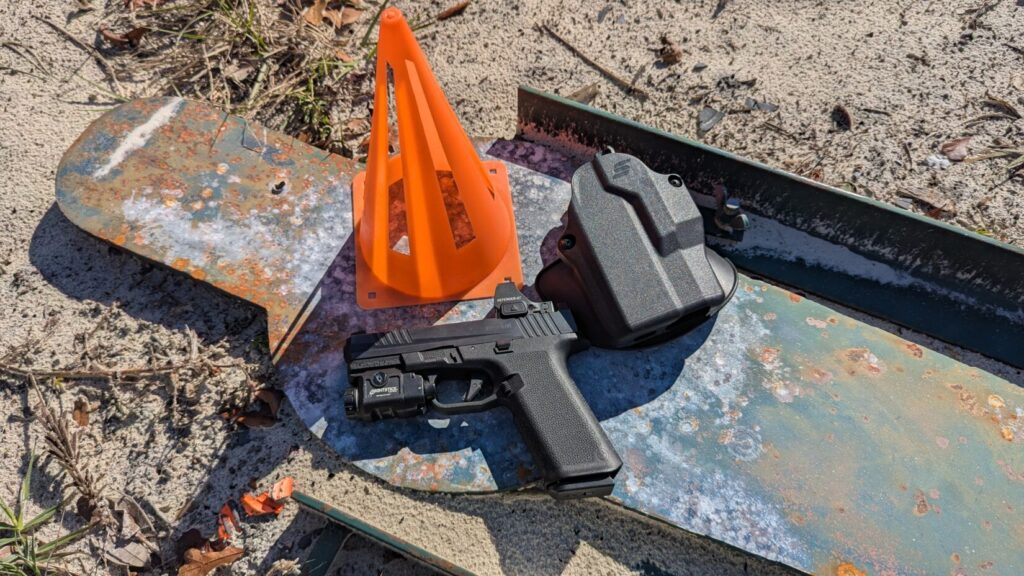
You’ll need a gun, holster, and at least one magazine for a basic Box Drill.
The Basic Box Drill
The basic Box Drill will have you start at cone one. At the signal, begin to laterally move right to cone two while engaging the first target. When you reach cone two, you’ll begin to move rearward while engaging the next target.
At cone three, you’ll laterally move left to cone four as you engage the target. At cone four, you’ll move forward while engaging the target. Remember to swap targets between movements.
This movement drill challenges you to move and shoot accurately. You’re getting off the X and engaging on the fly. Transitioning between targets keeps you from locking in like a heat-seeking missile and keeps the movement dynamic.

If you use four targets, you can evaluate accuracy weaknesses depending on certain movements. If you need advice on moving and shooting, check out this article.
The Safariland Box Drill
Let’s focus on a more dynamic Box Drill. Same cones, same designations, but it’s much harder. You’ll need a holster, a spare magazine, a mag pouch, and the handgun of your choice. Load each magazine to half capacity.
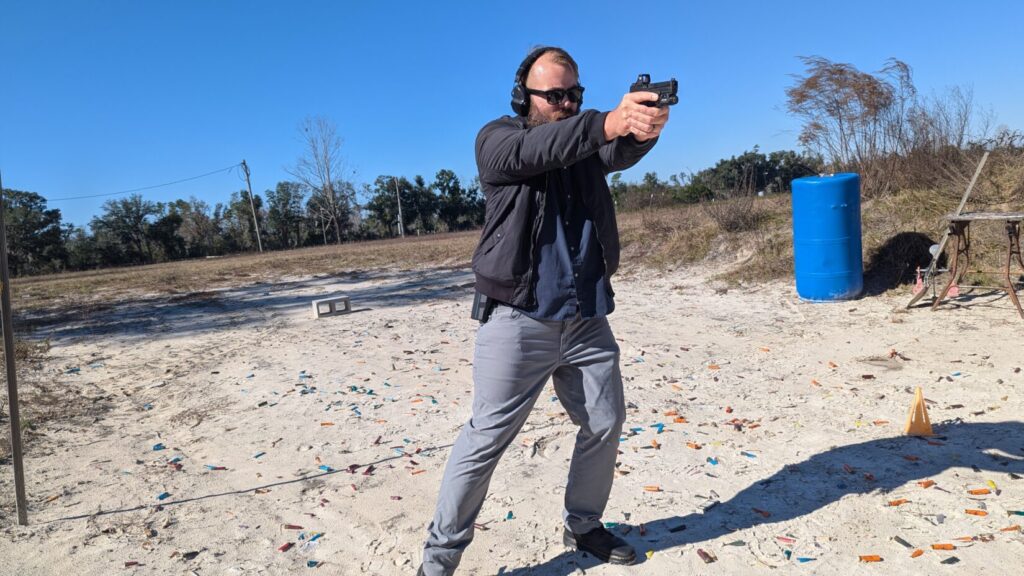
Starting at cone one, you’ll have your gun holstered. At the beep, you’ll disable the ALS/SLS mechanism and draw. After you draw, you’ll begin to move rearward to cone four, firing and maintaining a sight picture.

From cone four, you’ll reholster. At the signal, you’ll draw your firearm with a strong-hand-only stance and move laterally to cone three while engaging the target with your strong hand only.
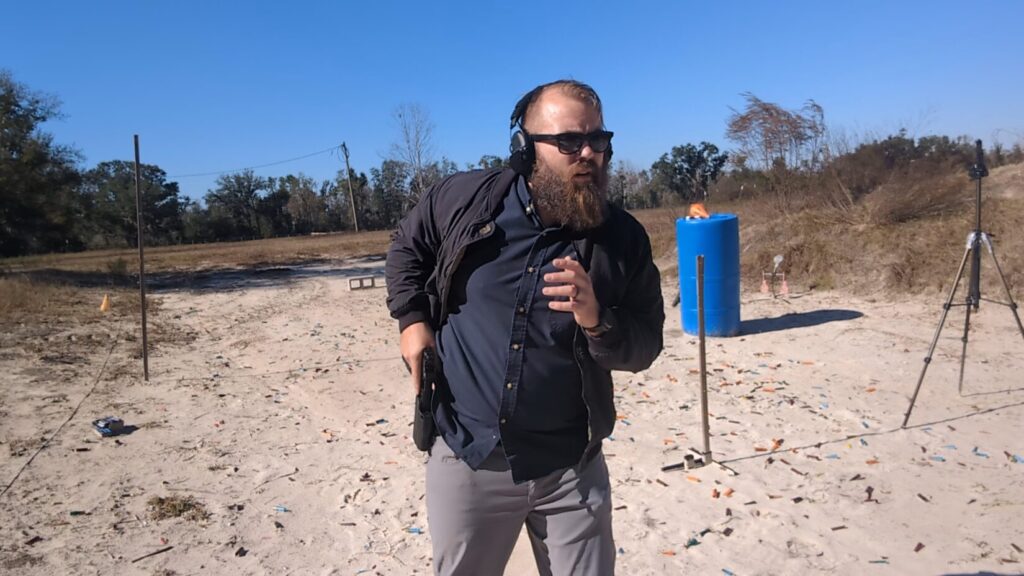
At cone three, reholster your gun. At the signal, draw and engage the target while moving forward to cone two. Attempt to shoot until your gun runs dry, and then conduct a reload while moving. Reholster your gun when you arrive at cone 2.

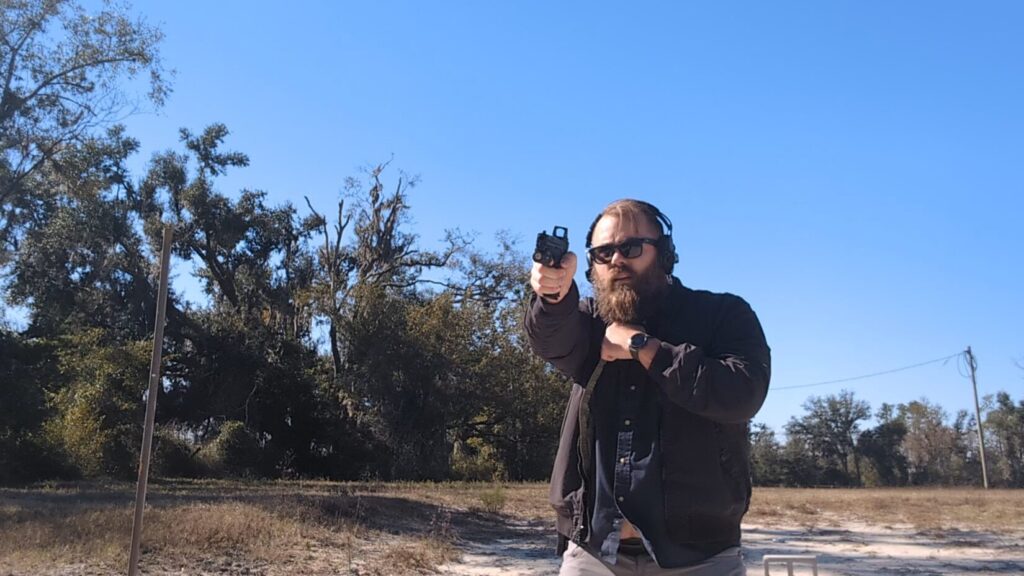
From cone two, draw, and slowly and carefully transition the gun to a support-hand-only stance. Now move laterally to the left as you engage the target with your support hand only. By the time you reach cone one, your gun should be empty.
The Holster Effect
Integrating the holster makes things a bit more difficult, but expands what you can learn from the Box Drill. We are also forcing one-handed use while moving, which pushes the difficulty up to 11.

What’s great about the Box Drill is that you can run it dry and still get a lot of the same benefits from running it live. Many ranges prohibit fire and movement, so running it dry might be the best option.
A Tale of Two Box Drills
The Box Drill is one name for two drills, and both drills just happen to be effective, modular, and fun. Integrating your gear into your training ensures that you aren’t just proficient with your firearm. Think of your gun, holster, belt, magazine pouch, and whatever else you carry as a system, and it’s a system you have to be proficient with.
Get out there, train often, train hard, and train safe.