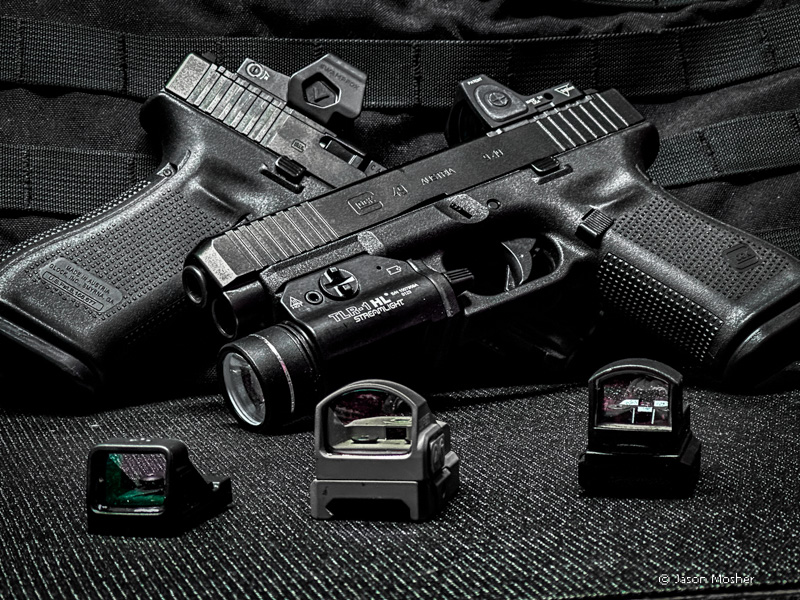
At a Glance: Red dot sights are non-magnified reflex optics that project an illuminated LED reticle onto a coated glass lens. They provide a fast, target-focused point of aim for rifles, shotguns, and handguns. Modern optics are divided into open and enclosed emitters, featuring various mounting footprints (RMR, RMSc, ACRO) and reticle sizes measured in Minute of Angle (MOA).
Red dot sights are easily the most popular way to aim a firearm. Red dot sights are reflex sights and are designed for close to moderate range shooting. They are some of the most diverse sighting systems and are used for defensive applications, competition shooting, hunting, and beyond.
Today, we are going to go over every facet of red dots: from size and type to reticles, how they stack against other reflex sights, mounting footprints, enclosed emitters, and even their history.
What Is A Red Dot Sight?
Definition and Function
Red dot sights are simple electronic sighting systems. They are an aiming device that uses an illuminated aiming point, most commonly a dot. Red dot sights use an LED emitter to project the red dot against a lens.
That lens is coated with a reflective coating that only reflects certain colors of light. In most cases, it reflects red light, but reticles can also come in green, amber, blue, and more. When you look through a red dot, you are seeing the LED’s reflection on the glass lens.
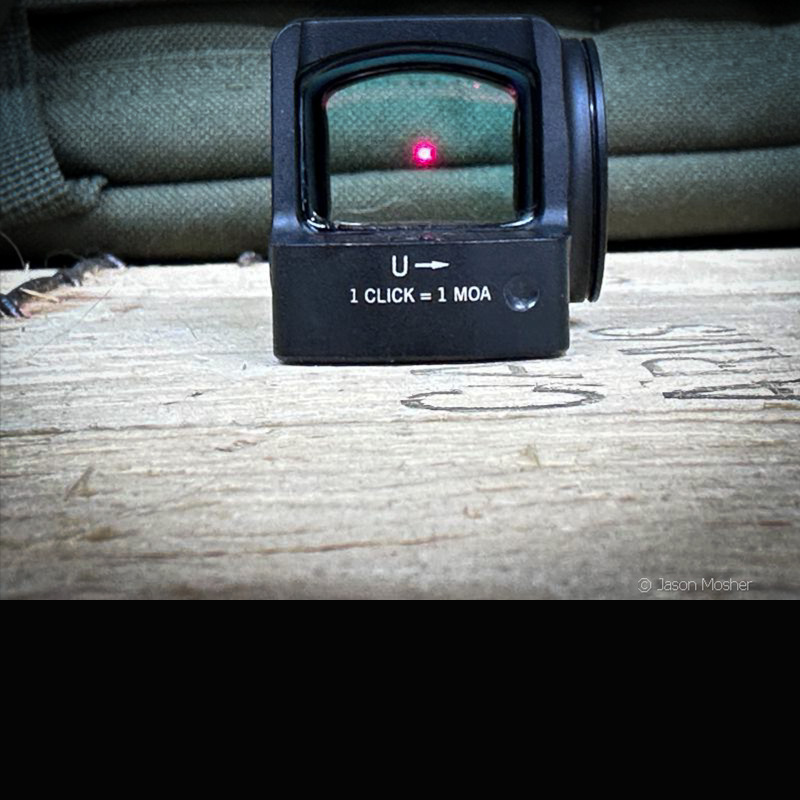
The emitter can be manipulated for windage and elevation, allowing you to zero the optic to your firearm. Most of these sights are non-magnified and are designed for close to moderate range shooting. Red dot sights make shooting faster since you don’t need to align sights; just align your head with the red dot and the target.
History
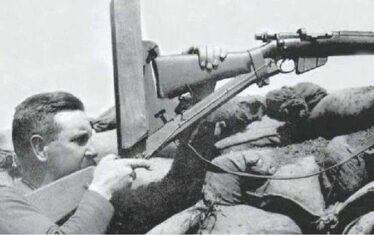
The idea of a non-magnified sight with an illuminated reticle has been around since the 1900s, but they were never all that successful. In 1975, a Swedish company called Aimpoint revolutionized the industry with the first practical electronic red dot sight.
The technology quickly evolved. The dots got brighter, the optics got smaller, and the battery life reached absurd levels of longevity. Red dot sights have become extremely durable, and every year they get a little more affordable and robust for duty use.
Comparing Reflex Optics: Red Dots vs. Holographic vs. Prism Sights
Red dots fall into the world of reflex sights, but they aren’t the only reflex sight on the market. Let’s briefly examine the three types of reflex sights.
| Optic Category | Illumination | Battery Life | Night Vision Compatibility | Astigmatism Friendliness | Primary Advantage |
| Red Dot Sight | LED Emitter + Coated Lens | 20,000–50,000+ Hours | Moderate to High | Low (Can appear blurry) | Lightweight, Massive Battery Life |
| Holographic Sight | Laser Projected Hologram | 500–1,500 Hours | Excellent (Crisp under NV) | Moderate | Reduced Parallax Error, Rapid Target Focus |
| Prism Optics | Etched Glass Prism | Infinite (Etched) / 1,000+ (Illuminated) | Low to Moderate | Excellent (Clear for all eyes) | Works without batteries |
Red Dots
Red dots are the most common type of reflex sight. They are the most diverse in terms of size, price, usability, and purpose. Red dot sights use a specially coated and curved lens to reflect an LED emitter to create a simple, but extremely usable point of aim.
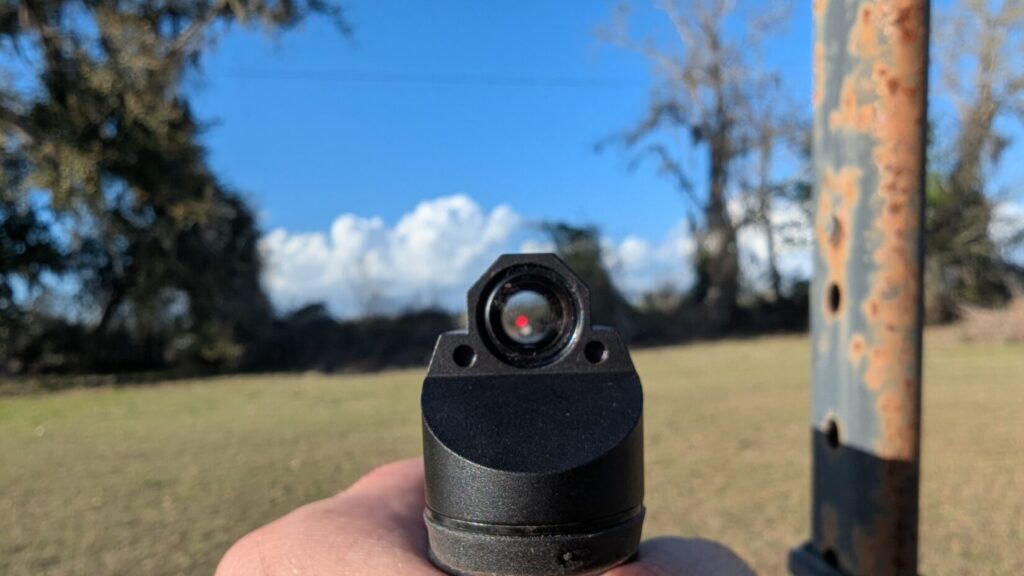
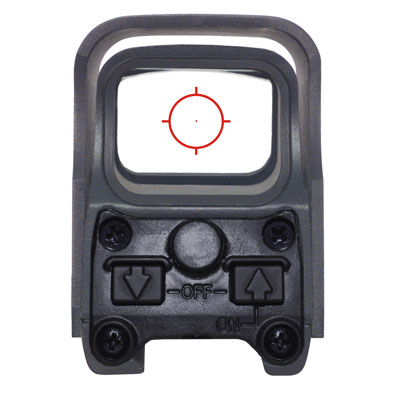
Holographic Sights
Holographic sights do not have the same production diversity as red dot sights and are a bit more complicated. This type of sight should be thought of as a high-speed, tactical projector. A laser illuminates a piece of film that contains a recorded holographic image of the reticle.
This projects the image forward, and it appears as if it’s projected onto the target.
Holographic optics often have substantially reduced parallax error. They use fairly complicated reticles and tend to be the best reflex sight for use with night vision. They have very little forward emission and are quite clear and crisp under magnification.
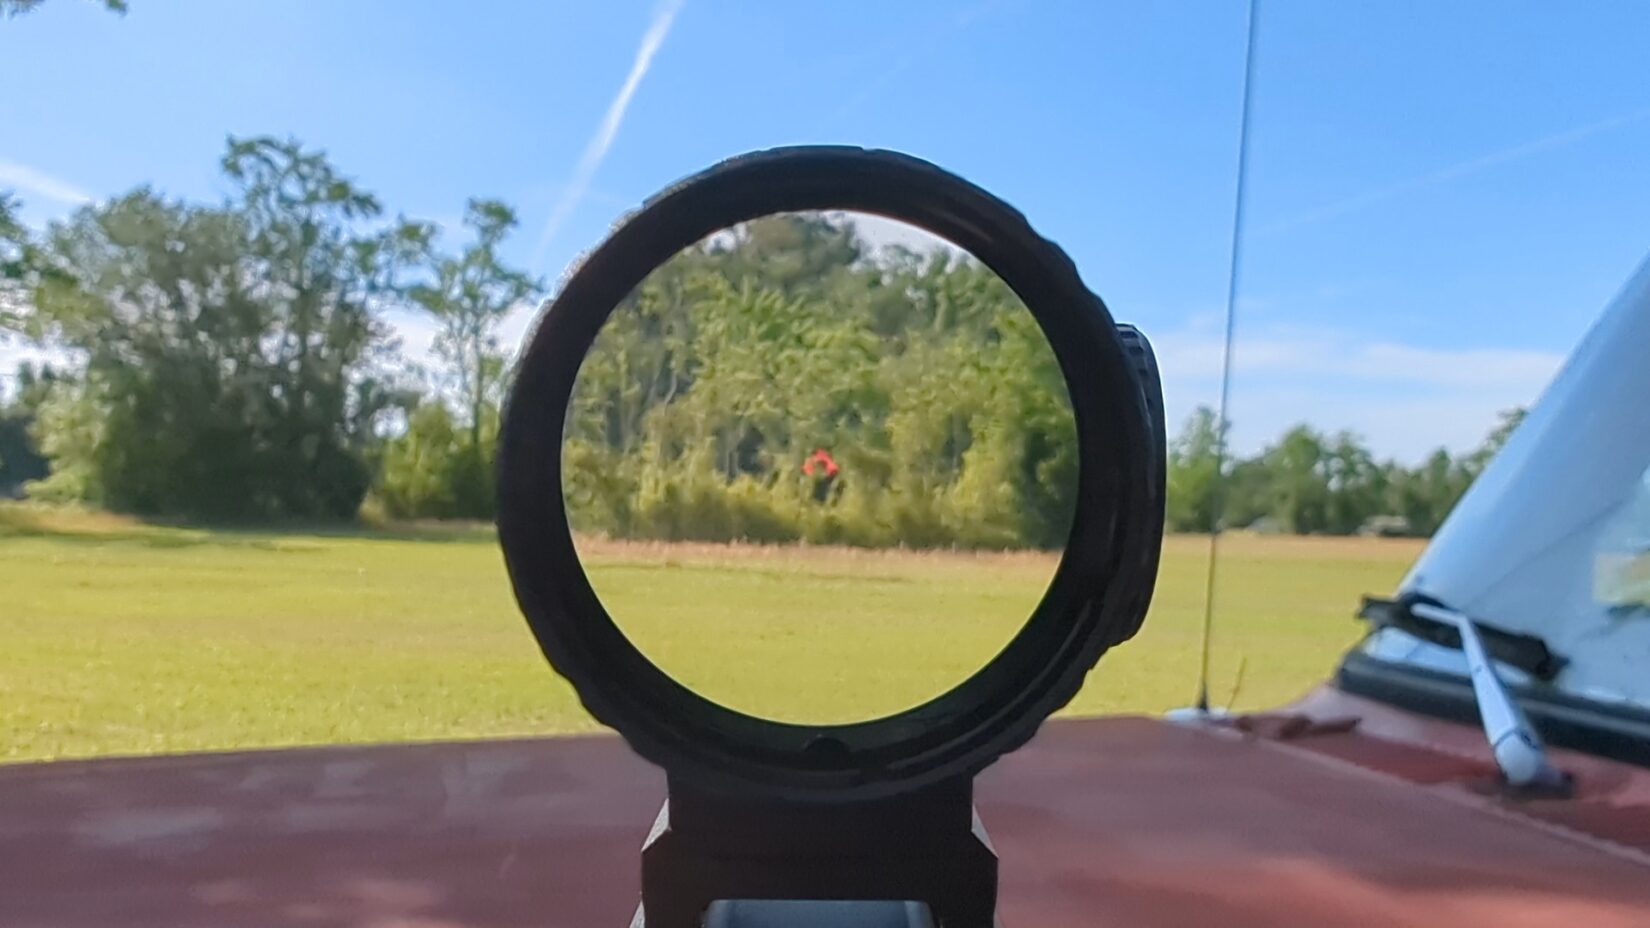
Prism Optics
1X prism optics use a glass prism to focus the image and feature a reticle that is etched into the optic. This etched reticle is a permanent part of the optic’s glass and doesn’t require illumination to see.
That reticle can then be illuminated, but illumination is not required to use the sight. When compared to other reflex sights, these optics require a specific eye relief and eye box, but do function better for shooters with astigmatism.
Sizes of Red Dot Sights & Emitter Types
Full Size
Full-size red dots are the big boys. They have an objective lens of around 30mm, give or take. The main benefit of a larger lens is that the optic is a little more forgiving of poor head placement and has a better field of view when paired with magnifiers. While micro dots have taken over handguns, full-size tube optics remain prominent on patrol carbines and home-defense long guns.
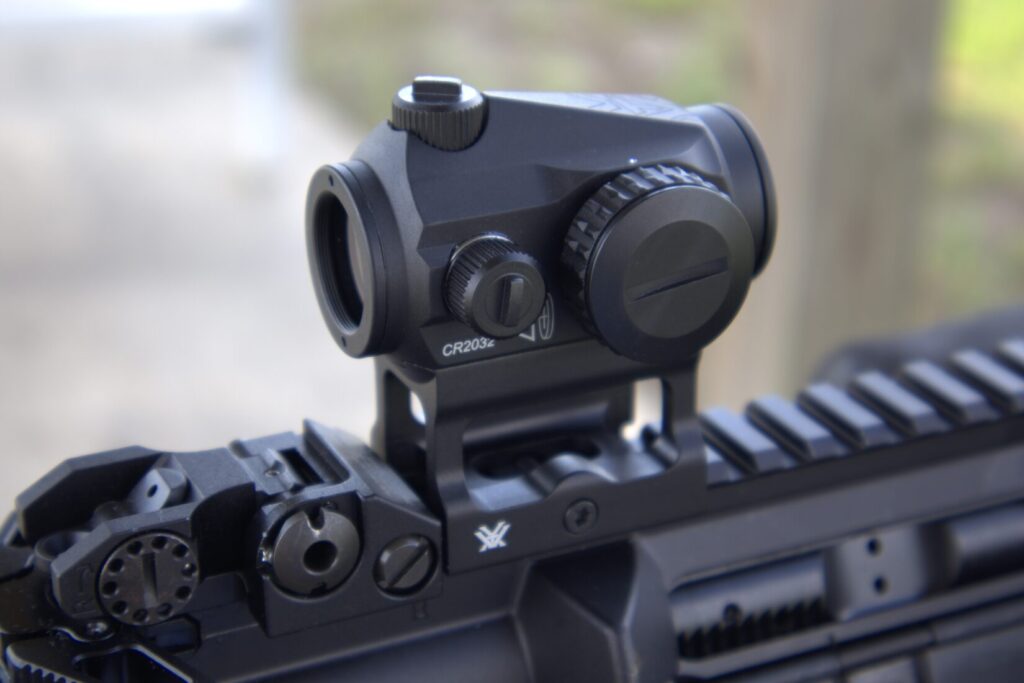
Compact
Compact red dots will typically have an objective lens of 20mm. These red dot sights typically fit the just-right size category for rifles and shotguns. They are easy to use, offer a decent field of view, and save weight and bulk. Compact red dots tend to be the most popular long gun optic.
Micro
Micro red dots are even smaller than compact dots, and this is where we get into handgun optics. These red dots can be used on rifles, especially as offset optics to complement a magnified optic. These little dots are extremely small with a small window and body design.
Open Emitter vs. Enclosed Emitter Technology
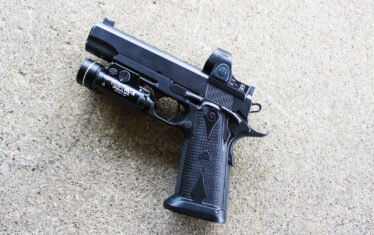
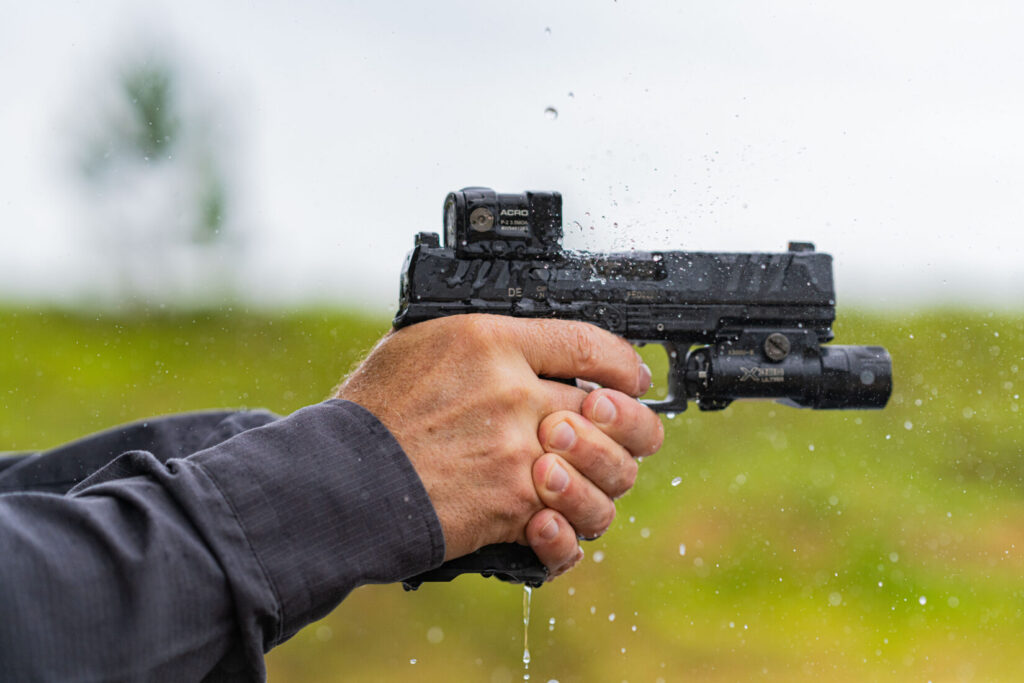
When selecting a micro red dot for handguns or tactical rifles, you will encounter open and enclosed emitters. An open emitter leaves the LED beam exposed between the housing and the front glass lens. An enclosed emitter seals the LED inside a protective glass-enclosed box.
For duty officers and tactical shooters exposed to rain, mud, or dust, enclosed emitters prevent debris from blocking the reticle beam—making them the growing standard for professional use.
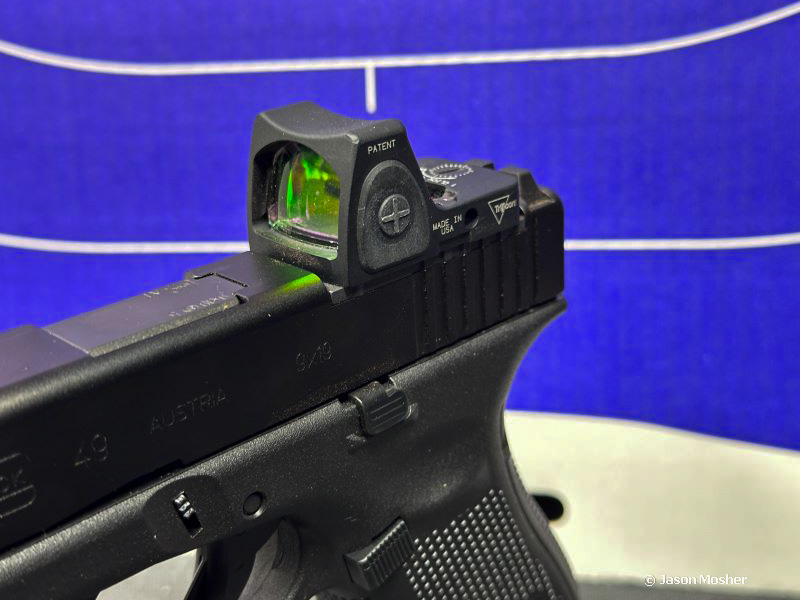
Understanding Mounting Footprints
Pistol red dots do not use a universal mount. Optics bolt directly to weapon slides or adapter plates using specific footprint standards:
- Trijicon RMR Footprint: The standard for full-size duty handguns (e.g., Trijicon RMR/SRO, Holosun 507C/508T).
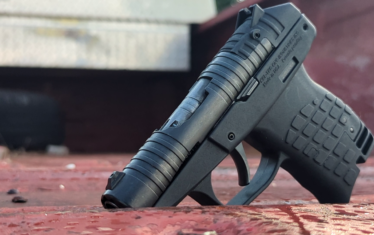
- Shield RMSc / Holosun K Footprint: The dominant standard for slimline, micro-compact concealed carry handguns.
- Aimpoint ACRO / Steiner MPS Footprint: A cross-bolt clamp style preferred for enclosed-emitter duty handguns.
How to Aim and Use a Red Dot Sight
Proper Sight Picture
Here’s what I personally love about red dots—the sight picture is so darn simple. There is no need to align the front and rear sights. Just put the dot on target and go.
To use a red dot properly, you use a target-focused sight picture. You aim, and you watch the target with the red dot appearing on the target. This allows you to maintain situational awareness, feels more natural, and is the quickest way to react and shoot.

Effective Range
This can be complicated because it comes down to your shooting skill, your platform, ammo, and more. Red dot sights lack magnification, so a skilled shooter could be limited by their natural eyesight and ability to establish positive identification of their target.
In general, on a rifle, a red dot without a magnifier works exceptionally well out to 100 yards, pretty darn good at 200 yards, and decently at 300 yards. Beyond that, it can be more challenging to use.
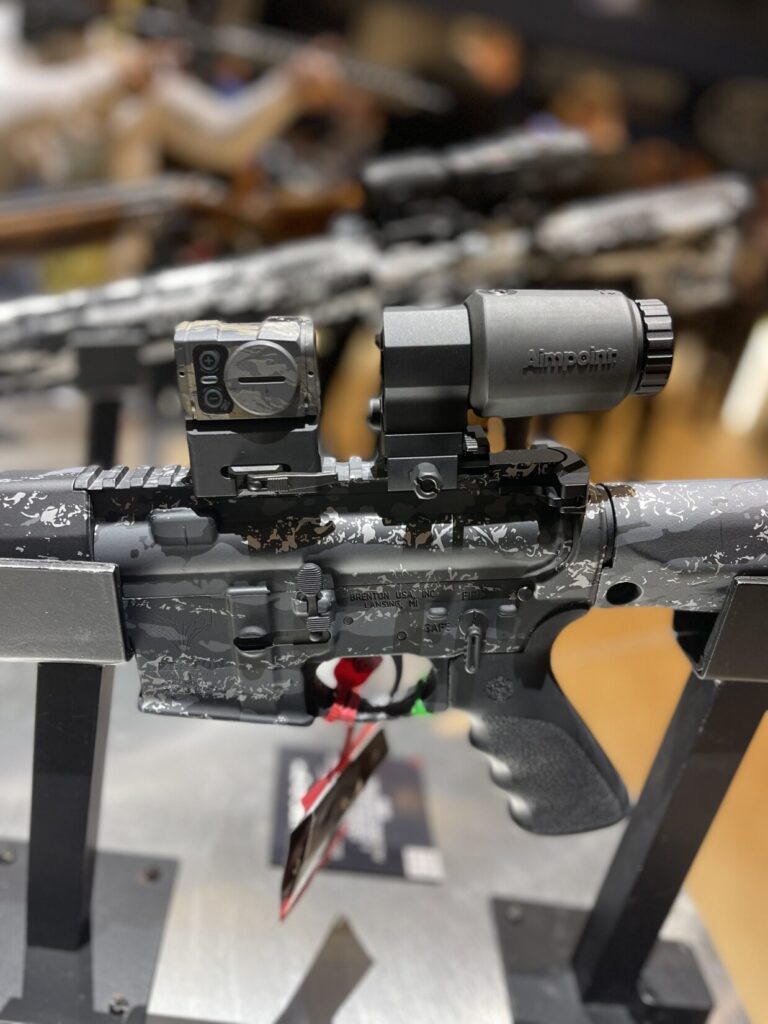
On a shotgun, you’re more limited by ammo because shotguns are short-range weapons. With slugs, a red dot can be useful out to 100 yards.
On handguns, you’re limited a lot by the handgun’s lack of a stock and handgun ammo. A red dot on a handgun makes engagements out to 50 yards fairly easy, and skilled shooters can expand their range to 100 yards.
How to Zero (Sight In) a Red Dot Sight
Step-By-Step Zeroing Guide
Red dots tend to be easy to zero. Zeroing your sight is the art of making your point of aim match your point of impact.
1. Mounting: Our first step is mounting the dot correctly. Dots can be mounted directly to guns via a specific footprint, which is common on handguns, or through a Picatinny rail. Regardless, you should follow the torque specs provided in your optic’s manual. A loose dot will move, and your zero will fail.
2. Choosing Range: After mounting the optic and setting up your target, you need to decide what range you’ll zero the optic. This will vary depending on the platform.
I zero my handguns at 15 to 25 yards, depending on the gun. Smaller guns are zeroed at 15 yards, and duty-sized guns are zeroed at 25 yards. My rifles are zeroed at 50 to 100 yards. Your zero range will depend on your platform, caliber, and your expected engagement distance.
3. Resting the Firearm: Rest the gun as much as possible using rests, bipods, sandbags, etc. This helps eliminate the human error in your shooting. With the gun rested, fire a group of three to five shots.
4. Group and Adjust: Observe the group and the direction it needs to move to match your point of aim. I often measure this distance to make my life easier.
Adjust your turrets to move your red dot reticle to match your point of aim. If you’re hitting low, you need to bring your reticle up. If you’re hitting to the left, you need to adjust your reticle to the right.
5. Confirming Zero: Fire another group and repeat until your point of aim matches your point of impact. The number of adjustments will depend on your turrets and the adjustment value of each movement. With red dots, it’s often 0.5 to 1 MOA.
Once your point of aim matches your point of impact, fire a final group to confirm the zero.

Understanding MOA (Minute of Angle)
MOA stands for Minute of Angle and is the standard measurement for red dots. MOA is an angular measurement that corresponds to 1.047 inches at 100 yards. To simplify things, think of 1 MOA as 1 inch at 100 yards.
1 MOA is only 1 inch at 100 yards. At 200 yards, 1 MOA is 2 inches; at 50 yards, 1 MOA is 0.5 inches. When adjusting your reticle, keep your distance from the target in mind. When zeroing a red dot at 50 yards with 1 MOA turrets, each click is only 0.5 inces of adjustment.
MOA is also used to measure a red dot reticle’s size. A 2 MOA dot at 100 yards will obscure 2 inches of the target. The larger the reticle, the easier it tends to be to see, but the more it obscures your target.
2 MOA Vs. 4 MOA Reticles
When choosing a dot size, you’ll see plenty of different options.
2 MOA Reticles: As established, a 2 MOA reticle at 100 yards obscures two inches of a target. This makes it easier to see your target, especially if it’s a small target. 2 MOA reticles shine on rifles, which are more commonly used for long-range engagements.
4 MOA Reticles: These cover 4 inches of your target at 100 yards, and at 200 yards, they cover 8 inches of your target. This makes it tougher to hit small targets at range. The larger dot is easier to see and find for close-range shooting. Larger dots excel on pistols and shotguns, as well as rifles intended for close-range shooting.
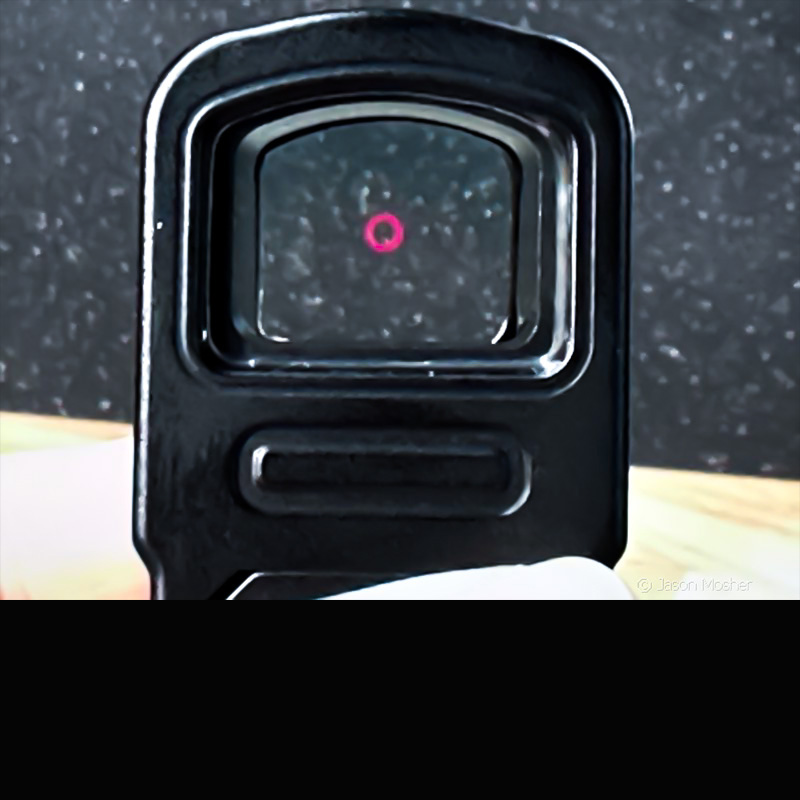
Holster Selection, Retention & Co-Witnessing
Adding a red dot optic to a handgun changes its physical profile and requires specific considerations:
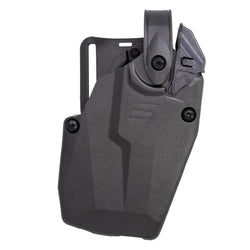
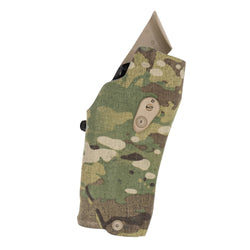
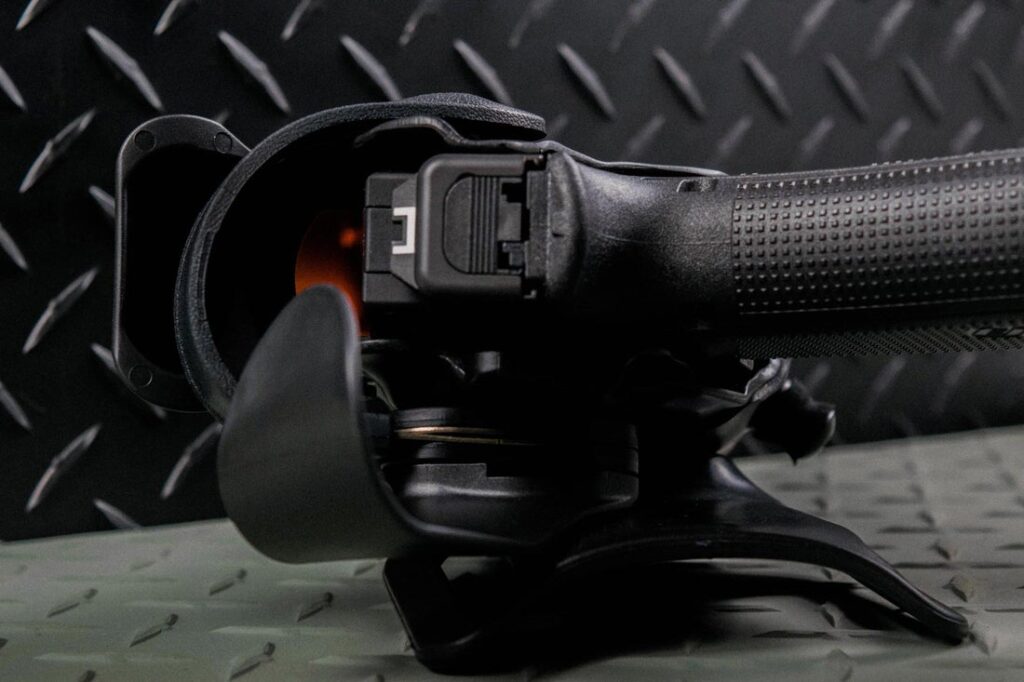
Optic-Ready Holster Fit: Standard duty and CCW holsters lack clearance for slide-mounted optics. Firearm setups equipped with red dots require specialized rigs, such as Safariland optic-ready RDS holsters, designed with dedicated optic pockets.
Lens & Hood Protection: Environmental elements like dust, snow, and rain can obscure glass lenses. Protective hood systems—found on Safariland ALS and SLS retention holsters—shield the optic lens during routine carry while springing clear automatically during the draw.
Iron Sight Co-Witnessing: Iron sights should be paired with red dots as a backup. A “Lower 1/3 Co-Witness” places iron sights in the lower third of the optic glass, keeping the sight window clean while ensuring operational redundancy if electronics ever fail.
Red Dot Sights in Practice & Recommended Optics
Military and Law Enforcement
Red dot sights have become standard issue in both the military and law enforcement. Their ease of use, rugged design, and ability to be used with night vision devices make them the superior optic choice. They offer a fast, reflexive system for shooting that’s unmatched.
Red Dots for Pistols
A red dot on a handgun gives you the same ease-of-use benefits. Handgun red dots can make shooters shoot faster, further, and straighter. The reticles obscure less of the target and make the target easier to see.
When paired with a target-focused shooting style, a red dot gives you the best bang for your buck for both self-defense and competition shooting.
Beginner-Friendly Red Dots
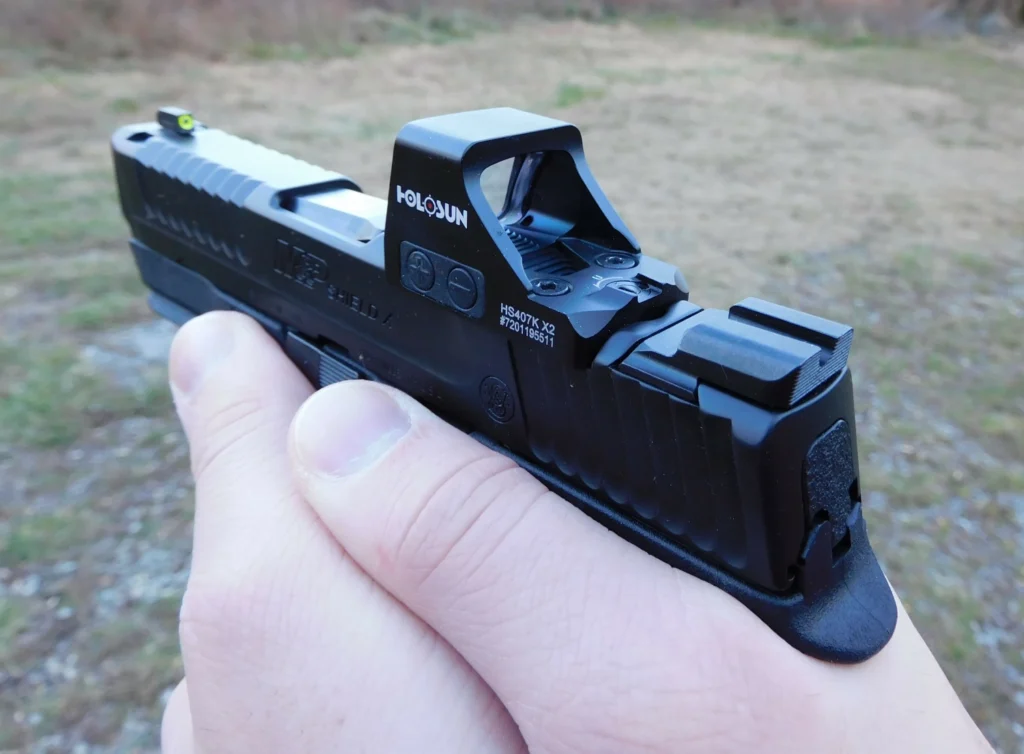
Red dot sights are the best sighting system for a new shooter. They are easier to use than iron sights and offer a more precise aiming system. If you’re new to red dots, I wouldn’t dive into the deep end of high-end optics; keep it simple and learn how to use a dot before you invest heavily into a professional-grade sight.
For Rifles: SIG Sauer Romeo5 Gen 2
This basic tubular sight is compact in nature and comes with a rock-solid mount. Adjustments are easy to make, and the digital controls allow you to instantly adjust the brightness level.
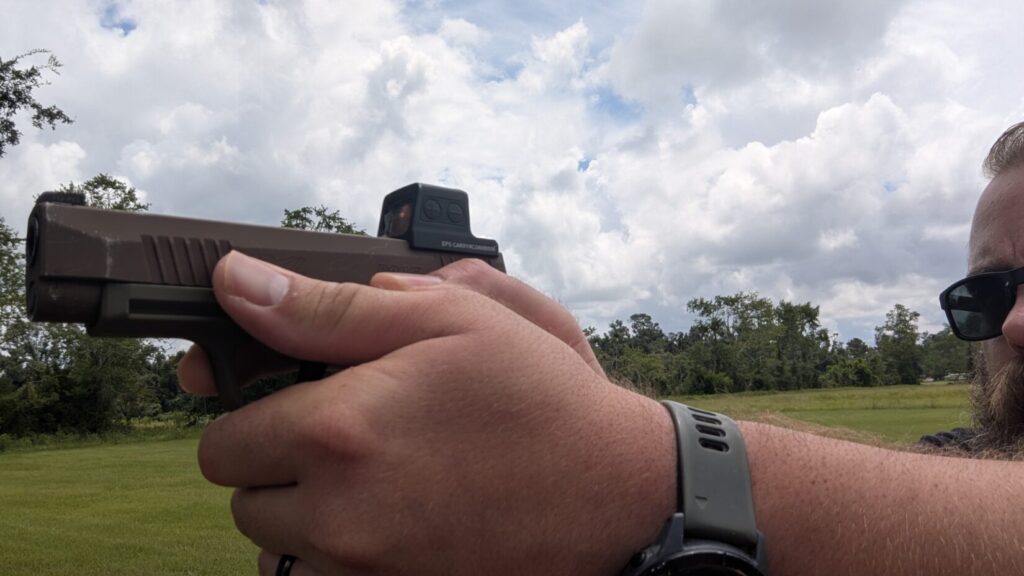
For Handguns: Holosun EPS and EPS Carry
The Holosun EPS and EPS Carry offer an enclosed emitter handgun optic that’s well-made and durable. The dot gets impressively bright, and Holosun makes optics affordable. The standard model is designed for duty-sized and compact handguns and ships with a Trijicon RMR Adapter plate.
The EPS Carry is aimed at subcompact and micro-compact guns and utilizes the standard Holosun K footprint, which is easily adapted to the incredibly common Shield RMSc footprint.
Drawbacks & Maintenance
There is no such thing as a free lunch. Red dots are battery-dependent, and if electronics fail, the optic fails. Shooters with astigmatism may view the dot as a blurry starburst; in those cases, prism sights with etched reticles are solid alternatives.
Red dots can also be expensive. Even cheap red dots cost more than a hundred dollars. That’s not always a realistic investment for some.
Red dot battery life varies depending on the optic. Some higher-end optics can last 50,000 hours, and others can last 13,000. The difference depends on the optic, its efficiency, the brightness level, and the battery being used.
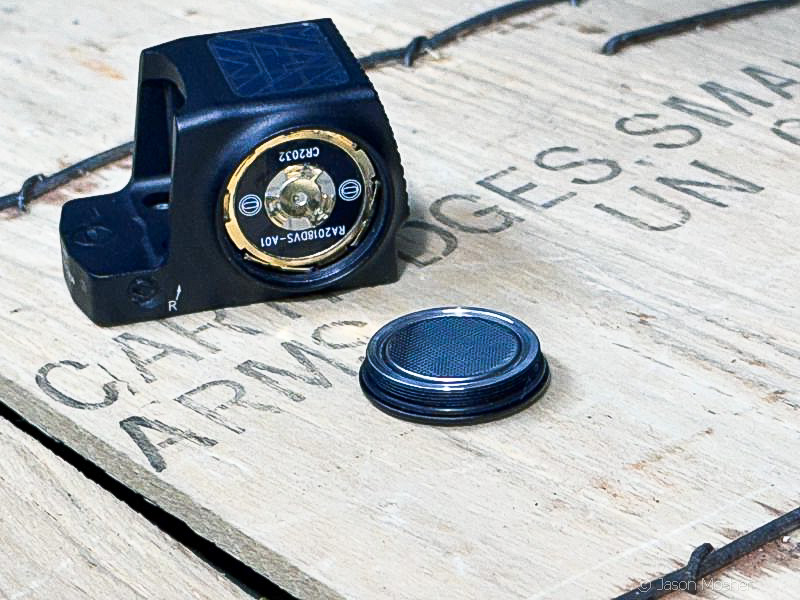
The most common battery type is the CR2032, a coin-type battery. Additionally, some optics use CR123A or AA batteries. In general, red dots are extremely efficient and sip at batteries more than gulp.
Maintenance
To maintain your optic, clean lenses strictly with a microfiber cloth or dedicated lens pen—standard clothes and paper towels can scratch the lens and cause abrasions. Do not use any solvents to clean the lens.You should occasionally check the mount or screws that attach the optic to the firearm to ensure they are tight.
Got Questions? Quick Answers for Shooters
Q: What is the difference between an open emitter and an enclosed emitter red dot?
A: An open emitter leaves the LED light source exposed to project onto a front lens. An enclosed emitter seals the LED inside a housing, preventing water, mud, dust, or clothing lint from blocking the reticle beam.
Q: What is the best zero distance for a pistol red dot sight?
A: Most tactical instructors and law enforcement agencies recommend a 15-yard or 25-yard zero for handgun red dots. A 25-yard zero provides a flat trajectory, keeping point-of-impact within 1.5 inches of point-of-aim from 7 to 35 yards.
Q: Will a red dot sight fit in my standard duty holster?
A: No. Firearms equipped with red dot optics require an optic-ready holster built with an expanded optic pocket and protective hood, such as Safariland RDS series holsters, to accommodate the sight and shield the glass.
Final Thoughts
Red dot sights have revolutionized the way shooters engage targets. They’ve simplified the aiming process and helped shooters increase their accuracy and speed on target. Red dots come in all shapes and sizes and can be used on any platform.
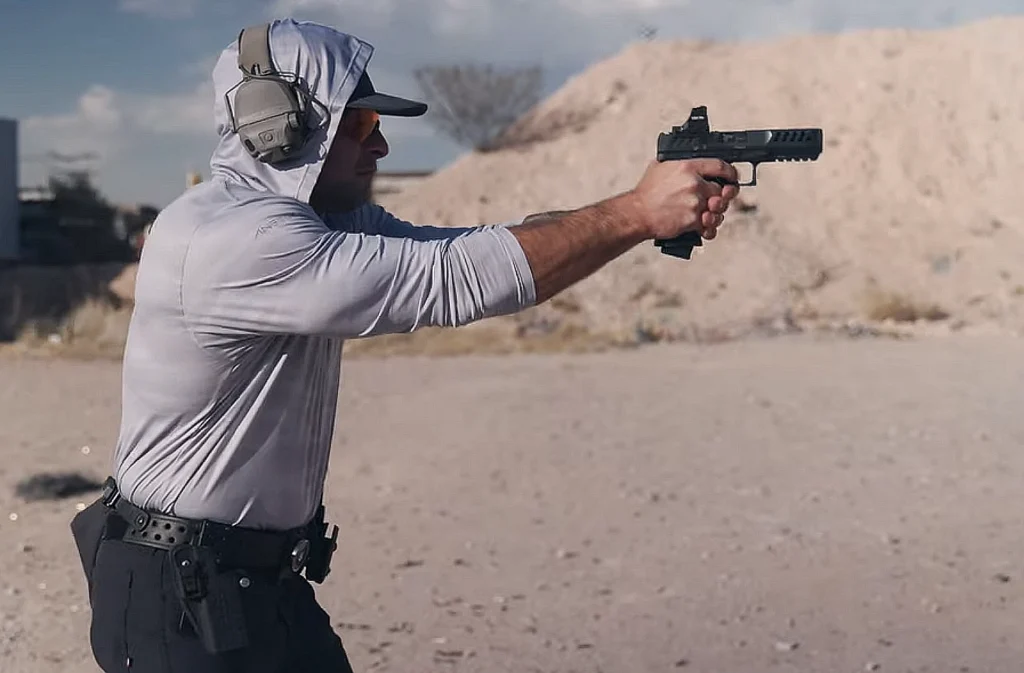
To unlock the full potential of these optics, it’s critical to understand how to zero the optic, what MOA means, how footprints align, and how to select proper RDS holsters for field protection.
Red dots are here to stay, and they are the ultimate beginner-friendly tool that improves speed and accuracy across every firearm platform.