Legendary firearms instructor Ken Hackathorn, a pioneer in the field, has designed several modern firearms drills that align with the realistic and practical use of firearms. One such drill, the Wizard Drill, is a testament to his practical approach.
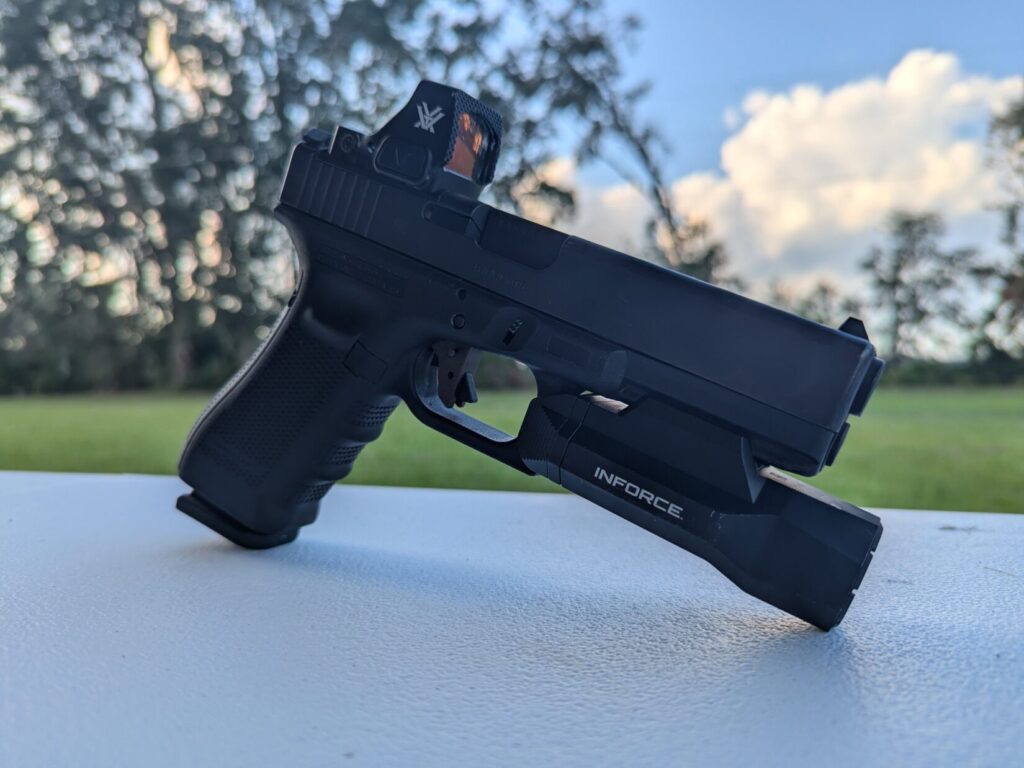
Mr. Hackathorn designed the Wizard Drill as a concealed carry drill and skills test. It’s meant to be shot from concealment with your typical concealed carry firearm. It’s worth noting that the idea of what a concealed carry gun is has changed. Many dudes and dudettes are strapping up these days with a Glock 17, RMR, and Surefire X300U.
The Wizard Drill, with its focus on the smaller side of concealed carry pistols, presents a unique challenge. Shooting it with a smaller, subcompact or pocket-sized pistol is more difficult. That makes it perfect for those seeking to test their skills with their Ruger LCP, snub-nose revolver, or other smaller, harder-to-shoot guns.
Today, we are tackling this challenge from three different angles.
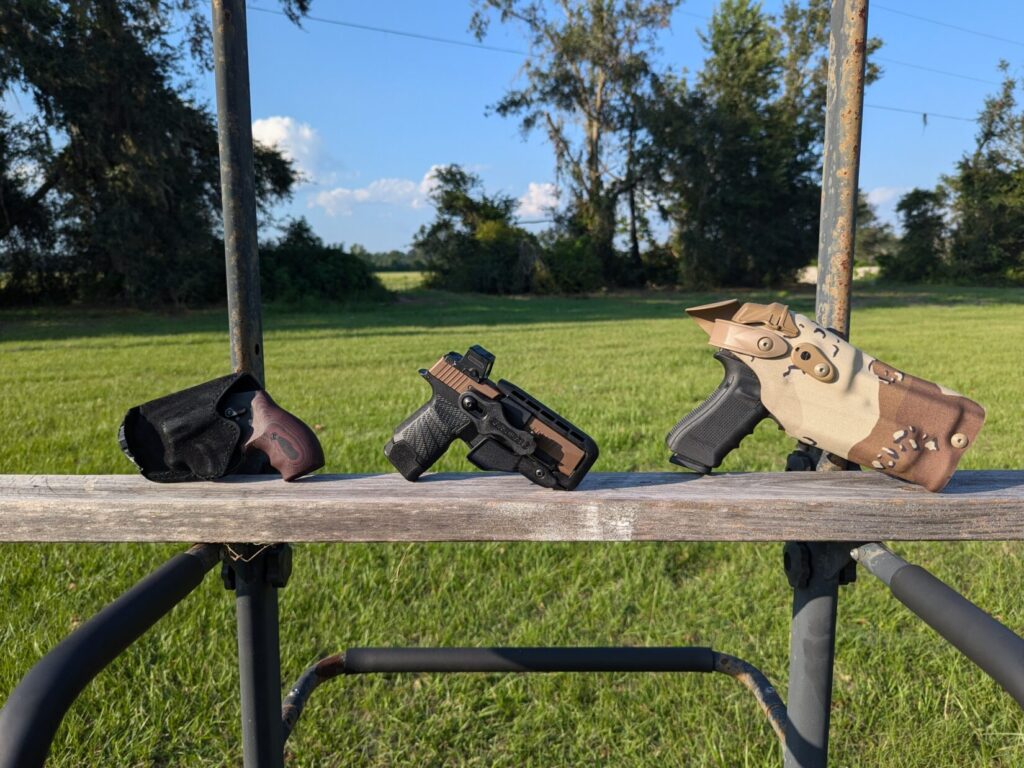
First, with a revolver fired from a pocket carry position using the Safariland Model 25 holster. Next, we will shoot it with a P365XL in a Schema holster at the AIWB position. Finally, we’ll finish with a Glock 17 in a 6304RDS tactical holster. This will give us a good idea of how the different platforms and carry methods affect our speed on target.
What You Need For the Wizard Drill
The Wizard Drill won’t beat you up with the ammo count. All you need is five rounds per run. That’s it.
You’ll also need an IDPA-style target. Any basic silhouette target can work. I used FBI Q Targets because I have a ton of them on hand.
As mentioned, you’ll need a holster, which should be fired from concealment. We’ll break that rule in one run just for fun with a tactical holster.
The Wizard Drill needs to be conducted on a range that allows you to shoot at three, five, seven, and 10 yards. That’s not a big deal for most shooters and most ranges. It’s certainly well within the typical concealed carry self-defense ranges.
Finally, you’ll need eye protection, ear protection, and a shot timer to complete the task.
Shooting the Wizard Drill
We’ll start at three yards and make our way to the 10-yard line through four distinct stages. Each drill starts with the gun holstered and concealed. If you are using a pocket holster, it’s permissible to start with your hand on the holstered gun holstered. This pre-staged draw shows off some of the strengths of pocket carry.
Each drill has the same par time, 2.5 seconds. That’s not a lot, but it feels fairly generous for the Wizard Drill’s closer-range portions.
Stage 1: Three Yard line
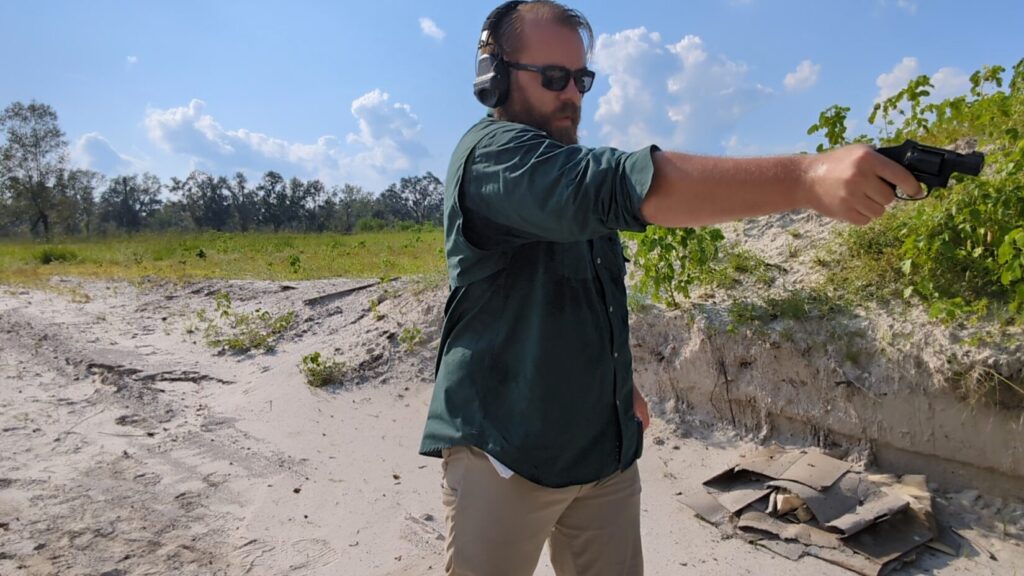
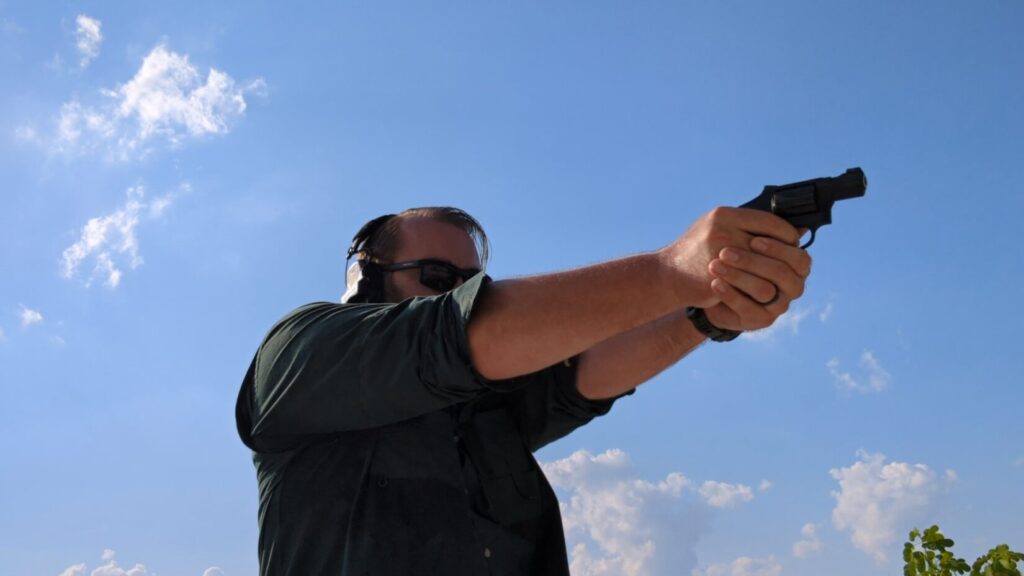
At the three-yard line, draw and fire one round to your target’s head with the strong hand only.
Stage 2: Five Yard Line
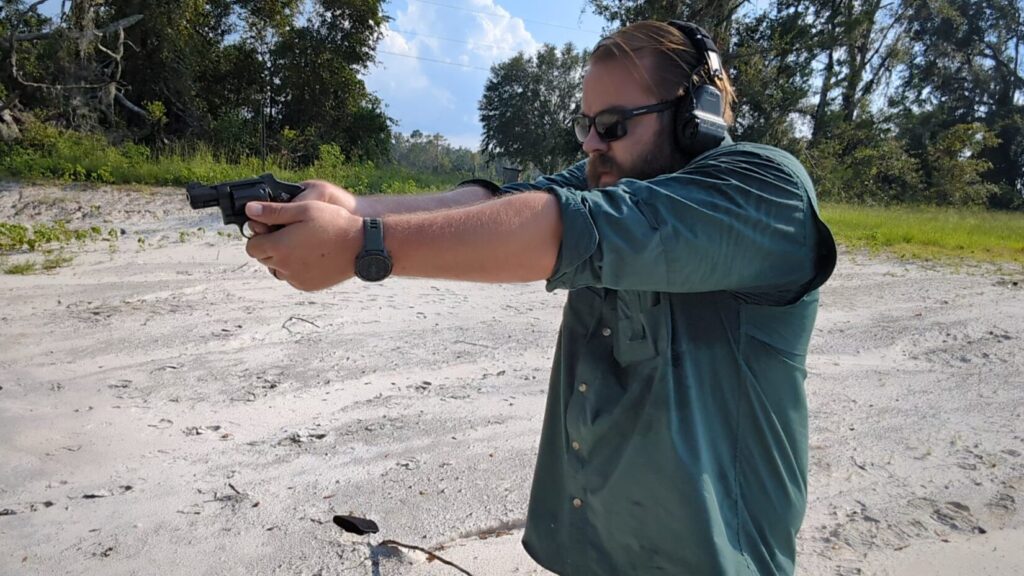
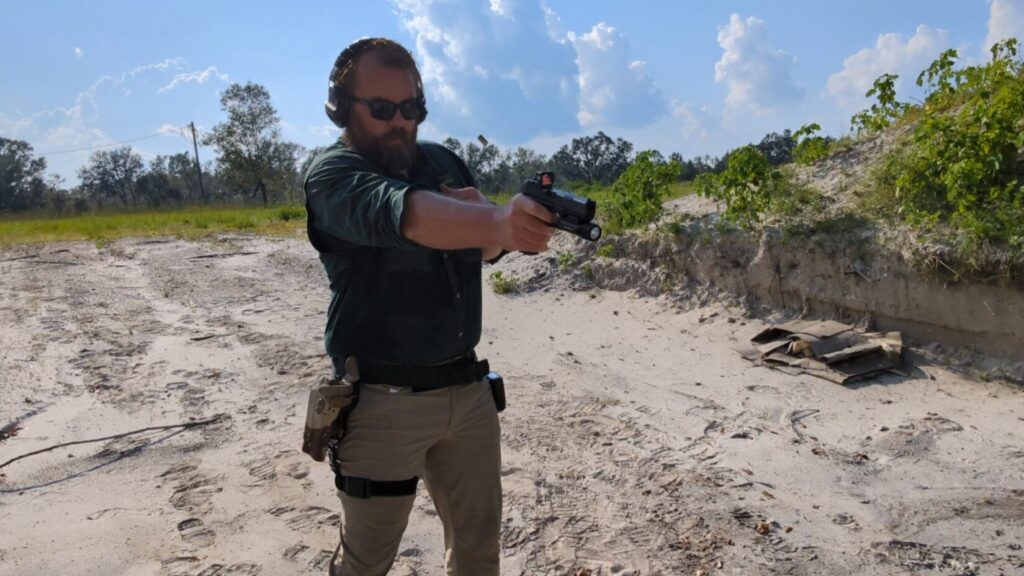
Alright, we’re at the five-yard line. It’s almost touchdown time. Draw at the beep and fire a single headshot with both hands.

Stage 3: Seven Yard Line
What’s that speech from Any Given Sunday? Inch by inch, play by play? Seven yards is a lot of inches, but it is still not too far from the target. At the beep, draw and fire a single headshot with both hands.
Stage 4: 10 Yard Line
I don’t like football, so I’m out of references for the 10-yard line. If you’ve done the math, we’ve fired three rounds, leaving us two. At the 10-yard line, we’ll draw and fire two rounds to the body.
My Results And Thoughts on the Wizard Drill
I sped through the course of fire with each platform well within the time frame. The first time I read through the drill, I assumed it was pretty easy. It seemed easy, but I was surprised by how challenged I was. Hitting those headshots from a pocket drill with a snub nose was tougher than I thought it would be.
I passed and made my hits, but I need to practice more. I carry this pocket revolver fairly often and want to be a bit more skilled if this is my gun of choice. My best times came from the P365XL and the Schema holster. The red dot on top makes it easy to land quick and accurate hits, and the appendix position allows for a very quick draw.
With the 6304RDS, I did fairly well. I messed up and had to reshoot my three-yard shot because I’m so used to drawing and immediately coming to a two-hand position from this holster. After reshooting the three-yard course, I felt fairly confident and quick with it, but I did fall behind by fractions of a second compared to the passive retention appendix holster.
The Wizard Drill is designed for concealed carry, where you’ll be the most tested. Specifically, I think it is best used for microguns like the LCP, the P32, and snub nose revolvers. This also works well for all nontraditional carry positions like pocket, ankle, and shoulder rigs.
Are you a Wizard?
Can you pass the Wizard Drill? I think if you do, you can call yourself a wizard, right? Isn’t that how it works? Passing it is one thing, but excelling at it is another. This is one drill that’s going to have a permanent place in my training routine.