


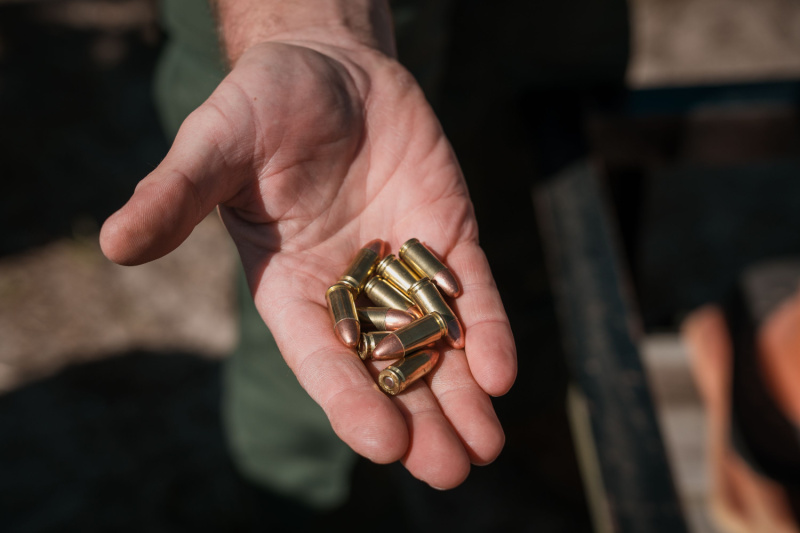
Ammo prices vary widely depending on multiple factors, making regular training expensive, as modern firearms consume ammunition like a kid in a candy store.
I remember the days when I would blast through entire magazines, just for fun. Now, every time I pull the trigger, my internal calculator tallies up the cost, making me cringe.
Lately, 5.56 ammo in my area has hovered around 55-60 cents per round, making each AR mag a $16-$18 expense. Shooting is fun, but with today’s economy, that price tag stings.
But I don’t want high prices to limit my training, so I set out to find effective, low-ammo drills that maximize practice while keeping costs down.
For most drills, you can cut down the amount of ammo they call for. However, some drills are designed for a specific ammo count, making it harder to scale down. Over the years, I’ve collected multiple books on range drills, and every class I attend introduces me to a few more.
Range drills are exercises designed to improve a shooter’s skill, and the good news is that you don’t need thousands of rounds to see progress in some areas.
Here are a few of my favorite low-ammo drills that help build skill while keeping costs down.
Dry Fire Exercises
Most people don’t think of dry-firing as a range drill, but you can learn a lot from dry-firing exercises. These can be done at the range or at home. Of course, you need to confirm the gun is unloaded, with an empty chamber, before starting any dry-firing exercises.
While some worry that dry-firing may damage their firearm, most hammer- and striker-fired guns are safe to dry-fire. However, avoid dry-firing rimfire guns, as it can damage them.
My first experience with dry-firing was in the police academy, using my Glock 17 in the police academy. We would sit around and dry fire for hours to gain muscle memory with the trigger. This could also be done with live ammo, but why waste it? By the time we hit the range for the first time, everyone was familiar with the trigger pull of their gun — without using up any ammo.
Dry Fire: Trigger Reset Drills
Getting used to the reset of the trigger helps with muscle memory so you can shoot faster. The goal is to release the trigger just enough to feel or hear the reset click, then pull it again. Letting your finger off completely adds unnecessary movement, slows down follow-up shots, and can also cause accuracy problems.
To practice this, ensure the gun is unloaded and point it in a safe direction. Aim at a target, slowly pull the trigger until you hear it click but don’t let up on the trigger. While holding the trigger to the rear of the gun, pull the slide back and release it.
Now, slowly release the trigger until you hear a “click” which is the sound of the trigger resetting. This exercise works with most semi-auto handguns and rifles, helping you get comfortable with the reset point without using live rounds.
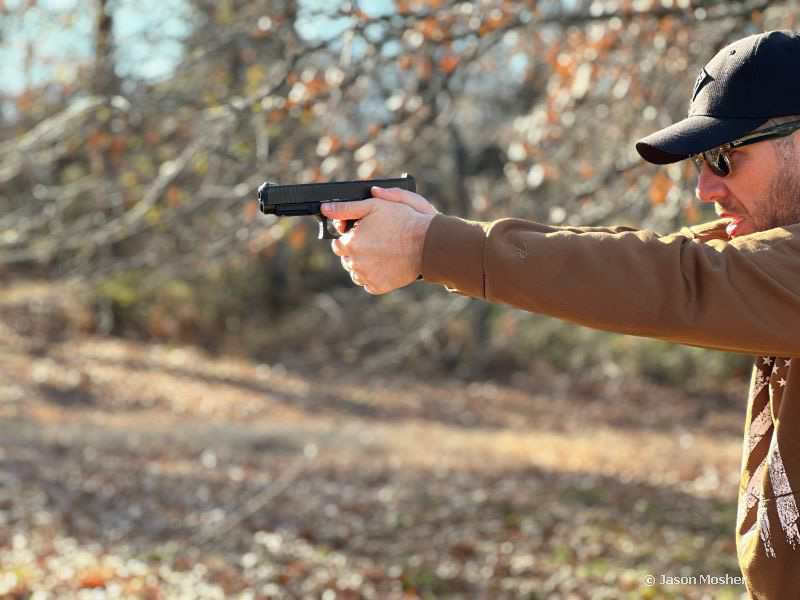
Dry Fire: Trigger Pull
It might seem odd that practicing with an unloaded gun can improve accuracy, but dry firing lets you focus entirely on your trigger pull and front sight without the distraction of recoil. Knowing there’s no “bang” on the way, your body doesn’t brace or anticipate, allowing a more natural trigger pull.
With an unloaded gun (magazine removed) pointed in a safe direction, rack the slide on your handgun (or pull the charging handle on an AR-15) to reset the trigger. Pick a small object to aim at and slowly pull the trigger while watching the front sight. When the trigger releases the firing pin you will hear a “click.”
Ideally, the front sight will not move at all when you hear this sound. If it does, there may be adjustments needed to your grip or finger positioning on the trigger. This drill will help you learn to move the trigger without moving the rest of the gun in the process.
Mag-Change Drill
This drill works great with any semi-auto firearm with removable magazines. Only two mags are needed but you can use more if desired. Each cycle of this drill uses two rounds, making it extremely cost-effective. While a shot timer is helpful, it’s not essential.
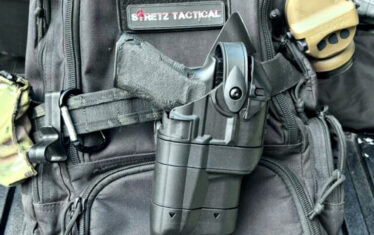
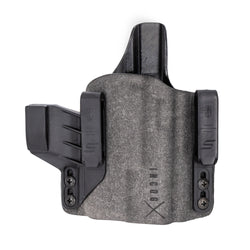
To prep for this mag-change drill, you will need one magazine holder for your rifle or handgun. For concealed carry, place a spare magazine wherever you typically carry it — whether that’s in a front pocket, a mag holder, or a back pocket. Use the holster you’d normally wear. I like to use both my Safariland duty holster and Species IWB holster for this drill.
Load one round into the first magazine and multiple rounds into the second (depending on how many times you want to run the drill). If you have a shot timer, attach it to your belt loop so you can use it hands-free.
Begin by placing the first magazine in your gun and chambering a round. Now the magazine in the gun is empty and will remain so throughout the drill. Put the second magazine in your mag holder and set your shot timer.
When you’re ready, fire one round at your desired target. The slide (or bolt if using a rifle) will lock back, indicating the gun is empty. Quickly switch to the second magazine, load, and fire another round. This completes the drill, and you can check your shot-timer to see how long it took you.
Repeat the drill as many times as desired, trying to get a little faster each time.
Failure Drills
Ideally, we want our guns to always fire as they should, but real-world factors like faulty magazines, carbon carbon buildup, and even bad ammo will inevitably cause issues at some point. A failure drill, sometimes called an “immediate action drill,” simulates these malfunctions to help you react instinctively in a critical moment.
When a gun suddenly stops firing, there’s rarely time in a self-defense scenario to figure out what’s wrong — you need to respond instantly. Practicing failure drills prepares you to clear a malfunction smoothly and get back on target without hesitation.
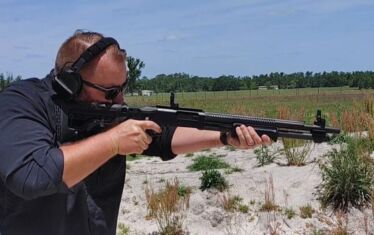
AR-15 Failure Drill
For an AR-15, one effective way to create a failure is to have a training partner hold a small wooden block over the ejection port, preventing the empty casing from ejecting and causing a malfunction. This forces a round to remain in the chamber as the gun attempts to load a second round.
To clear it, engage the safety, remove the magazine, and rack the bolt to clear the chamber. Insert a fresh magazine, rack a new round, and continue firing. For a timed variation, fire a single round, clear the malfunction, reload, and fire another shot. Track your time and try to improve with each repetition.
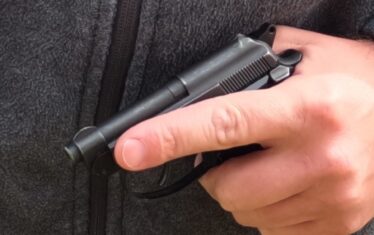
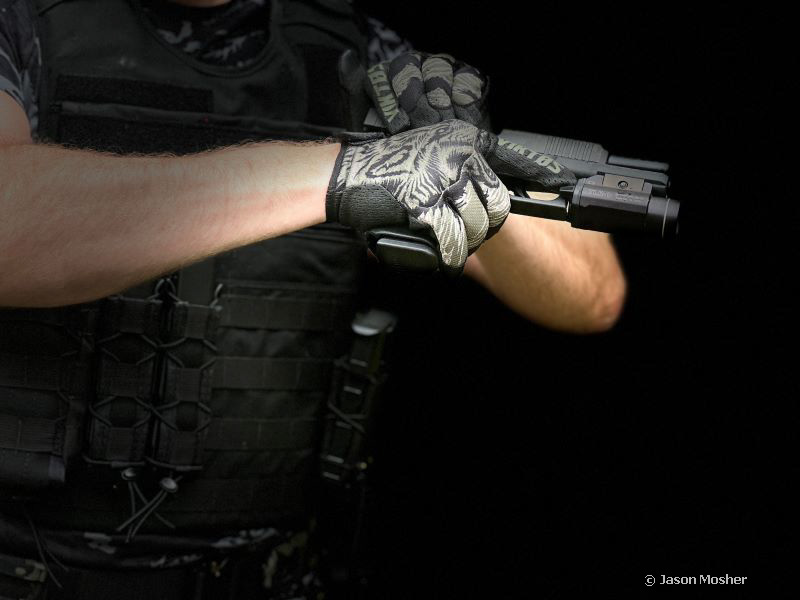
Semi-Auto Pistol Failure Drill
There are several ways to do failure drills with a handgun, but my favorite is to use a dummy round made for this. LiveFire Tactical Training LLC makes a “Type 3 Malfunction Round” that is perfect for this drill, as it creates a failure condition that you’ll need to clear efficiently.
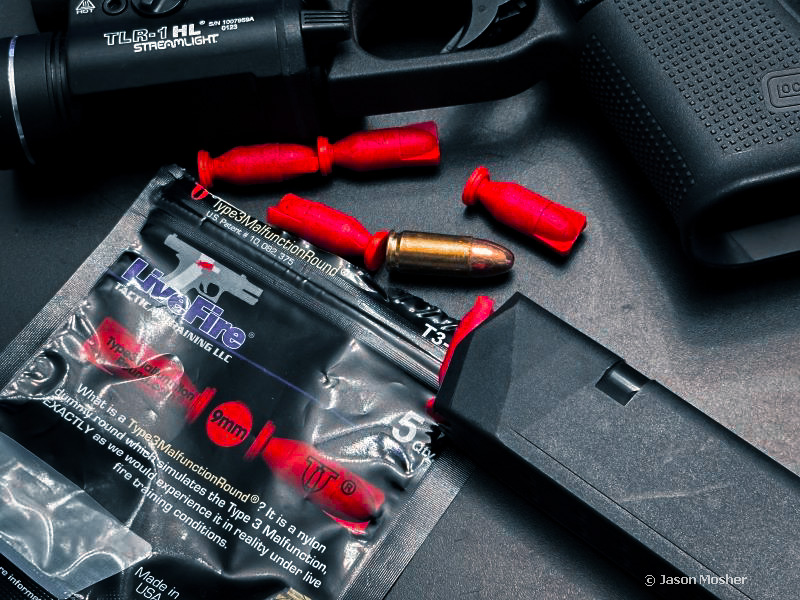
To set up this drill, load your magazine by placing a Type 3 dummy round between two live rounds. For the most cost-effective method, load two live rounds, then a Type 3 round, and one more live round.
When you fire the gun, it will malfunction,requiring you to clear the malfunction before resuming fire. This is an ideal time to practice the “slap, rack, bang” method to address the failure. Time yourself to see how quickly you can clear the malfunction and get back on target.
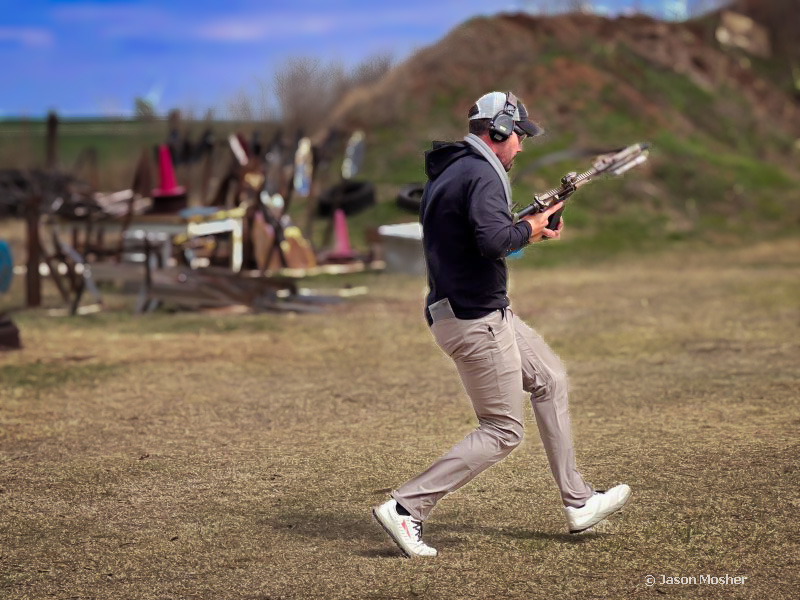
Rifle-to-Handgun Transition Drill
It’s always fun to do transition drills and can be done with limited ammo, and since 9mm rounds are typically cheaper than 5.56, this drill lets you conserve rifle ammo.
If you have both a rifle and a handgun, remember that the rifle is your primary weapon, with the handgun as a backup. Load two rounds into each of two AR magazines and five rounds into your handgun magazine.
Set up a starting position, a cover area about midway to your target, and at least one target. You can choose the distance between these positions based on your training space. A B-27 target works great if you only want to use one target.
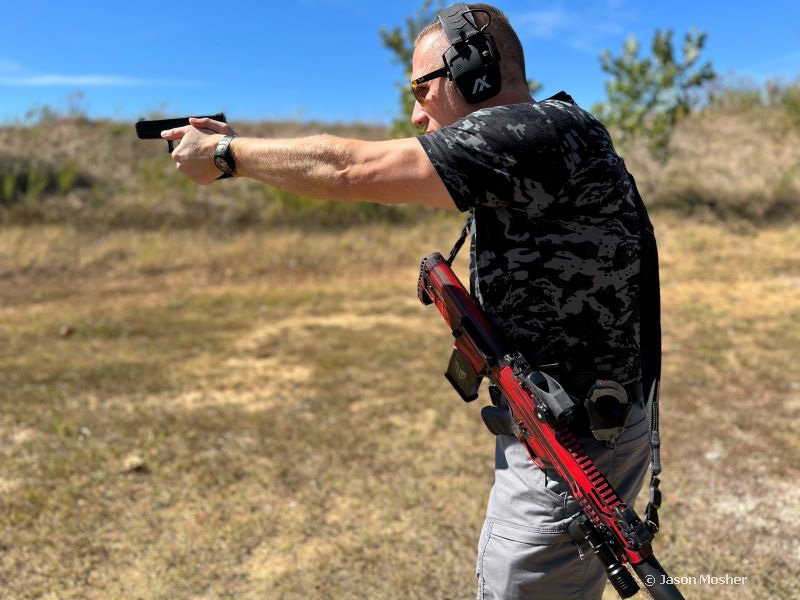
From your starting point, fire two rounds at the head area of the target. When the AR locks open, transition to your handgun and fire the five rounds at the target’s center mass while moving toward cover. When you reach cover, holster your handgun, load your second mag into the rifle, and fire two more rounds at the head.
This drill focuses on accuracy, speed, transitions, and mag changes using only four rounds of 5.56 and five rounds of 9mm. Again, track your performance with a shot timer and aim to improve your time with each run.
Ready to run some low-ammo Range drills?
Many more range drills are equally effective for skill-building, just as fun to shoot, and don’t use very much ammo. Look for drills that combine multiple skills, or adapt existing ones to fit your training goals. Nothing is set in stone, and you can change up any drill to make it fun and focus on improving your skills.
Don’t let high ammo prices keep you from training — adapt and overcome.