
This month’s War HOGG skill builder will focus on pistol mounted light switch manipulation. At War HOGG Tactical, we use a building block methodology of teaching. Our special operations combat experience helps you become a more efficient and effective shooter while building a solid foundation of the fundamentals of marksmanship.
This drill comes from our Project Officer Survival low light red dot pistol course and our law-abiding citizens low light pistol course we ran last month in Nashville, Tennessee. If you are new to the Safariland CADRE Dispatch, go back and review those War HOGG skill builder articles.
EQUIPMENT NEEDED
- Normal range and firearms equipment
- Live-fire range
- Dry-fire training area
- The Firearms Training Notebook – available on Amazon
- Shot Timer – we recommend the PACT Club Timer III. Click the link to learn how to use a timer effectively in your marksmanship training.
- Recording device and tripod/holder – this will be key to watching your footwork
- War HOGG Tactical Training Target
How the Monthly War HOGG Skill Builder Works
The War HOGG skill builder model is simple. At the beginning of the month, shoot the drill cold. No warm-up. Just shoot the skill builder and let the target and your shooting data tell you where you are at with your shooting performance on demand. Then record the data in your copy of The Firearms Training Notebook. Write down any notes you learned during that dry fire session.
From there, you build your dry-fire and live-fire plan around what the shooting performance data exposed. Later in the month, you come back to the live fire range and reshoot the skill builder to see whether you actually improved on that skillset.
Set Up for the War HOGG Skill Builder
If you can find a shady spot on the range, it’ll help you visually confirm the light is turning on. If not, it’s not the end of the world — your video will still pick up whether the light activated. I use the humanoid side of the War HOGG Tactical Training Target. Set your distance based on your own skill level.
How to Run the War Hogg Skill Builder
Run the drill as follows:
- Start from the holster, hands above the waist or hands below the waist.
- Draw and present, activating the pistol mounted light as your grip closes — not as a separate step after you’re on target.
- Fire a single shot or controlled pair, your choice.
- Repeat for 5 to 10 draws, alternating hands-above-waist and hands-below-waist starts.
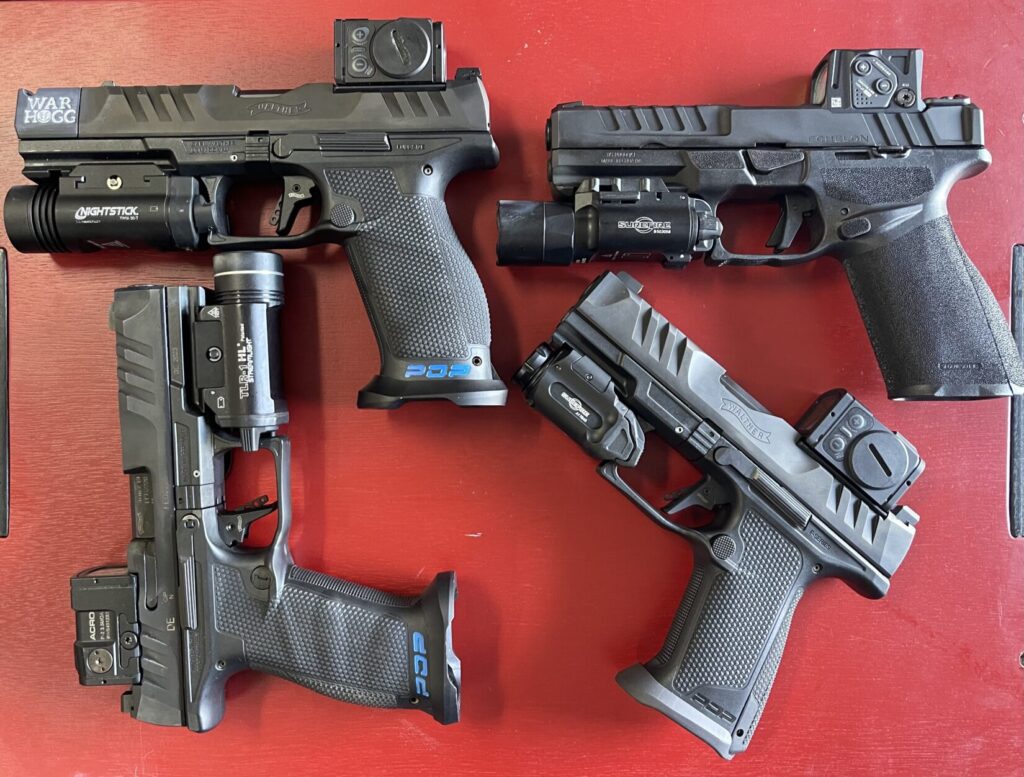
The intent of this range session is to evaluate turning on the light and identify if you have a poor grip, missed the switch, or have marksmanship issues. These are all things to write down in the note section of The Firearms Training Notebook. Remember, not all pistol mounted light switches are built the same or operate the same.
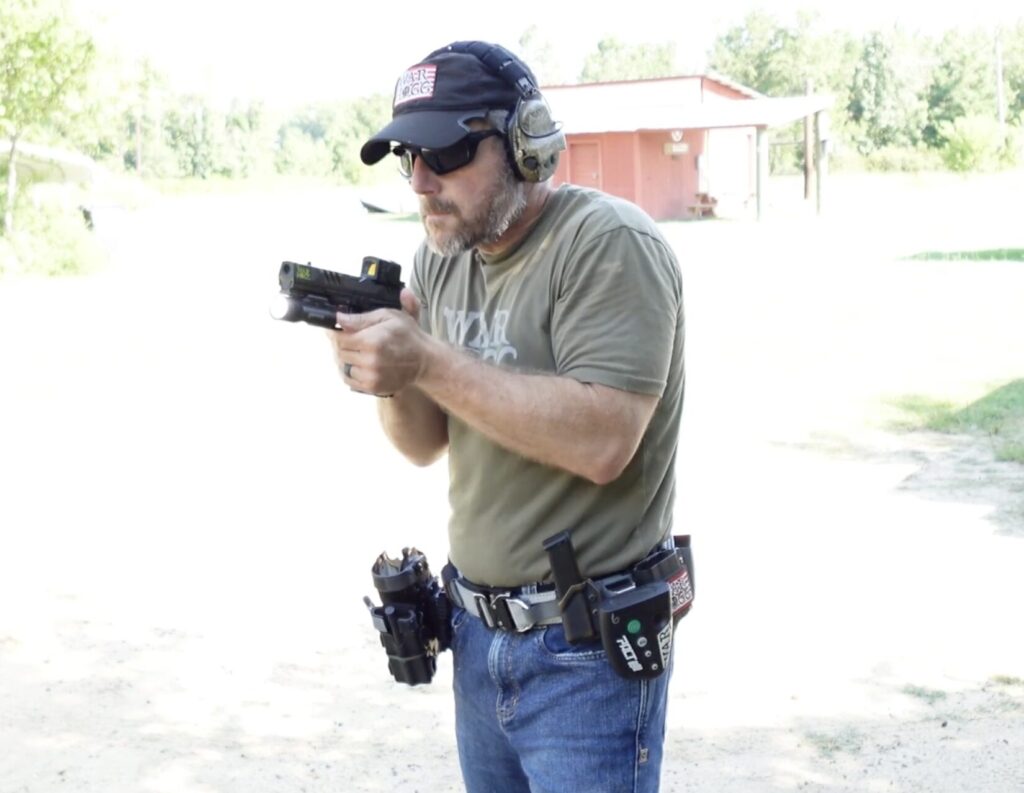
If you have lights from multiple manufacturers, I would recommend shooting them all. This way you will have solid shooting data on each one — you might find out one is easier to manipulate than the other. It’s all part of “shaking out our kit” and making sure everything is functional. If you are a concealed carry holder with a light on your CCW pistol, add that to your live and dry fire training plan.
Build Your Dry Fire Plan
Once you shoot the pistol mounted light switch manipulation skill builder, your dry fire plan will be built from the data recorded. I found my draw time was slightly slower because of needing to turn the light on and build a good grip at the same time. I am going to start my dry fire program just like I teach my students.
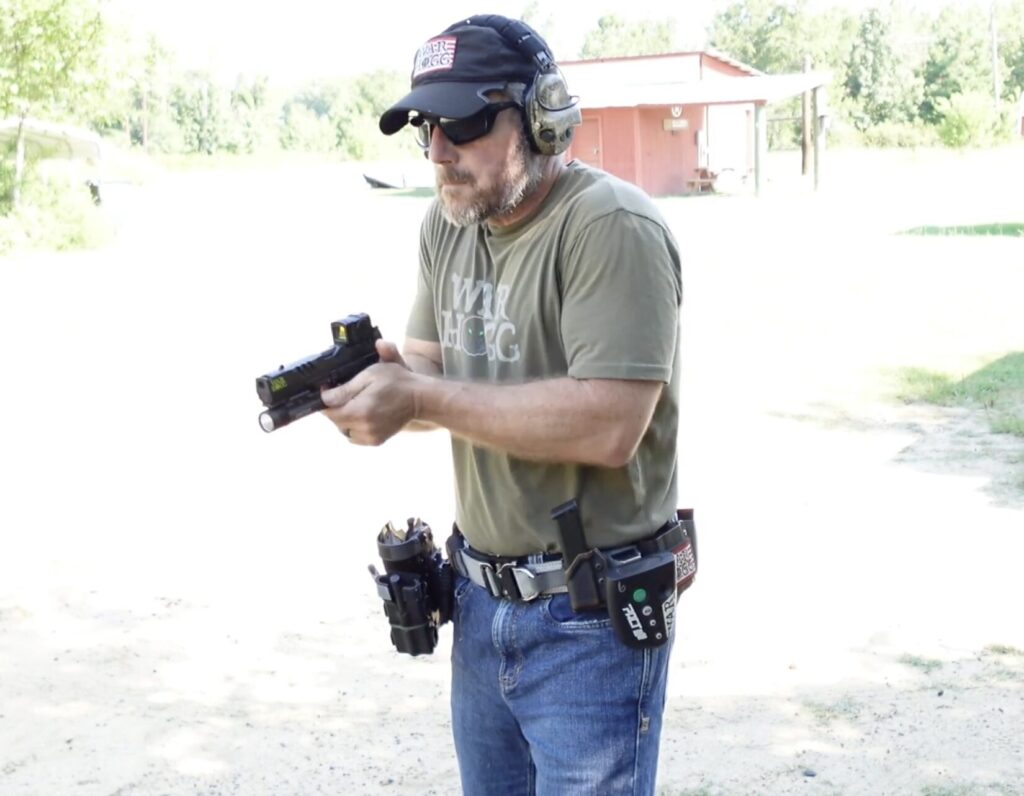
I start my low light pistol students at the ready position with their support hand open to build a solid foundation of switch manipulation and grip. Not every shooter has the same hand size, pistol, and light switch, so you will have to figure out what works for you and your blaster.
I work on their pistol mounted light switch manipulation to build that solid foundation that will carry over when we start drawing from the holster in a low light environment. Every light has a different switch or lever — some you press down or up, some are more like an on/off button.
Once I have my ready position light switch manipulation, I add the draw from the holster, because at the end of the day that is the skill we are looking to develop. Some food for thought: what about strong hand shooting?
What This Skill Builder Develops
- Pistol mounted light switch manipulation
- Acquiring a proper grip
- Drawing from the holster, both duty and concealed
- Calling your shot
Check Your Work
Sometime near the end of the month, go back out and reshoot the War HOGG skill builder pistol mounted light switch manipulation drill. Compare the end-of-the-month shooting performance data to your data from the first of the month. If you put in the work, you should see improvement when you compare your data in your notebook.
Build Your Shooting “CREW”
Having other like-minded shooters around will help you push to make yourself better. If you have friends, family, or co-workers who share your shooting passion, start building that shooting crew. This way, you have your own accountability, plus others to help you improve on your marksmanship journey. They can record video of you shooting, possibly give you feedback on things they see, and it’s always good to have some fun competition to help you grow.
At War HOGG Tactical, our motto is “Be 1% Better Everyday!” You can always join us in sharing your marksmanship growth.
Go to our On The Range (OTR) Patreon “CREW” members’ page and join like-minded shooters looking to get more proficient in their marksmanship skills. My co-author, Mark Kelley (Kelley Defense), and I conduct bi-monthly interactive Zoom calls where we break down each shooter’s skill builder. We have even reviewed video of “CREW’ members shooting during our Zoom call and given immediate feedback on where we see they can improve their shooting skills.
Conclusion: Put In The Light Switch Work
The War HOGG skill builder pistol mounted light switch manipulation is something that requires practice. This skill builder is something that should be visited to ensure you don’t lose that ability in working the light switch. Shoot it cold, record the data, study the feedback, and build your dry fire plan. Then come back to the range and check your work at the end of the month or periodically during the month.
To see improvement in your marksmanship skills, you must put in the work — a solid dry fire training plan throughout the month and a way to record your progress, like The Firearms Training Notebook. Using additional tools, like a shot timer and a phone to video your training sessions, you can take your dry fire training to the next level and see increased performance during your live training.
Don’t forget to check out the War HOGG skill builder library for more shooting tips and sign up for our newsletter. Go to warhogg.com for our upcoming training course schedule.
Train Hard, Stay Safe, and see you “On The Range” – Rick