


Setting shooting goals and having a solid training plan are key to improving your marksmanship skills. Each month, we’ll bring you a skill builder exercise designed to be as indoor range-friendly as possible.
The last couple of months’ shooting skill builder exercises were based on the War HOGG Self Eval, helping you assess and build on your performance. This month, we’re focusing on the target index, or as some may call it, shooting from one target to another. In the War HOGG Self Eval, target indexing occurs at shots 4 and 10.
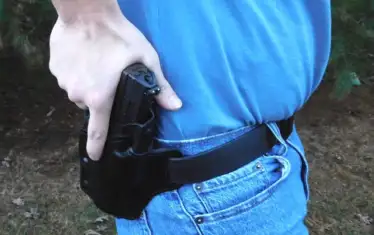
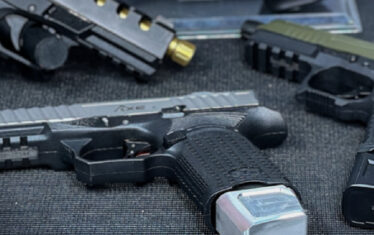
You can complete this drill using a pistol, carbine, or both, depending on your training platform. Our goal at War HOGG Tactical is to supplement your firearms training program, making you more efficient and effective with your firearms. Remember, our mantra is: Be 1% Better Every Day!
How The Skill Builder Works
At the start of the month, shoot the designated skill builder exercise and record your results in The Firearms Training Notebook. Then, develop and follow a dry fire training plan throughout the month. At the end of the month, reshoot the drill to track your improvement.
Equipment Needed
- Your normal range and firearms equipment
- Live fire fange
- Dry fire training area
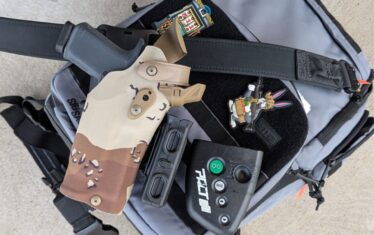
- Shot timer (we recommend the PACT Club Timer III. Click the link to learn how to use a timer effectively in your marksmanship training)
- The Firearms Training Notebook (available on Amazon)
- Recording device and tripod or holder
- 3×5 and 4×6 index cards (for targets)
April Skill Builder Exercise: Target Indexing
This month, we’re focusing on target indexing. Some people may reference it as shooting from one target to another, and some as transitioning. The problem for me is the wording gets confusing because going from a primary firearm to a secondary is also called a transition, so at War HOGG Tactical, we call it target index.
Target indexing is a vision-based skill. Many shooters tend to look at the whole target rather than focusing on a specific point they want to hit. Additionally, keeping your eyes in the sights while moving to the next target often results in shooting the far edge of the target you are moving towards, or over passing the target completely. If the target index movement is large, using your legs rather than just your waist will help you get on target faster.
Drill Instructions
Head to the range and complete 10 target indexing drills—no warmup, just shoot the drill. Be sure to record:
- The distance between targets
- The type of targets used
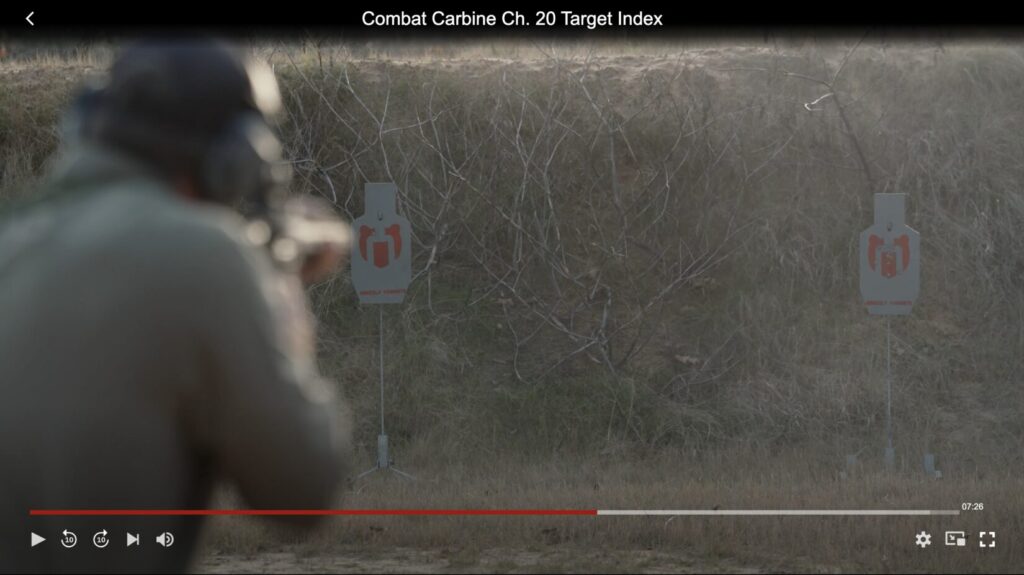
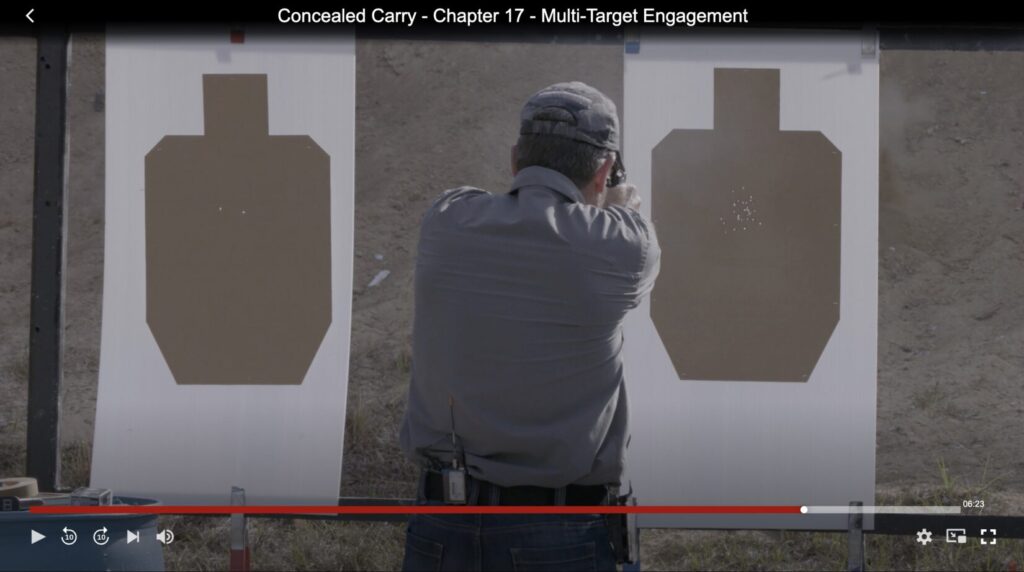
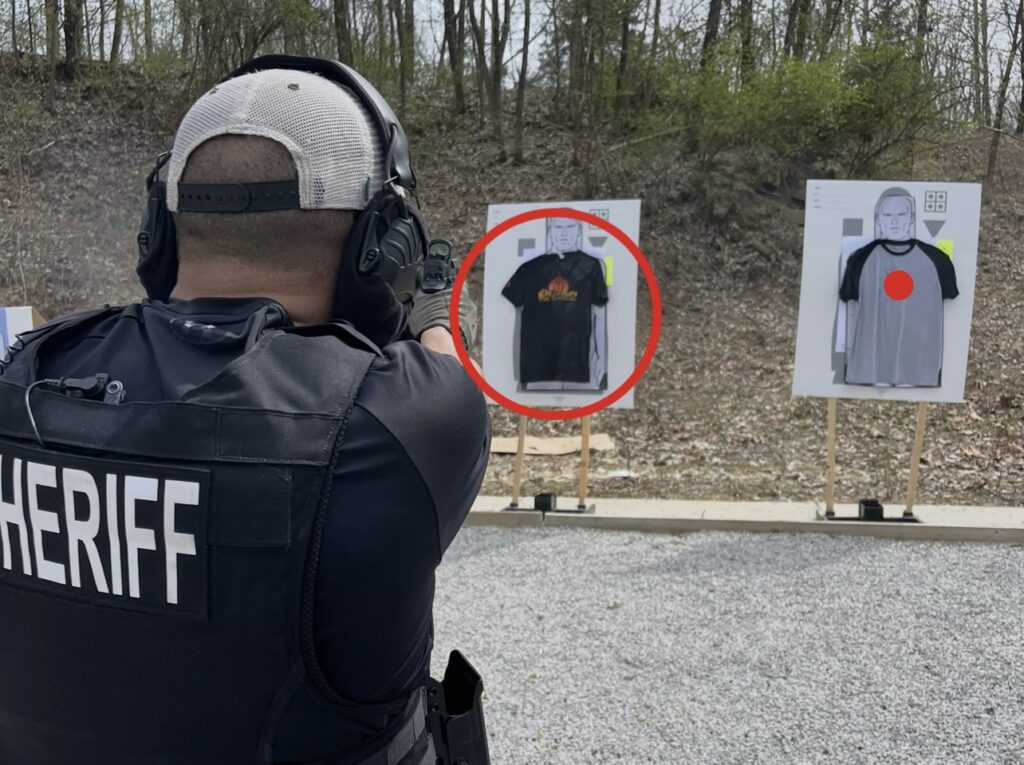
This ensures consistency when you revisit the drill at the end of the month. You can use setups like the War HOGG Self Eval, El Presidente drill, or two targets with a 10-meter spread—your choice depends on available range space and your shooting goals for the month.
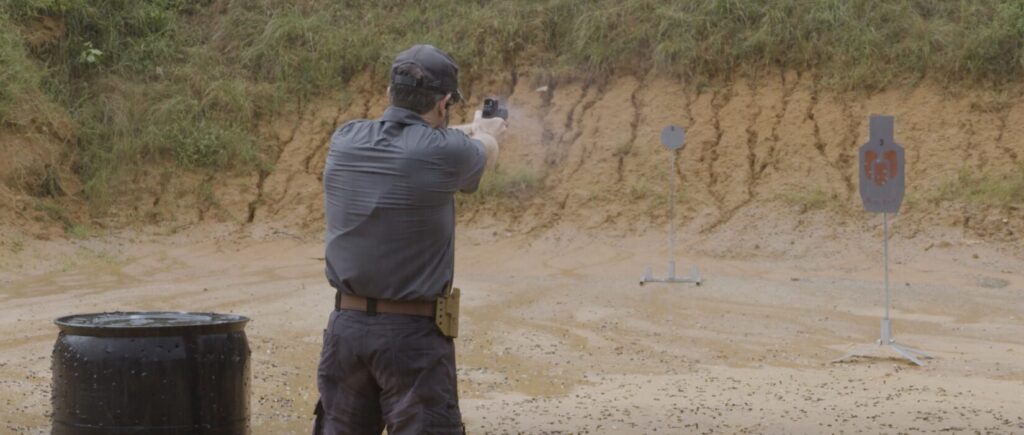
I like to set up the target indexing drill in a few different ways so I can continuously build on past drills whenever possible. I’ll start on target, finger on the trigger, presented out on the target. On the tone of the shot timer, I fire the shot and conduct the target index.
Starting with your finger on the trigger will help you look at your reaction time—something we worked on a couple of months ago. Any time we get a chance, we always want to build on past skills. You could also start from the ready position and work on your pistol presentation or draw from the holster, which will be next month’s skill builder exercise. It just depends on where you are in your firearms journey.
Record your time, marksmanship data, target used, and distance in The Firearms Training Notebook. Don’t forget to use the notes section at the bottom of the page to annotate key takeaways from your range session. For example, “Kept eyes in sights and over passed the target” or “Was looking at the whole target verses a specific point.”
Understand The Why
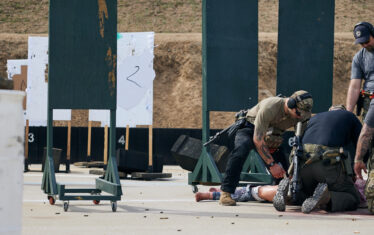
The target index is a critical task for our military service members, law enforcement officers, and in some cases, law-abiding concealed carry citizens. It’s also essential for competition shooters, where stages often feature multiple target arrays. It is very easy to get caught in the trap of only working left to right, but you must also practice indexing right to left.
Dry Fire Set Up
I like to dry fire my techniques first. This allows me time to refine the skill that I am working on. I’ll walk you through my dry fire training for target indexing—the technique is the same for both pistol and carbine. Before starting, ensure there is no live ammo in your dry fire area.
When dry firing, remember that you only get one trigger press unless you are using some type of dry fire trigger / safety reset tool like the Mantis Blackbeard or the Red Cat dry fire trainer for your carbine. For your pistol, there’s the dry fire mag, though I have never used the dry fire mag, nor is it available for Walther pistols. If you don’t have one of these tools, I save my trigger press for the second target. You can still do a partial trigger press on the first, but for me, the second target is the key to the dry fire trigger press.
The Target Index Mechanics
Start with your rifle of pistol pointed at the target, with the slide or bolt forward. When it’s time to conduct the target index, move your eyes to the next target and pick a point on that target that you want your red dot or iron sights to hit. Drive your firearm to that point, and your eyes should see the sights on that point. Remember to practice moving both left and right—don’t get fixated on just working your “easy” side.
Making Your Dry Fire Plan
Start by taking your 10 target index times and calculating your average time. Open a new page in The Firearms Training Notebook and title this section “Target Index – Pistol / Carbine.”
Using your average time, add 0.25 to 0.50 seconds, depending on the spread of your targets. As you start making good dry trigger presses and landing your sight on the target at or below the par time, you can start lowering your par time by .05 or .10 seconds. The idea is to gradually reduce your time until you reach the best time for you. Remember, don’t get caught up comparing your times to others—this is your firearms journey, and you will get there if you put the time into your dry fire training.
Check your Progress
Sometime near the end of the month, head back out to the range and reshoot the 10 target indexes with your pistol or carbine and see where your performance is at. You should see improvement if you have put in the dry fire work during the month.
Stay Accountable
It’s important to have accountability with your shooting performance. Yes, you can do it on your own; however, having a shooting partner, tribe, or group will keep you in check.
If you don’t have any accountability, you can always join us in sharing your marksmanship growth. Go to our On The Range (OTR) Patreon “CREW” member’s page or our On The Range Podcast “CREW’ Facebook group page.
My co-host and co-author, Mark Kelley of Kelley Defense, and I conduct bi-monthly interactive Zoom calls with our Patreon “CREW” members, where we break down each shooter’s skill builder. We’ve even reviewed videos of “CREW’ members shooting during these calls, providing immediate feedback on where we see they can improve their shooting skills.
Conclusion: Put In The Work
To see improvement in your marksmanship skills, you must put in the work. Have a structured dry fire training plan and a system to track your progress, such as The Firearms Training Notebook. Use additional tools like a shot timer and video to take your dry fire training to the next level and see your improved performance during your live training.
Train Hard, Stay Safe, and see you “On The Range” – Rick