
Let’s say you head to the range to run a multi-target drill—something like the El Presidente or the Box Drill. How do you set up the targets?
I bet you’re setting them up side by side.
Why? Well, that’s the way we’ve always done it, that’s the way the drill manual says to do it, and it fits neatly on a standard range bay. But today I’m arguing that you should add depth to your training.
What is Target Depth? Target depth means positioning targets at various ranges (e.g., 3 yards, 15 yards, and 25 yards) instead of keeping them perfectly in line with each other.
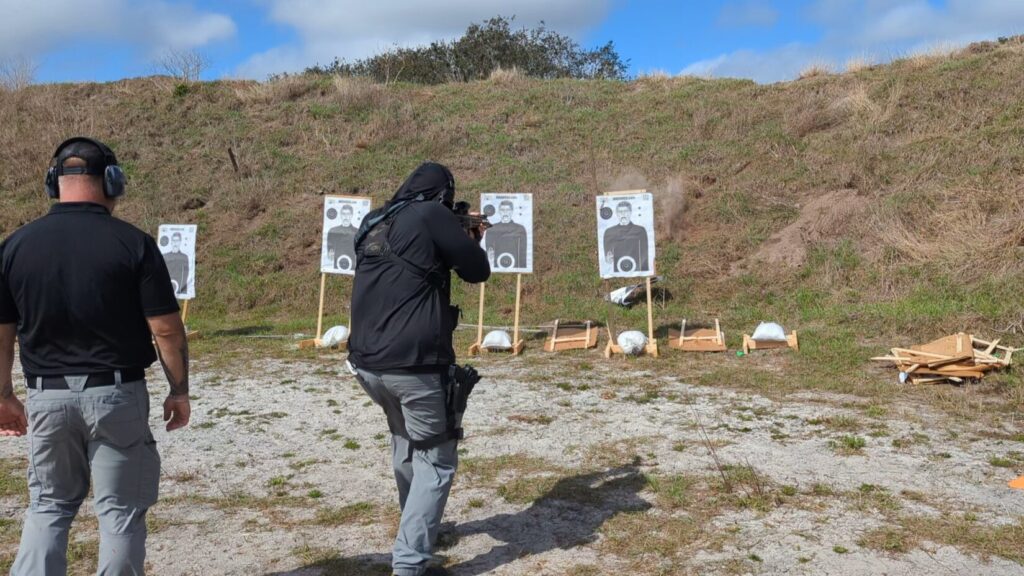
Using depth with your targets better represents the real world. How many threats are going to come at you side by side? It’s simply not realistic.
When you place targets at varying ranges, you’re not only getting more realistic training, but you’re also forcing yourself to improve a variety of skills you wouldn’t get to work on with traditional target placement.
1. Improving Focal Accommodation and Breaking Tunnel Vision
The first major skill that depth training forces you to work on is focal accommodation—the ability of your eyes to rapidly shift focus between near and far visual planes.
When you transition between targets at the exact same distance, your eyes stay locked on a single focal plane. If you get stuck on one threat, it creates tunnel vision. Introducing targets at different depths forces your eyes to break out of it.
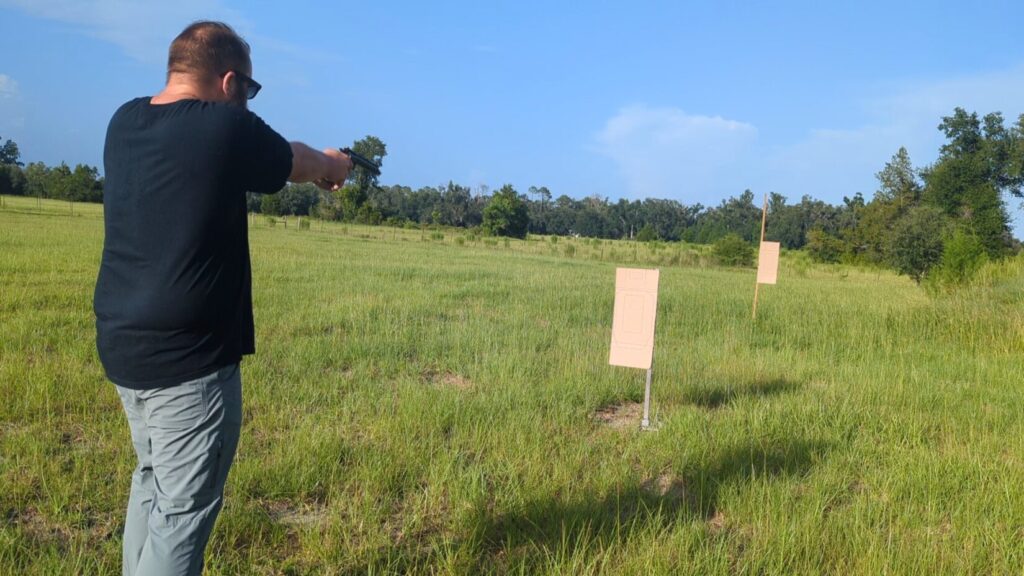
When we transition targets, we follow the eyes. The eyes look first, lock onto the next target, and the body and gun follow. It’s simple when two targets are lined up, but as the depth changes, this becomes more of a challenge.
Working that skill at the range can have real-world results. The faster you can engage multiple threats, the better, and the more realistic your training, the better. The first time you exercise a skill should never be in a gunfight.
2. Throttle Control and Cadence
If you have three targets, say one at 3 yards, one at 15 yards, and one at 25 yards, you have three problems to solve with two different skills and three different sight pictures.
The 3-Yard Target (High Speed): You likely only need a flash sight picture to engage accurately. You need to see a glimpse of red on the target, and you can start firing rapid, effectively placed shots.
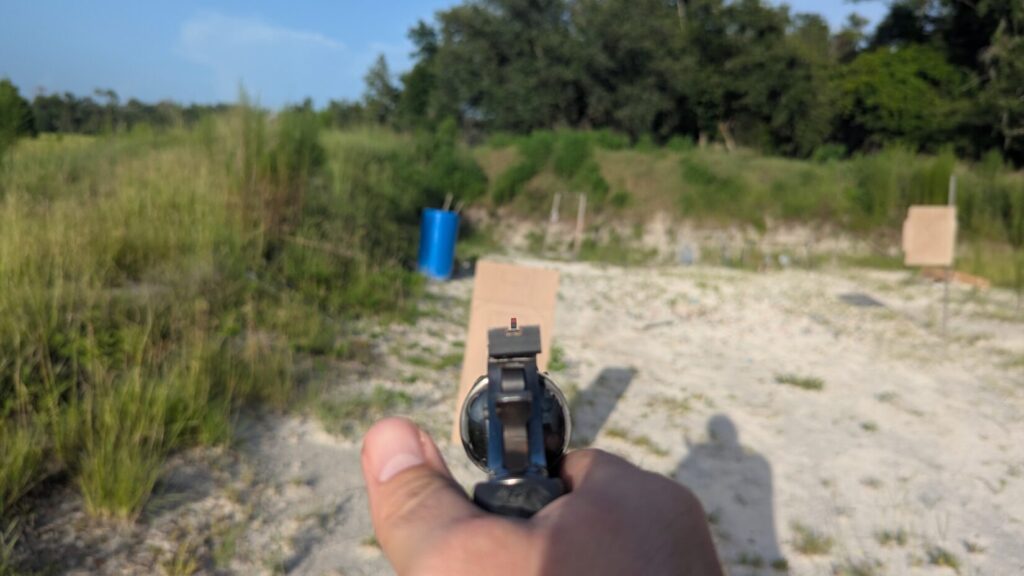
The 15-Yard Target (Moderate Speed): As you transition to the second target, you’ll need a crisper, harder focus, one that might take a clean sight picture to make an effective shot. You see the whole dot on the target, but only for a moment before pressing the trigger.
The 25-Yard Target (Precision): This requires a solid sight picture that takes slightly more time to confirm. You might need to let it rest for a moment more before pressing the trigger.
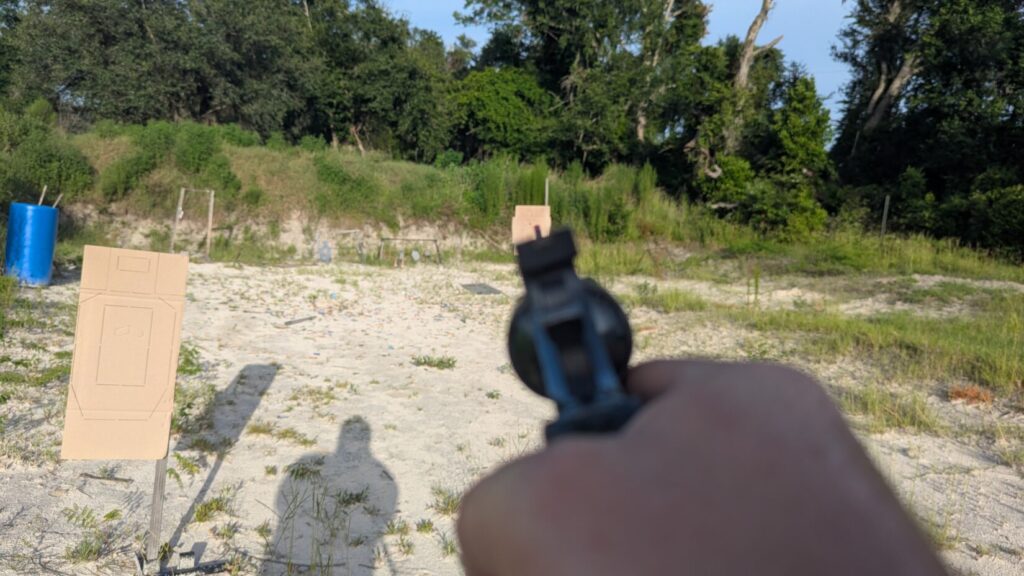
As you transition from target to target, you’re working your throttle control. As distance increases, we tighten up, refine our sight picture, and ensure our grip and trigger manipulation remain consistent.
Throttle control ensures you are not getting into a comfortable cadence of fire between targets. Every engagement is new and requires new skills to be developed. Your sights should dictate cadence, and sight pictures at various ranges have different requirements.
3. Disrupting The “Perfect Stance” With Lateral Displacement
If you’re adding depth to your targets, you can also add distance between targets laterally.
If you place targets in a near zig-zag-like fashion, you don’t just get to keep that perfect stance that squares you up to the target anymore. Your transition from target to target requires broader movements.
Your spatial awareness is challenged as you use your lower body to drive the gun from target to target while keeping your upper body stable. You’re doing all this while rapidly shifting your depth perception to the next target, trying to track a good sight picture, and sending rounds downrange.
It adds a new level of stress, and stress inoculation is always a good thing in training.
How To Introduce Target Depth To Your Training
The simplest way to add depth to your training is to pick your favorite multiple-target drill and position the targets at different ranges. You can do Box Drills, El Presidente Drills, Dozier Drills, and conduct the drills with targets at different depths.
How To Run The Accelerator Drill
Prerequisites: 3 targets, 25 yards of open range space.
Setup: Place the targets roughly 1 yard apart laterally, but stagger them dynamically by distance:
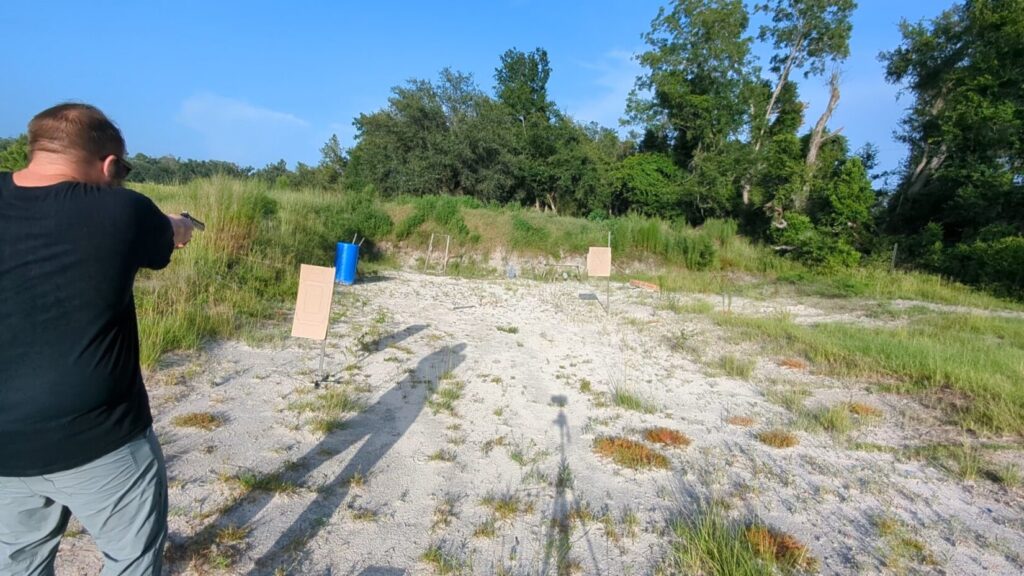
Course of Fire
Target 1 Placement: Near Threat. Place the first target exactly 7 yards from the firing line.
Target 2 Placement: Mid-Range Threat. Place the second target 15 yards from the firing line.
Target 3 Placement: Distant Threat. Place the final target at 25 yards from the firing line.
The Course of Fire: 12 Rounds Total. On the buzzer, draw and shoot each target with two rounds (working from near to far, or far to near). Perform a reload and shoot each target one more time with two rounds.
There are near-infinite ways to train with depth. Just put the targets at different ranges and engage.
The Indoor Range Solution: Simulating Depth
I happen to have a range I can just about do anything on. A lot of folks don’t have that same kind of range to train in. Luckily, there are some ways around this.
If you only have access to a restrictive indoor range where you cannot stagger targets down-lane, you can still train throttle control and focal accommodation by varying target sizes.
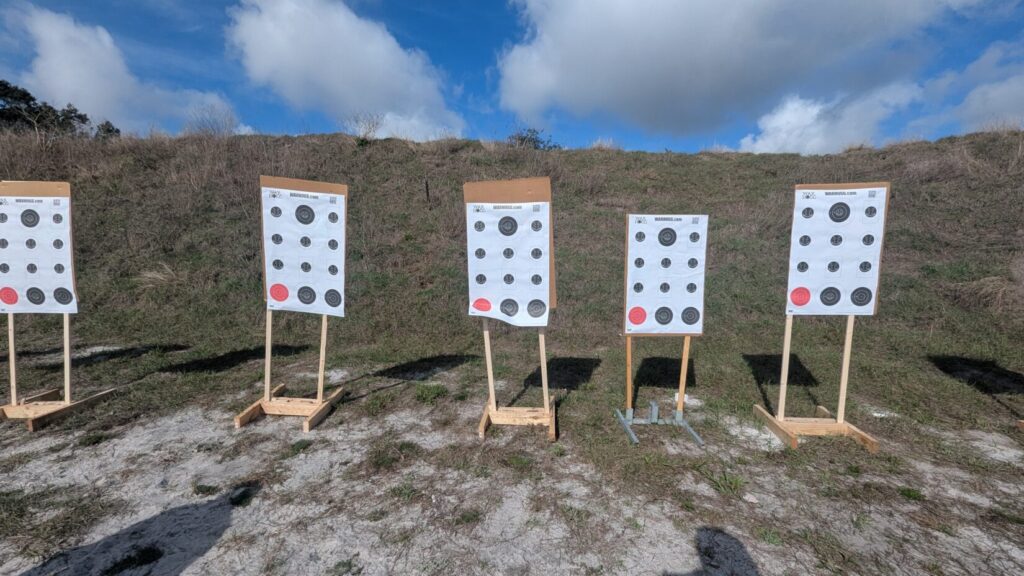
To do so, we use multiple targets. Some small, some large. This can be a B8 and an index card, or a dedicated multi-target, like the War Hogg Tactical Target.
War Hogg offers a dual-sided target with one side made up of various-sized targets. You can start large to replicate close range and end small to replicate a further target. By transitioning from a large target (simulating close range) to a tiny target (simulating long range), your brain and eyes are forced to exercise the same throttle control mechanics.
Dry Fire Target Depth Options
Competition shooters have long used scaled-down targets for dry fire training purposes. They often use reduced-sized targets to better represent long-range shots. Depending on the room you have, you can mix actual distance with reduced-size targets.
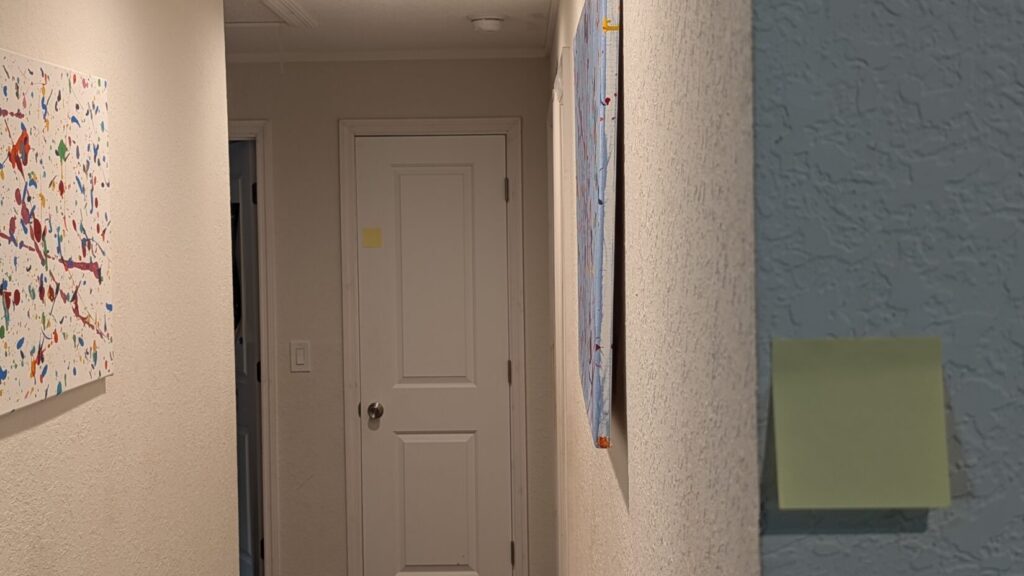
There are several variations of reduced-sized plastic targets made to represent USPSA/IDPA style targets. These are awesome because they don’t require much room, are cheap, come in tons of sizes, and have their own stand.
I’m also a fan of index cards for targets or even varying-sized sticky notes. They are cheap, disposable, and easy to set up anywhere for a little depth practice.
The Takeaway: Stop Training in a Straight Line
A little depth goes a long way. It builds the practical visual and mechanical skills you actually need for real-world self-defense and dynamic competitions. Stop leaving your targets in one comfortable, flat line. Add some depth to your next range session and watch your shooting skills grow.