
Dry fire is that thing we all should do, but likely never do enough of. It’s the cheapest, most time-efficient way to be a better shooter, but it can be a bit boring. Today we are going to talk about a few advanced dry fire techniques to keep your training dynamic and interesting.
To be clear, the old classics aren’t being replaced. You should still practice basic marksmanship, draws, reloads, malfunction fixes, and more dry. Those same basics will be used in all of our advanced dry fire; we’re just introducing more elements to increase the difficulty.
Let’s take dry fire to the next level.
Target Positioning
When you’re dry firing, you’re likely using a static target, directly in front of you. At some point, it goes from being a target to an index point. To keep things interesting, you can experiment with target and body positioning.
When dry firing, you have an opportunity to work 360 degrees. Very few gun ranges offer that option, so exploiting it at home is something you should take advantage of. Set targets up to your right, left, in front, and behind you, or simply change your body position in relation to the target.
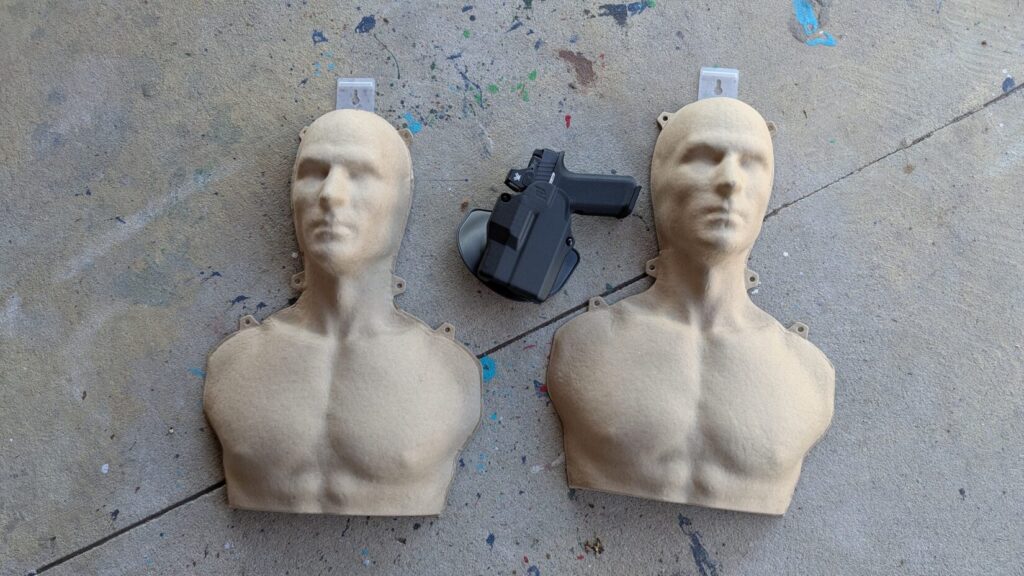
We aren’t pretending to be John Wick spinning around from target to target, but we can practice turning to the right, to the left, and behind us to engage the target and break the monotony.
Additionally, having targets at different ranges can be beneficial. Alternate close and far targets to practice going fast for close targets and a little slower for far targets.
Introduce the core tenets of dry fire. Use draws, reloads, and malfunction fixes while playing with target locations.
Low Light Dry Fire
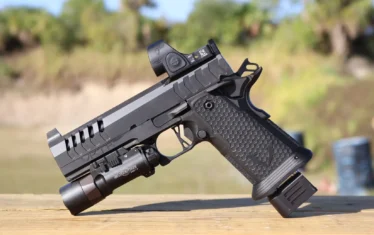
When the sun goes down, you can start playing with low light advanced dry fire. If you carry with a WML or a pocket light, break it out and let’s start dry firing.
Finding ranges that allow low light training can be difficult, so doing this live can be a hassle.
In a dark room, practice using your white light to find the target and engage. Draw, use the light, identify the target, and engage. Practice using your light quickly and efficiently to identify threats and engage.
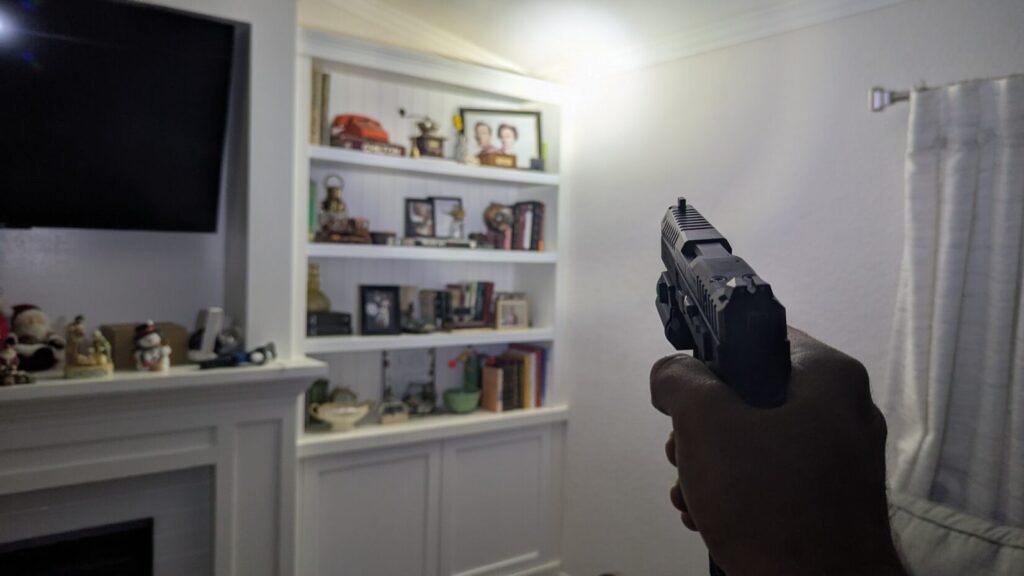
You can use direct light to target, or practice umbrella and baseboard techniques to find threats.
Reload in the dark, fix malfunctions in the dark, do it all with low light. The first time you have to do these skills in low light shouldn’t be in the middle of a fight for your life.
Getting used to working in low light can be an interesting experience. By the time your eyes adjust to the dark, you’re killing your natural night vision again by using a flashlight. The light goes off, and you’re back to being nearly blind.
Learning to deal with that experience can be invaluable.
Positional Dry Fire
I bet five dollars that the majority of people’s dry fire is in a traditional standing position. It doesn’t change often, and to be fair, it’s likely the position you’re most likely going to be shooting in.
With that said, there is value in practicing different positions as part of advanced dry fire. We have the basics of standing, kneeling, and prone, but also have peeking around or over cover, shooting from your back, side prone, and more.
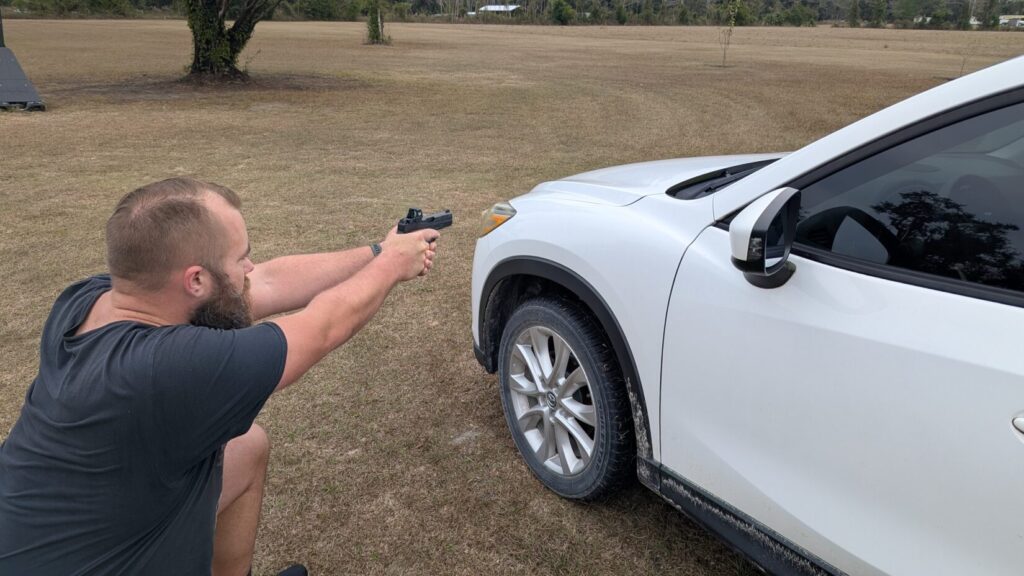
Don’t just practice point and click dry fire in these positions, but practice your draws, your reloads, and malfunction drills. You might find out that some tasks are much more difficult in certain positions and begin to change how you use cover, take a knee, etc.
You won’t know until you try it, and you don’t want to try it for the first time when someone’s shooting back.
Physical Stress Dry Fire
I often implement dry fire during my workouts. I find the rest period between sets to be a great time to get some reps in. Not only do I have that little bit of time, but my physical exertion also increases as the workout continues.
With that said, don’t expect working out to simulate the same experience as adrenaline in a fight for your life. It can’t simulate the mental effects of an adrenaline dump, but it can simulate the exertion you might feel.
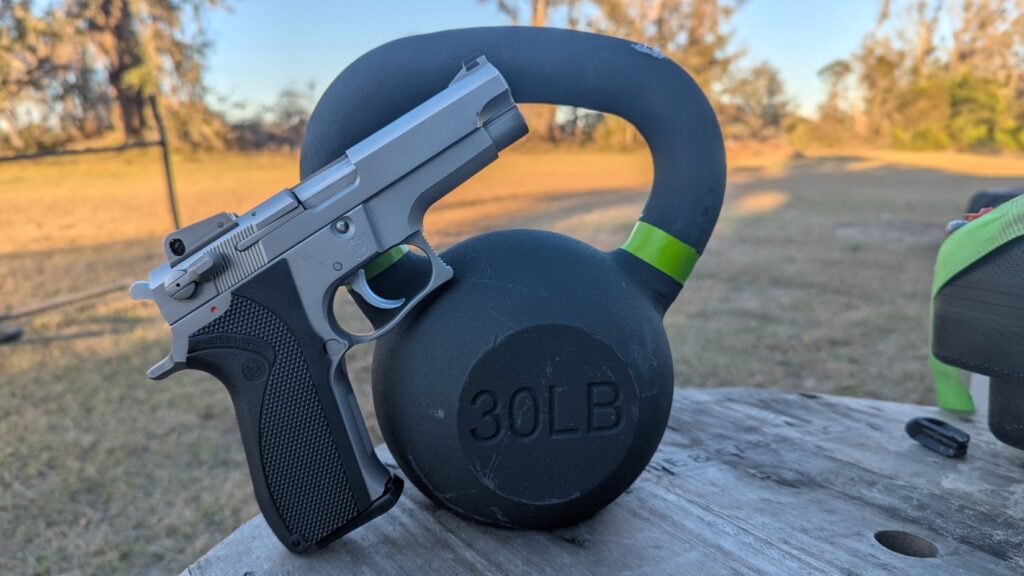
Physical stress is a real part of a fight. You might have to sprint, wrestle, and physically exert yourself. Physical exertion makes everything with a gun a bit more difficult.
Introducing a few reps of dry fire alongside an at-home workout can give you that experience. That breathless reload, that sweat in your eyes shot, or shaky hand draw. It’s all a real possibility, and it’s smart to confront it prior to any engagement.
Get Moving
I typically dry fire in a stationary environment; most of us do, but why? Who is stopping us from moving?
Moving targets are always harder to hit, and if you’re in a shoot-out, seeking cover seems to be a logical means to stay hole-free. Integrate that into your dry fire practice.
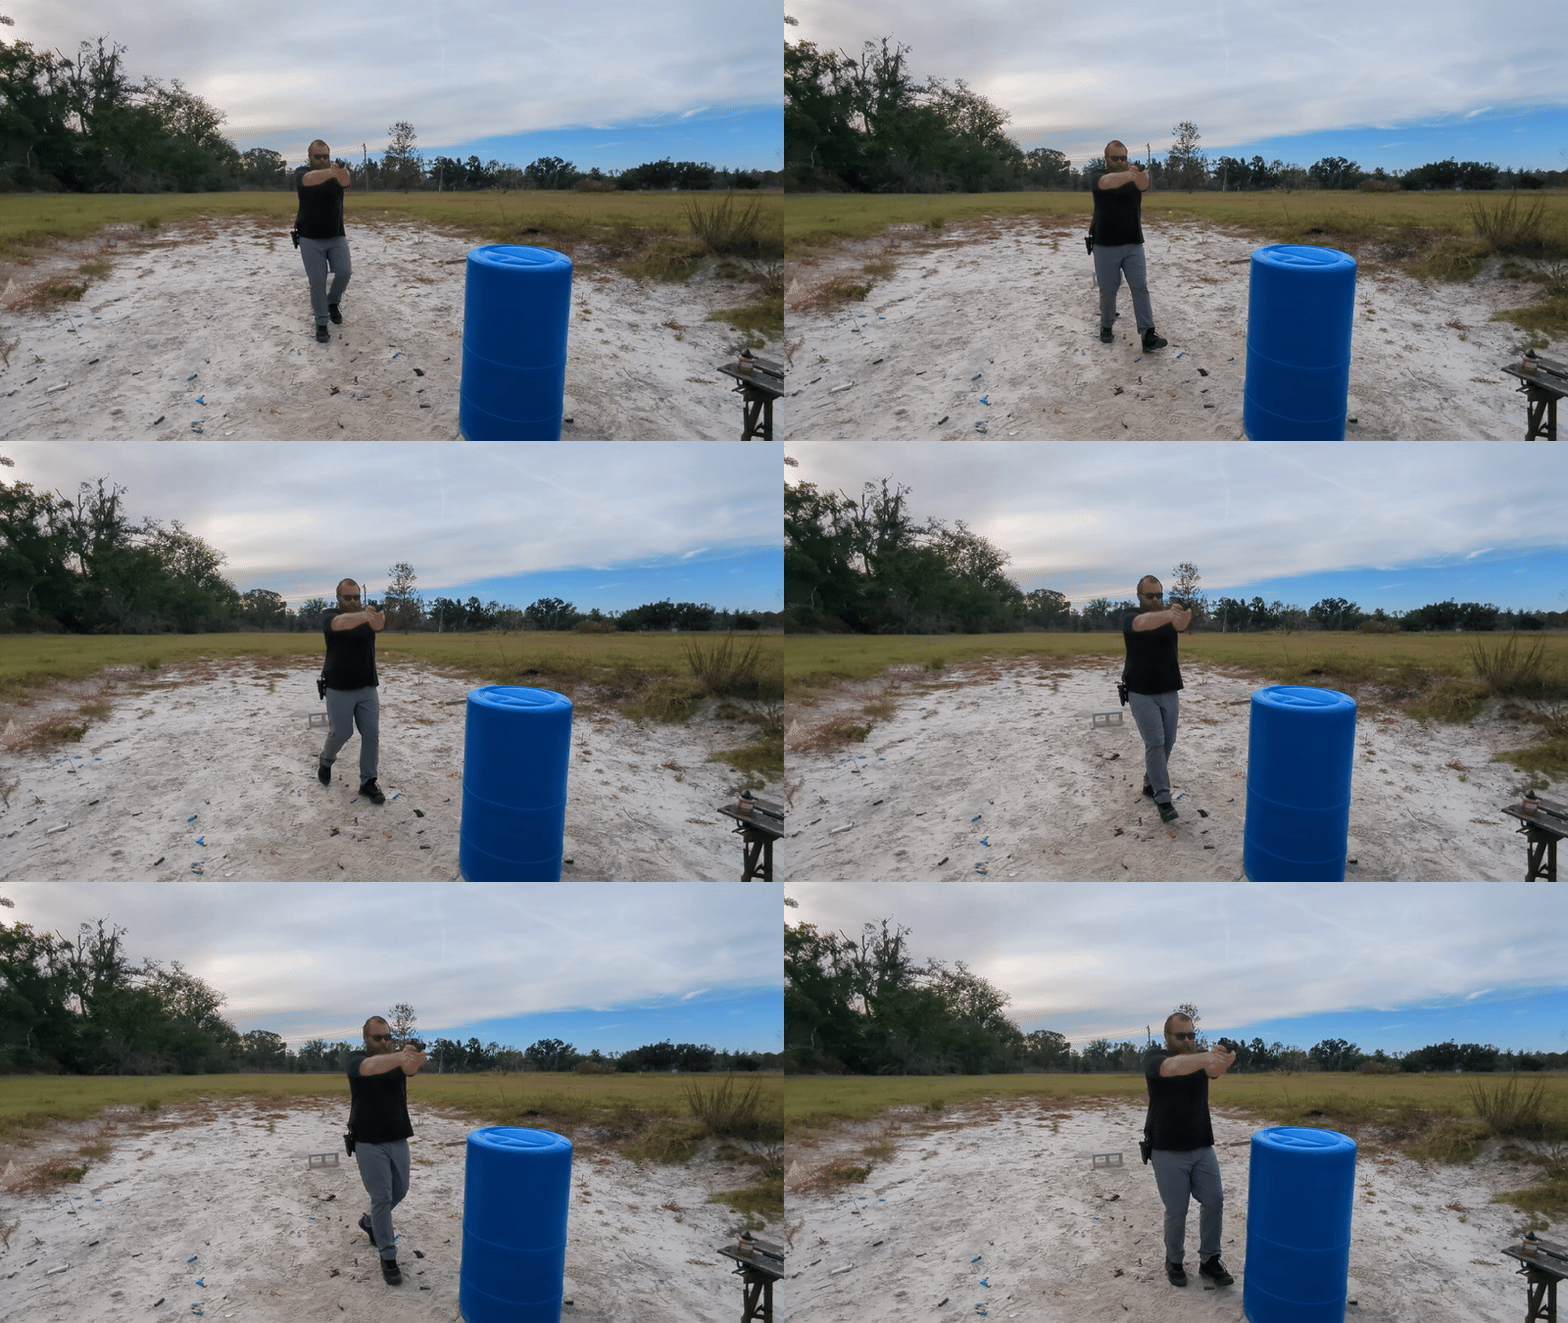
I’ve started setting a shot timer up with a random par time and walking around my house or porch. At the beep, I continue the direction I’m moving and draw and engage a predetermined target.
Introduce lateral movement, rearward movement, stepping off the line of attack, and moving from standing to cover or kneeling.
Move and work reloads, malfunction drills, and simple point-and-click practice. Doing anything with your lower and upper body at the same time requires a little more cognitive load, so stretch that brain muscle and keep moving while shooting.
Advanced Dry Fire
The great thing about dry fire is how easy it is to mix all of this together. Advanced dry fire could be a reload in the dark and on the move. It could be a set of burpees, immediately followed by positional practice.
Advanced dry fire isn’t just handy from a training perspective, but it keeps your training more dynamic and entertaining. If you’re entertained, or at the very least not bored, you’re more than likely to keep training. The more you train, the better you’ll be, and the more weaknesses that will be exposed before the stakes are a bit higher than point and click in your kitchen.