
If you want to shoot with precision and accuracy at any given distance, you have to control the many factors that can come into play with consistency.
Nowhere is this more evident than at the long-range firing line.
It’s said that inside 100 yards is a test of the rifle, but beyond that is a test of the ammunition. To some degree, this is true. If you are attempting to shoot at 300, 500, 750, or 1000 yards, you’ll certainly get more accuracy out of match-grade ammunition than surplus.
Even at 100 yards, though, a lot of fundamentals can be practiced and good habits formed as you develop your long-range procedure.
The Precision Rifle Checklist
- Mount: Establish a natural point of aim parallel to the spine.
- Bubble: Verify the scope is perfectly level.
- Reticle: Adjust parallax and lock a hard focus on the crosshairs.
- Breathe: Lower your heart rate to find the natural respiratory pause.
- Trigger: Isolate your finger pad and compress straight back.
- Follow Through: Track the impact through the optic lens.
1. Establish Your Natural Point of Aim
The first step in setting up a shot at distance is placing your rifle and your body in a position that works with your natural point of aim. This means the target should be aligned with where your body points, and typically this is accomplished by squaring up to the target.
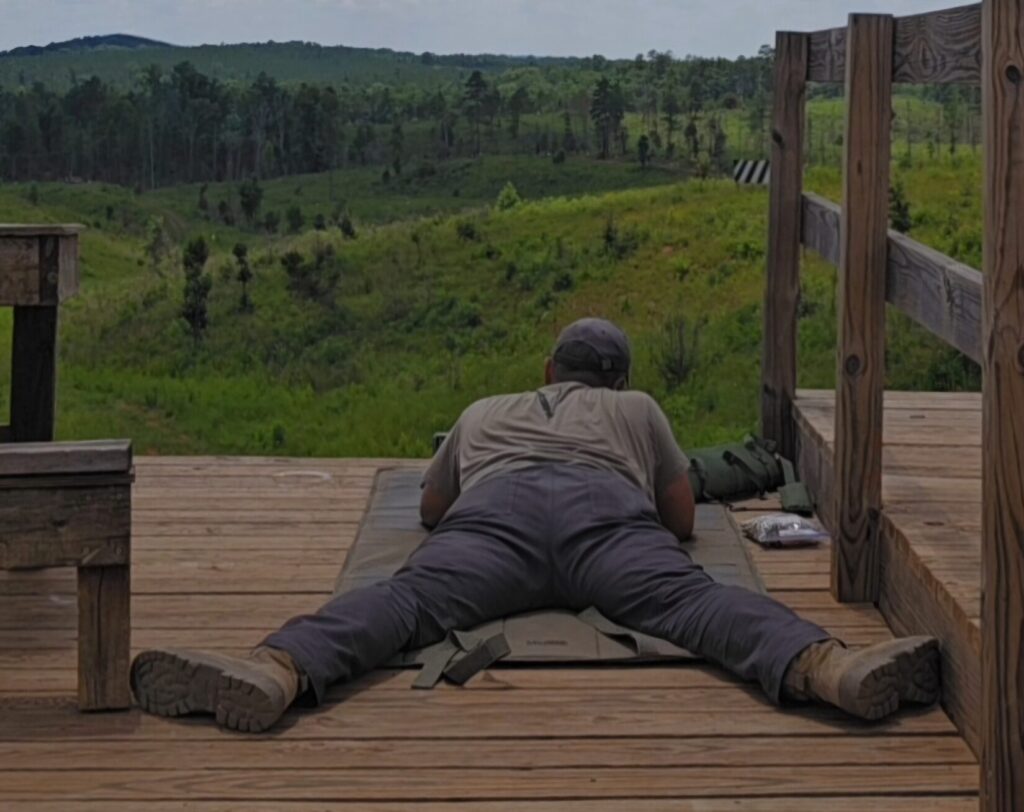
Unlike the body position of the little green army man plastic toy we all grew up with, you want the stock of the rifle to be in line with your spine to help your body absorb the recoil better. It also helps the rifle return to the target after recoil without having to make many adjustments inside your scope looking for the target.
When you get behind the rifle, your legs should be spread out about shoulder-width apart with your heels down. You can use your toes to push or pull your body back and forth, which actually changes the pitch of the barrel.
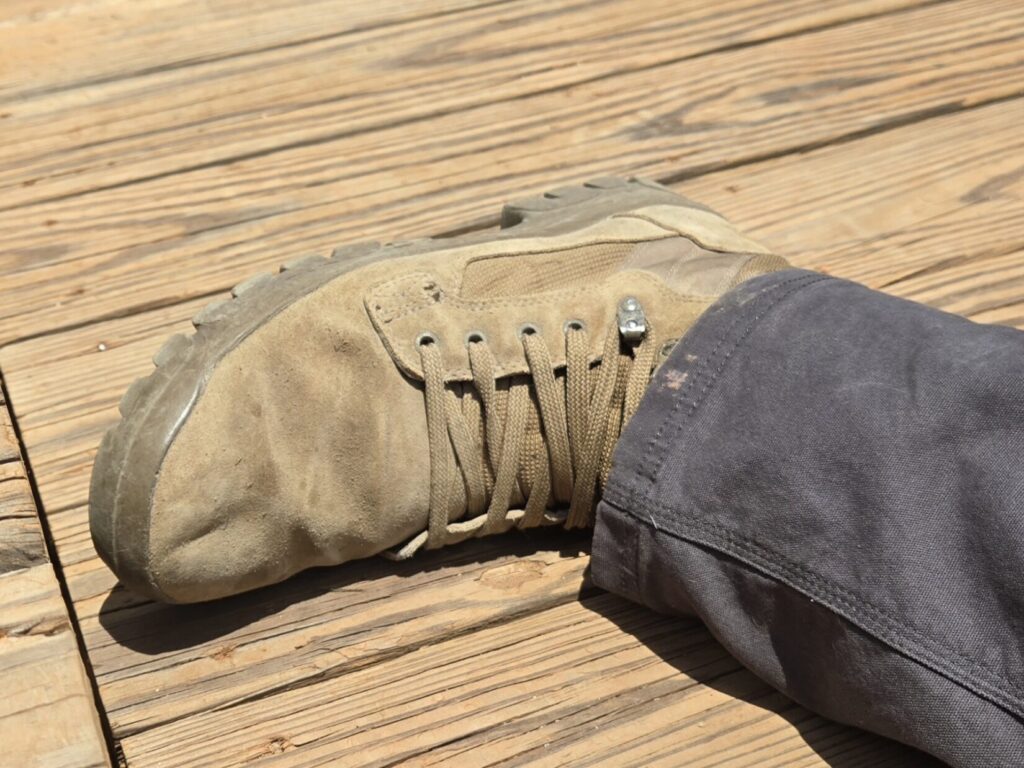
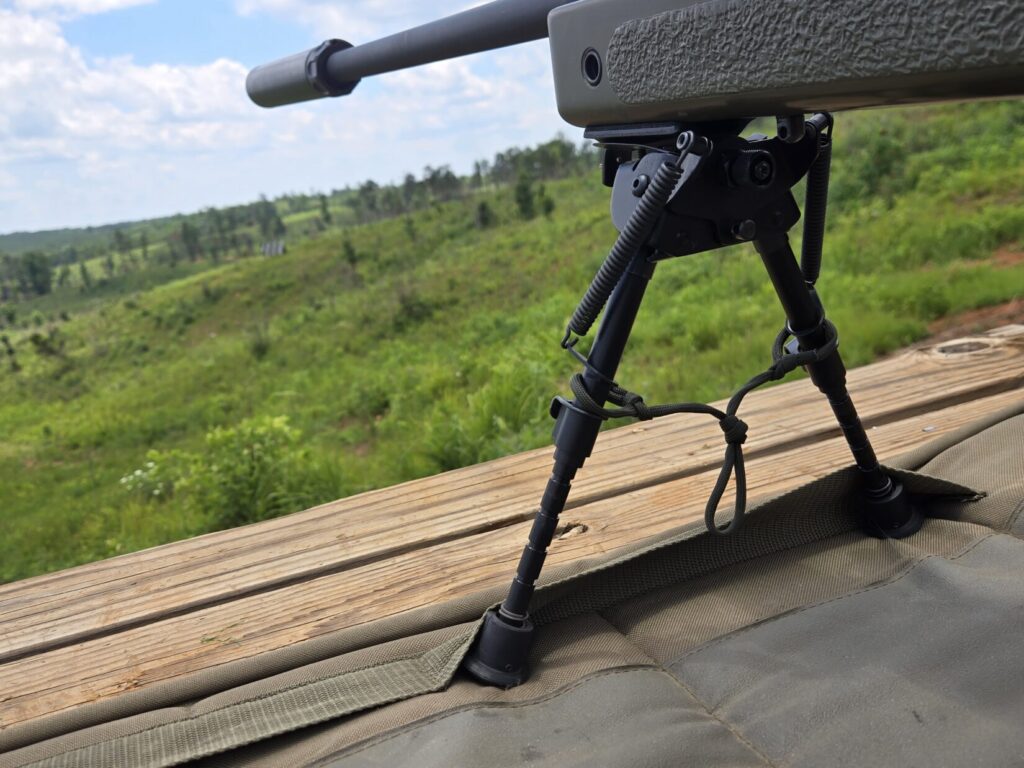
By pushing forward with your toes, you can also load your bipod by putting pressure forward into it. That will help with recoil and steadying your shot.
2. Achieve a Consistent Cheek Weld
When I trained precision scoped rifle at the SIG Academy, I’ll never forget the words of my instructors, David Hinkell and Chris “Cav” Cavallaro: You want to place your head naturally on the stock and be able to go to sleep.
In other words, you want to relax your muscles by placing your head straight down on the comb instead of angling it sideways. You also want to look straight through the center of your eye instead of looking at the sight picture through the top of it.
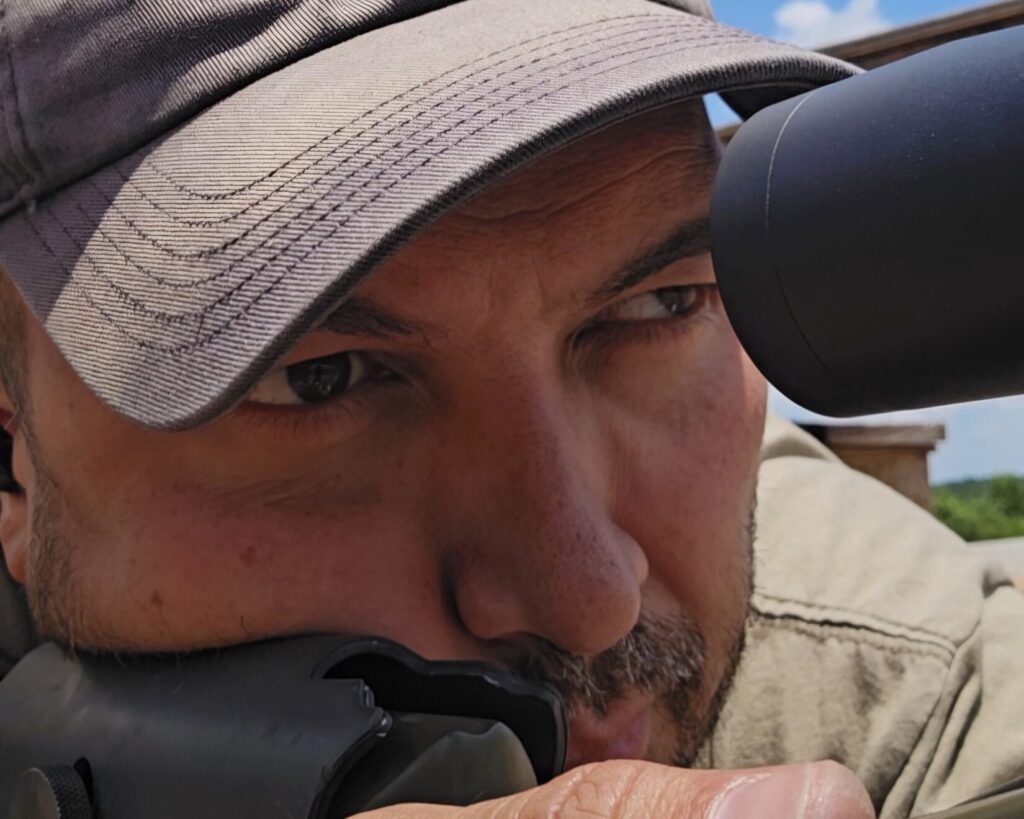
A good rule of thumb is to use as little muscle input as possible. Muscles can fatigue, meaning your shooting position can break down. Relax, go to ‘sleep.’ If your stock is built up correctly, when you open your eyes, you should see a clear sight picture through your scope with no shadow around the periphery.
3. Check Your Scope Level and Focus the Reticle
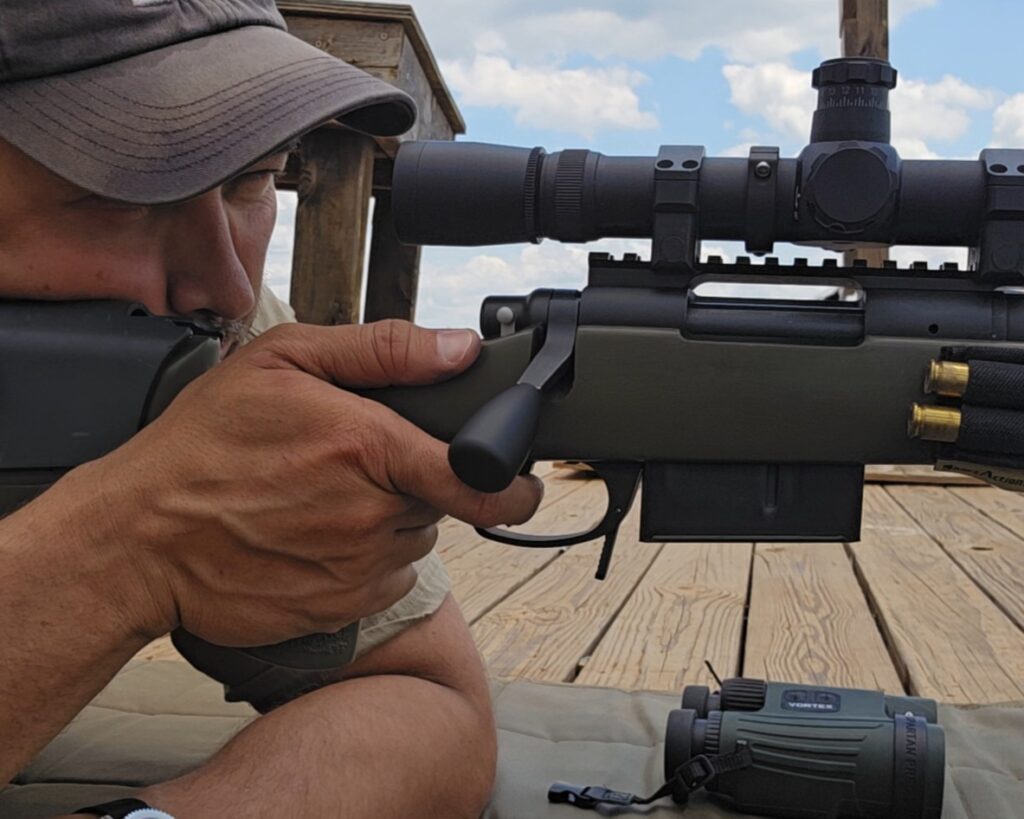
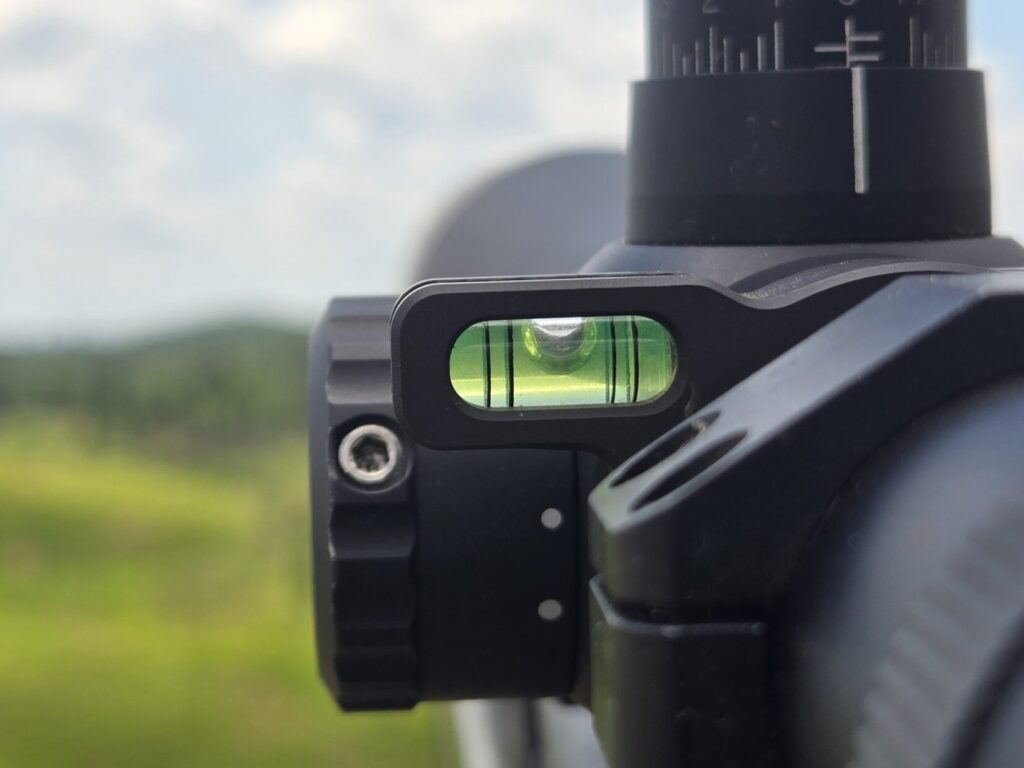
Once I’m behind my rifle and I’m assured I am viewing the correct target, I always check my reticle against the bubble level I have mounted on my scope.
At short distances, rifle cant doesn’t matter as much, and you can simply put the intersection of the crosshairs on your target and press the trigger. At longer range, your reticle must be level, or you can mistake cant for a bad wind call.
Bryan Litz from Applied Ballistics, basically the Yoda of ballistics, has a lot to say about this topic. If you care about accuracy, check your level.
When your rifle is level and you are in the final stage to prep your shot, you also want to make sure you have a hard focus on your reticle. The reticle should be crisp, and the target should be somewhat out of focus. You can adjust the parallax adjustment on your optic and fine-focus to make sure your sight picture is as clean as possible.
4. Master Proper Breath Control
When you hear the advice to control your breathing while shooting, it doesn’t just mean to breathe slowly. Your breath control should be consistent, and you should know if you are an empty, half, or full lung shooter.
Our breathing cycle moves our body, and that movement is transferred to the rifle. Our heartbeat changes the way our reticle appears on target, and we’ll never stop that. We want to lower our heart rate with good breathing, which is in through the nose and out through the mouth. We want to expand our diaphragm when we breathe and avoid shallow breaths.
Depending on your physical build and fitness, you may prefer to breathe in deeply as it expands your chest and helps change the way the rifle is aimed at the target. You may be the type to breathe in, let out half a breath, and then prepare to press the trigger.
I am an empty-lung shooter, meaning I break my shot at the end of my exhale during my natural respiratory pause.
By paying attention to the shots we take at a particular moment in our breathing cycle, our groups will tighten up. If we see a vertical string in a group of five shots on target, chances are, you are not consistent with when you press that trigger.
5. Refining Trigger Finger Placement and Hand Ergonomics
When I am settled behind my rifle, breathing smoothly, and hard focused on the reticle in my optic, I prepare to fire by moving my shooting hand thumb to the right side of my bolt action and let it rest on the safety.
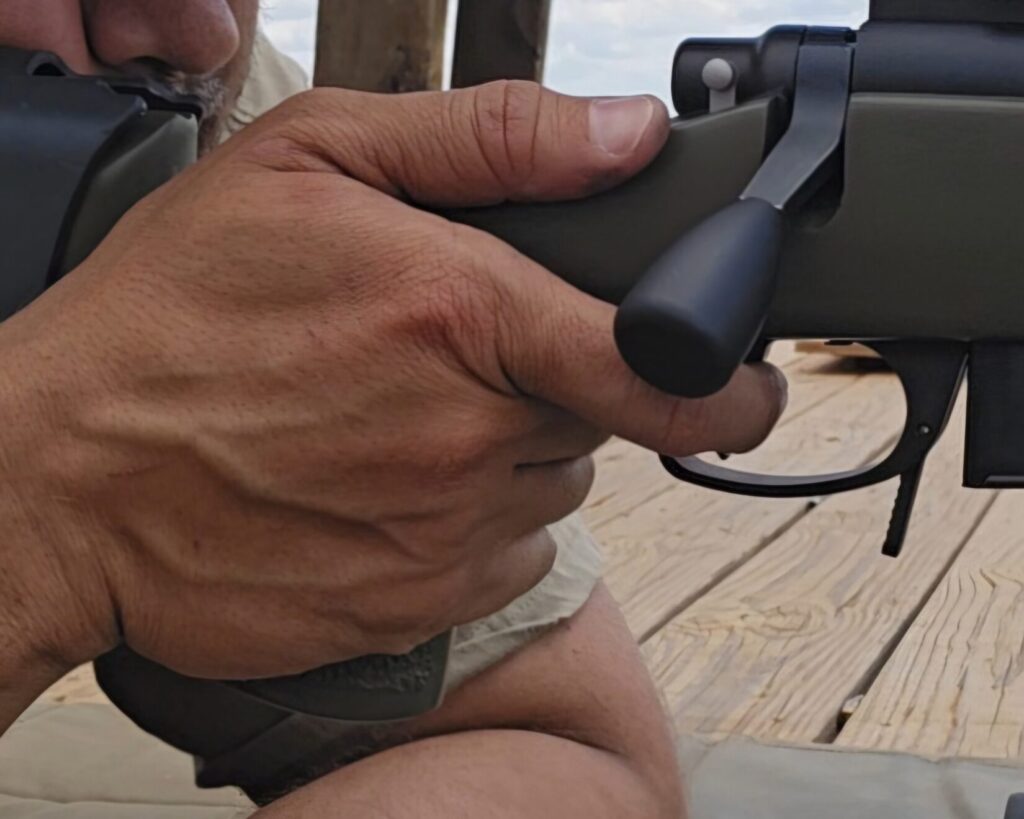
I move my straightened trigger finger from the stock to the trigger and place the first pad of my finger on the center of the trigger. There is some debate about whether you should use the first pad, the second pad, reach as far in as you can, or use just the tip of your finger. The answer is whatever gives YOU the best repeatable accuracy.
When I press the trigger on my precision rifle, I pay attention to the little things. I never want to rush a shot and mash or jerk the trigger. Instead, I want to feel the surface of the trigger on my finger pad. I want to feel the soft part of my finger compress as the resistance on the trigger increases and the support of the bone is felt against the trigger.
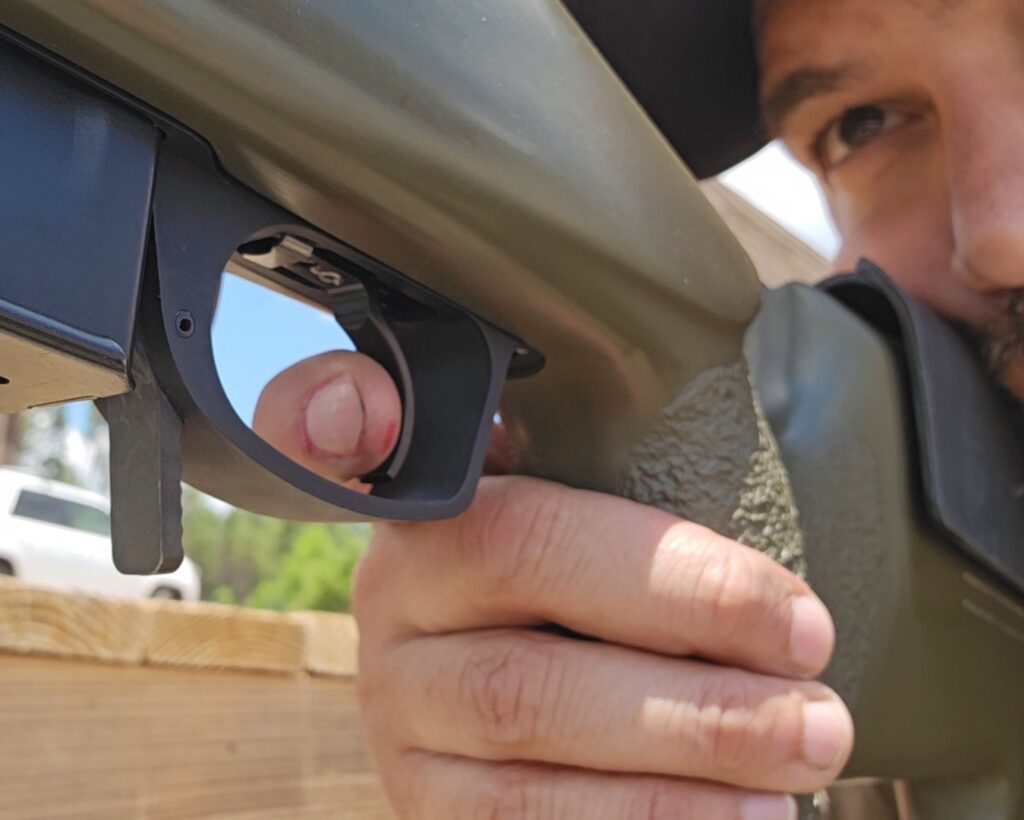
When I press the trigger, I think of compressing my finger print straight back on the trigger instead of pulling it back and to the right or pushing it back and to the left. When the reticle settles in my optic, I accept the perceived motion, and I’m ready to take my shot. I provide the final input with my trigger press and the shot breaks.
6. Commit to a Clean Follow-Through
The firing sequence isn’t complete without a proper follow-through.
Ideally, the rifle recoils and settles back on target thanks to proper body alignment and natural point of aim, allowing me to see my shot impact my target. Follow-through is recalling where your reticle was placed when you pressed the trigger and where the round impacted on the target.
Don’t immediately come out of your scope. If you end up with your reticle off target, you may need to adjust your natural point of aim. If you are satisfied with your shot, run your bolt and prepare to take another.
The Takeaway: Build a Repeatable Routine
Precision scoped rifle procedures are essential for consistency.
For me, my mind is constantly evaluating data as I shoot, and I refer to this passion as “geeking out with guns.” I break down the procedure to a few key words I can run a mental checklist with: Mount, Bubble, Reticle, Breathe, Trigger, Follow Through.
The procedure you take may be different, and you may include other considerations in your setup. Whatever it is, remember, accuracy is final.