At War HOGG Tactical, we believe accountability matters at every stage of gun handling, not just when the pistol clears leather, but when it goes back into the holster, too.
A lot of shooters put a ton of effort into getting the pistol out of the holster and almost none into getting the pistol safely back in the holster. The draw needs efficiency, but the reholster needs to be safe and disciplined. Nobody wins anything for stuffing a pistol back into a holster in a hurry.
In my opinion, there is no rush to get the pistol back in the holster, and when reholstering, you should look at the holster, reverse the draw sequence, keep your finger off the trigger, and place your thumb on the rear of the slide as the pistol goes in. The draw requires efficiency with speed; the reholster does not.
Trigger Finger Discipline Is Non-Negotiable
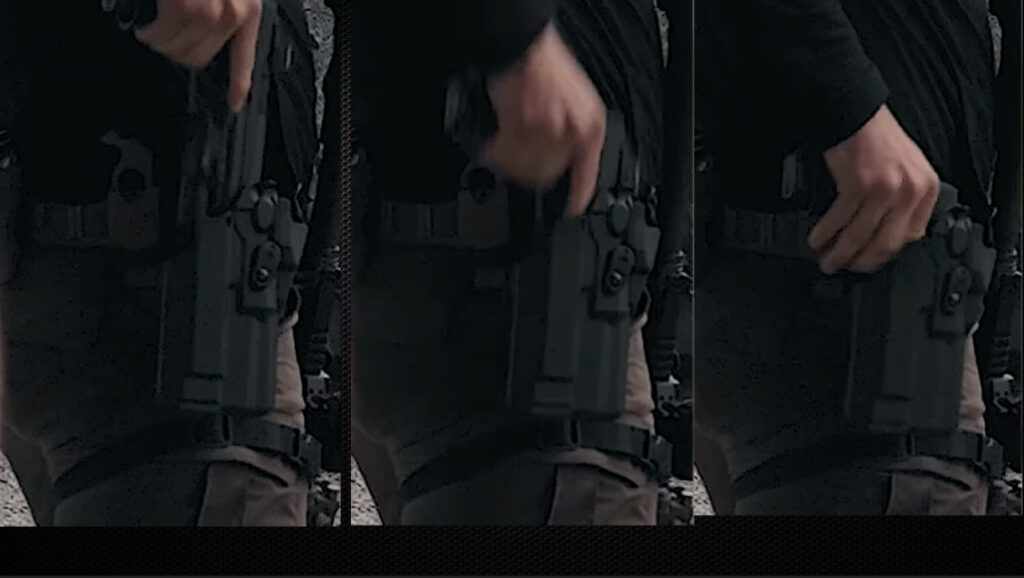
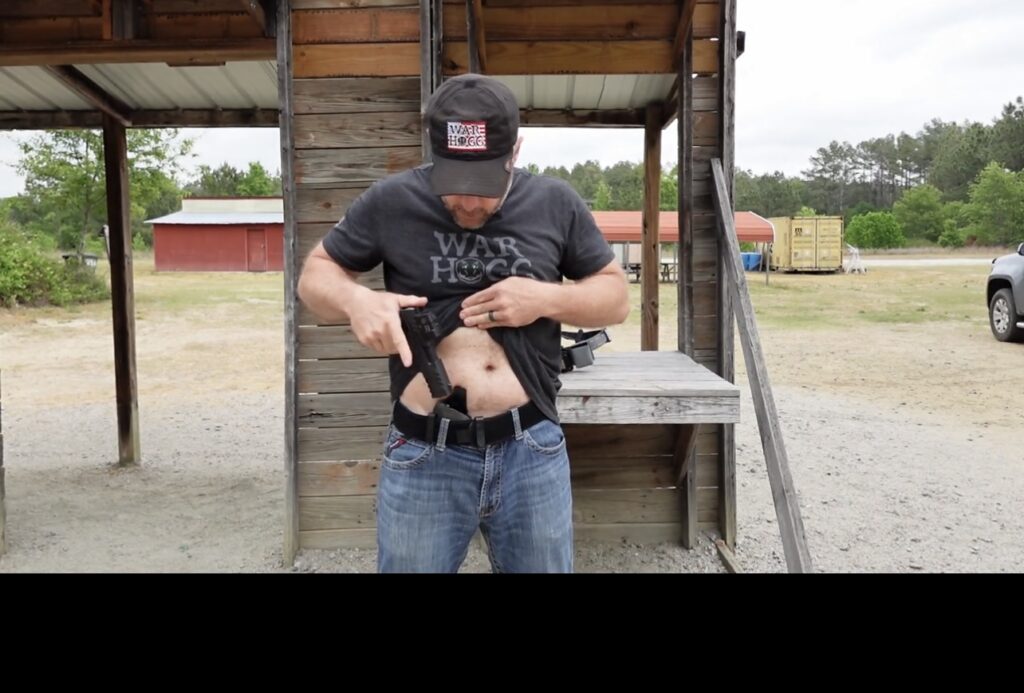
If there is one thing that should never be up for discussion, it is this: your finger has no business inside the trigger guard while the pistol is going back into the holster. Not close to the trigger, not hovering near it—off the trigger, and straight along the frame.
As the pistol is starting to go into the holster, your trigger finger should be pointed away from the pistol at about a 45-degree angle to prevent any dramas.
Look the Pistol Into the Holster
I know some people want to make reholstering look cool, smooth, or automatic. I am not interested in cool. I am interested in being safe. When you reholster, look the pistol into the holster. Visually confirm the mouth of the holster is clear. Confirm your shirt, jacket, drawstring, car keys, or anything else is not getting in the way.
You need a quality holster
Safe reholstering starts before the gun ever comes out. If the holster is flimsy, collapses, does not fully cover the trigger guard, or shifts around when you are trying to reholster, you are playing with fire.
For concealed carry, you need a well-made holster that carries the firearm securely and safely. Safariland has numerous options for you.
For duty holsters, retention level and duty rating matter too; Safariland classifies duty-rated holsters by the number of distinct hand movements required to release the firearm, with Level III being the most common for patrol and general duty use.
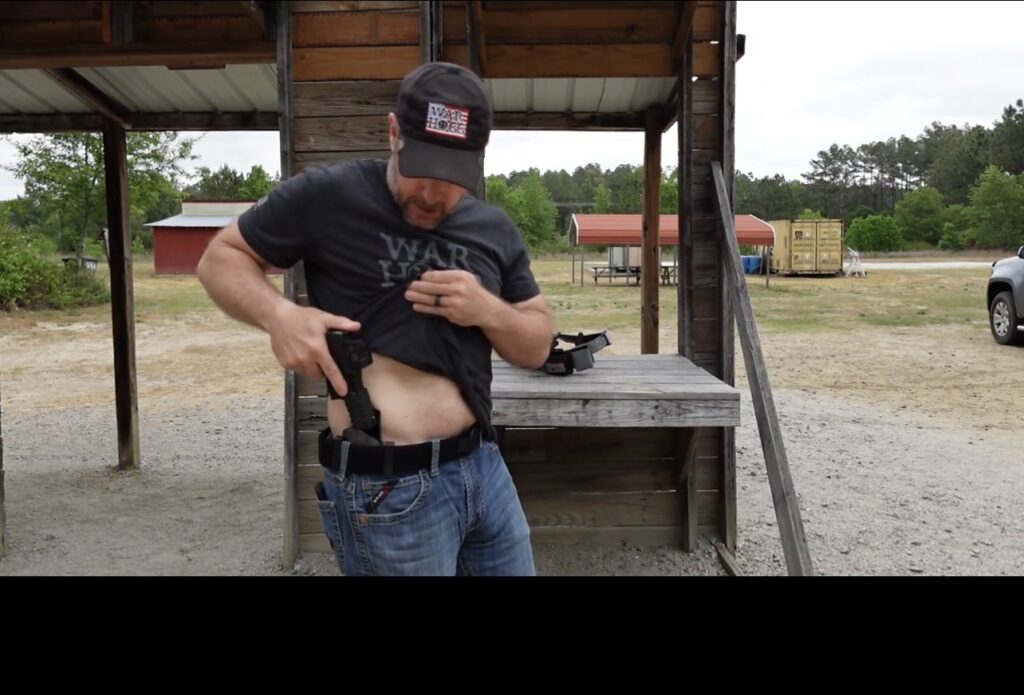
Concealed Carry Reholstering Starts With Clearing the Garment
Concealed carry introduces one major problem that duty holsters usually do not have: clothing. That cover garment can get into the holster mouth, wrap up with the gun, or enter the trigger guard area if the shooter gets lazy. That is why concealed carry reholstering starts with clearing the garment completely and keeping it clear until the gun is fully seated.
For Concealed Carry, Slow Down Even More
This is especially true if you carry appendix, but it applies to strong-side concealed carry as well. With concealed carry, your body is closer to the muzzle path, your clothing is in the mix, and your concealed holster rides tighter to the body than a duty rig.
A good rule of thumb is to have a deliberate pause before reholstering to prevent any accidents.
Duty Holster Reholstering
A duty holster usually gives you a more rigid platform, a wider opening, and better stand-off from the body. The duty rigs come with their own responsibilities. You still need to get the gun back in cleanly, keep the finger indexed on the slide, avoid clothing and gear interference, and make sure the retention system is properly reset.
Safariland’s duty holster products and retention guidance make clear that systems like ALS and SLS are designed around specific release motions. On reholstering, the firearm locks back into the holster, and the hood or other retention devices need to be reset correctly for the next draw.
Reverse the Draw Sequence
One of the best ways to keep reholstering safe is to make it the reverse of a clean draw stroke, just without the speed.
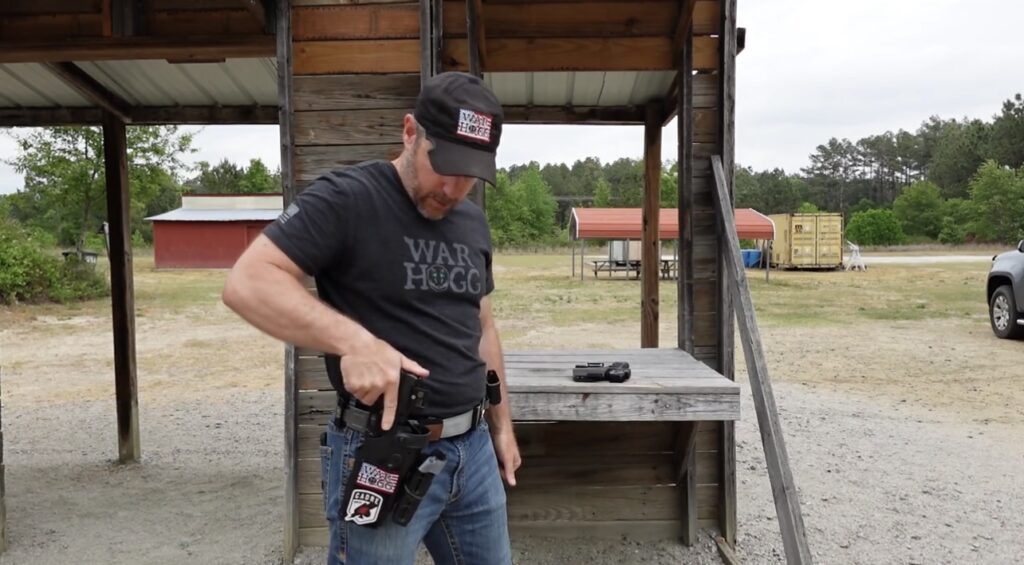
- The pistol comes back to the ready position.
- The finger is removed from the trigger and moves to the slide area as soon as the pistol makes rearward movement.
- Finger stays straight off the trigger. The shooter visually confirms the holster, and the gun is guided straight down into the holster without fishing around for it.
- After the pistol is reholstered, reset the hood and be ready for the next draw.
Place the Thumb on the Rear of the Slide
This is a small detail, but it matters. As the pistol goes into the holster, placing the thumb on the rear of the slide helps ensure you do not accidentally knock the pistol slightly out of battery during holstering.
It is a simple habit that adds control and gives the shooter a consistent reference point while reholstering with either your duty or concealed carry holster.
Engage your Manual Safety
If you are running a pistol with a manual safety, engage it as you are bringing the pistol back to the ready. The real protection still comes from finger discipline, visual awareness, a clear holster path, and good technique.
If Something Feels Wrong, Stop!
This one ought to be obvious, but shooters still blow right past it. If the gun does not feel aligned, if the holster mouth is obstructed, if the garment slips loose, if the pistol hangs up, stop. Do not force it. Back the pistol out while keeping good trigger finger discipline, fix the problem, and then safely reholster your pistol.
Duty and Concealed Carry Share the Same Core Principles
A lot of people try to separate duty holster work from concealed carry work, as if they are completely different worlds. The truth is the gear is different, but the safety principles are the same: finger straight and off the trigger, look at the holster, clear the path, and reholster deliberately and safely.
Do not rush.
Reset the retention or confirm the pistol is fully seated. Those principles work whether you are carrying concealed to protect yourself and your family or wearing a duty rig for work.

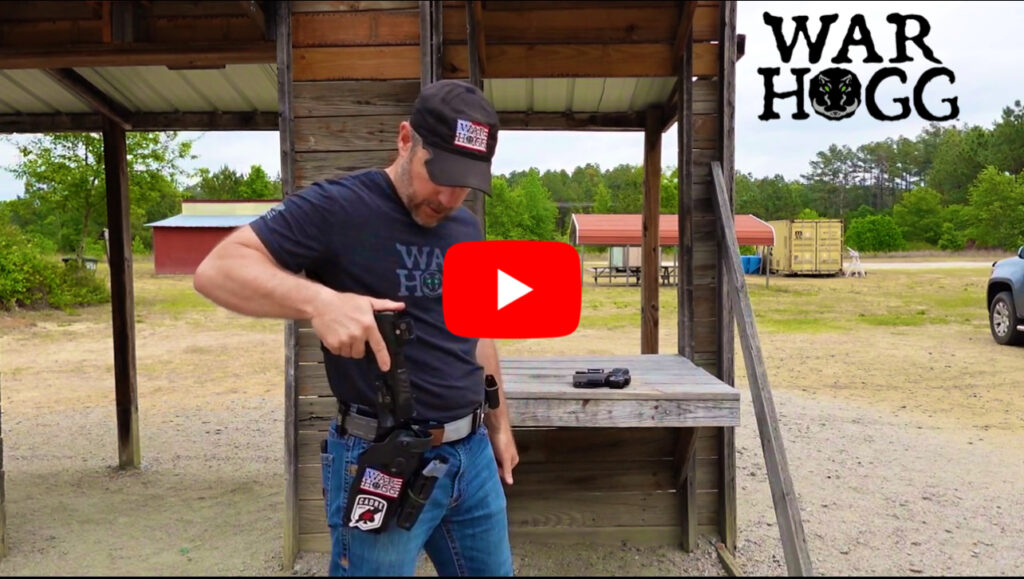
Dry Fire Is Where You Build the Habit
The safest place to build reholstering habits is in dry fire training with an unloaded firearm and a sterile training environment. I recommend dry-fire repetitions until you can draw quickly and reholster smoothly and safely.
Use The Firearms Training Notebook to develop your own training plan if you want a successful firearms training session. That is exactly how I would approach it: slow dry-fire reps with full attention on garment clearing, indexing the finger, visual confirmation, and a smooth return to the holster.
Train Hard, Stay Safe, and see you “On The Range” – Rick